Static Source Capture Guidelines
There are three types of data that are helpful to capture in order to recreate the face:
Render Shot
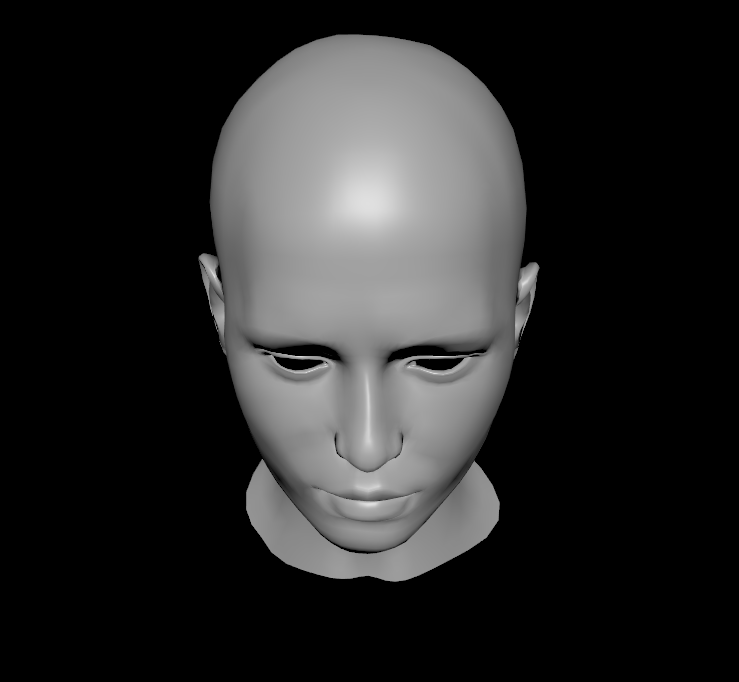
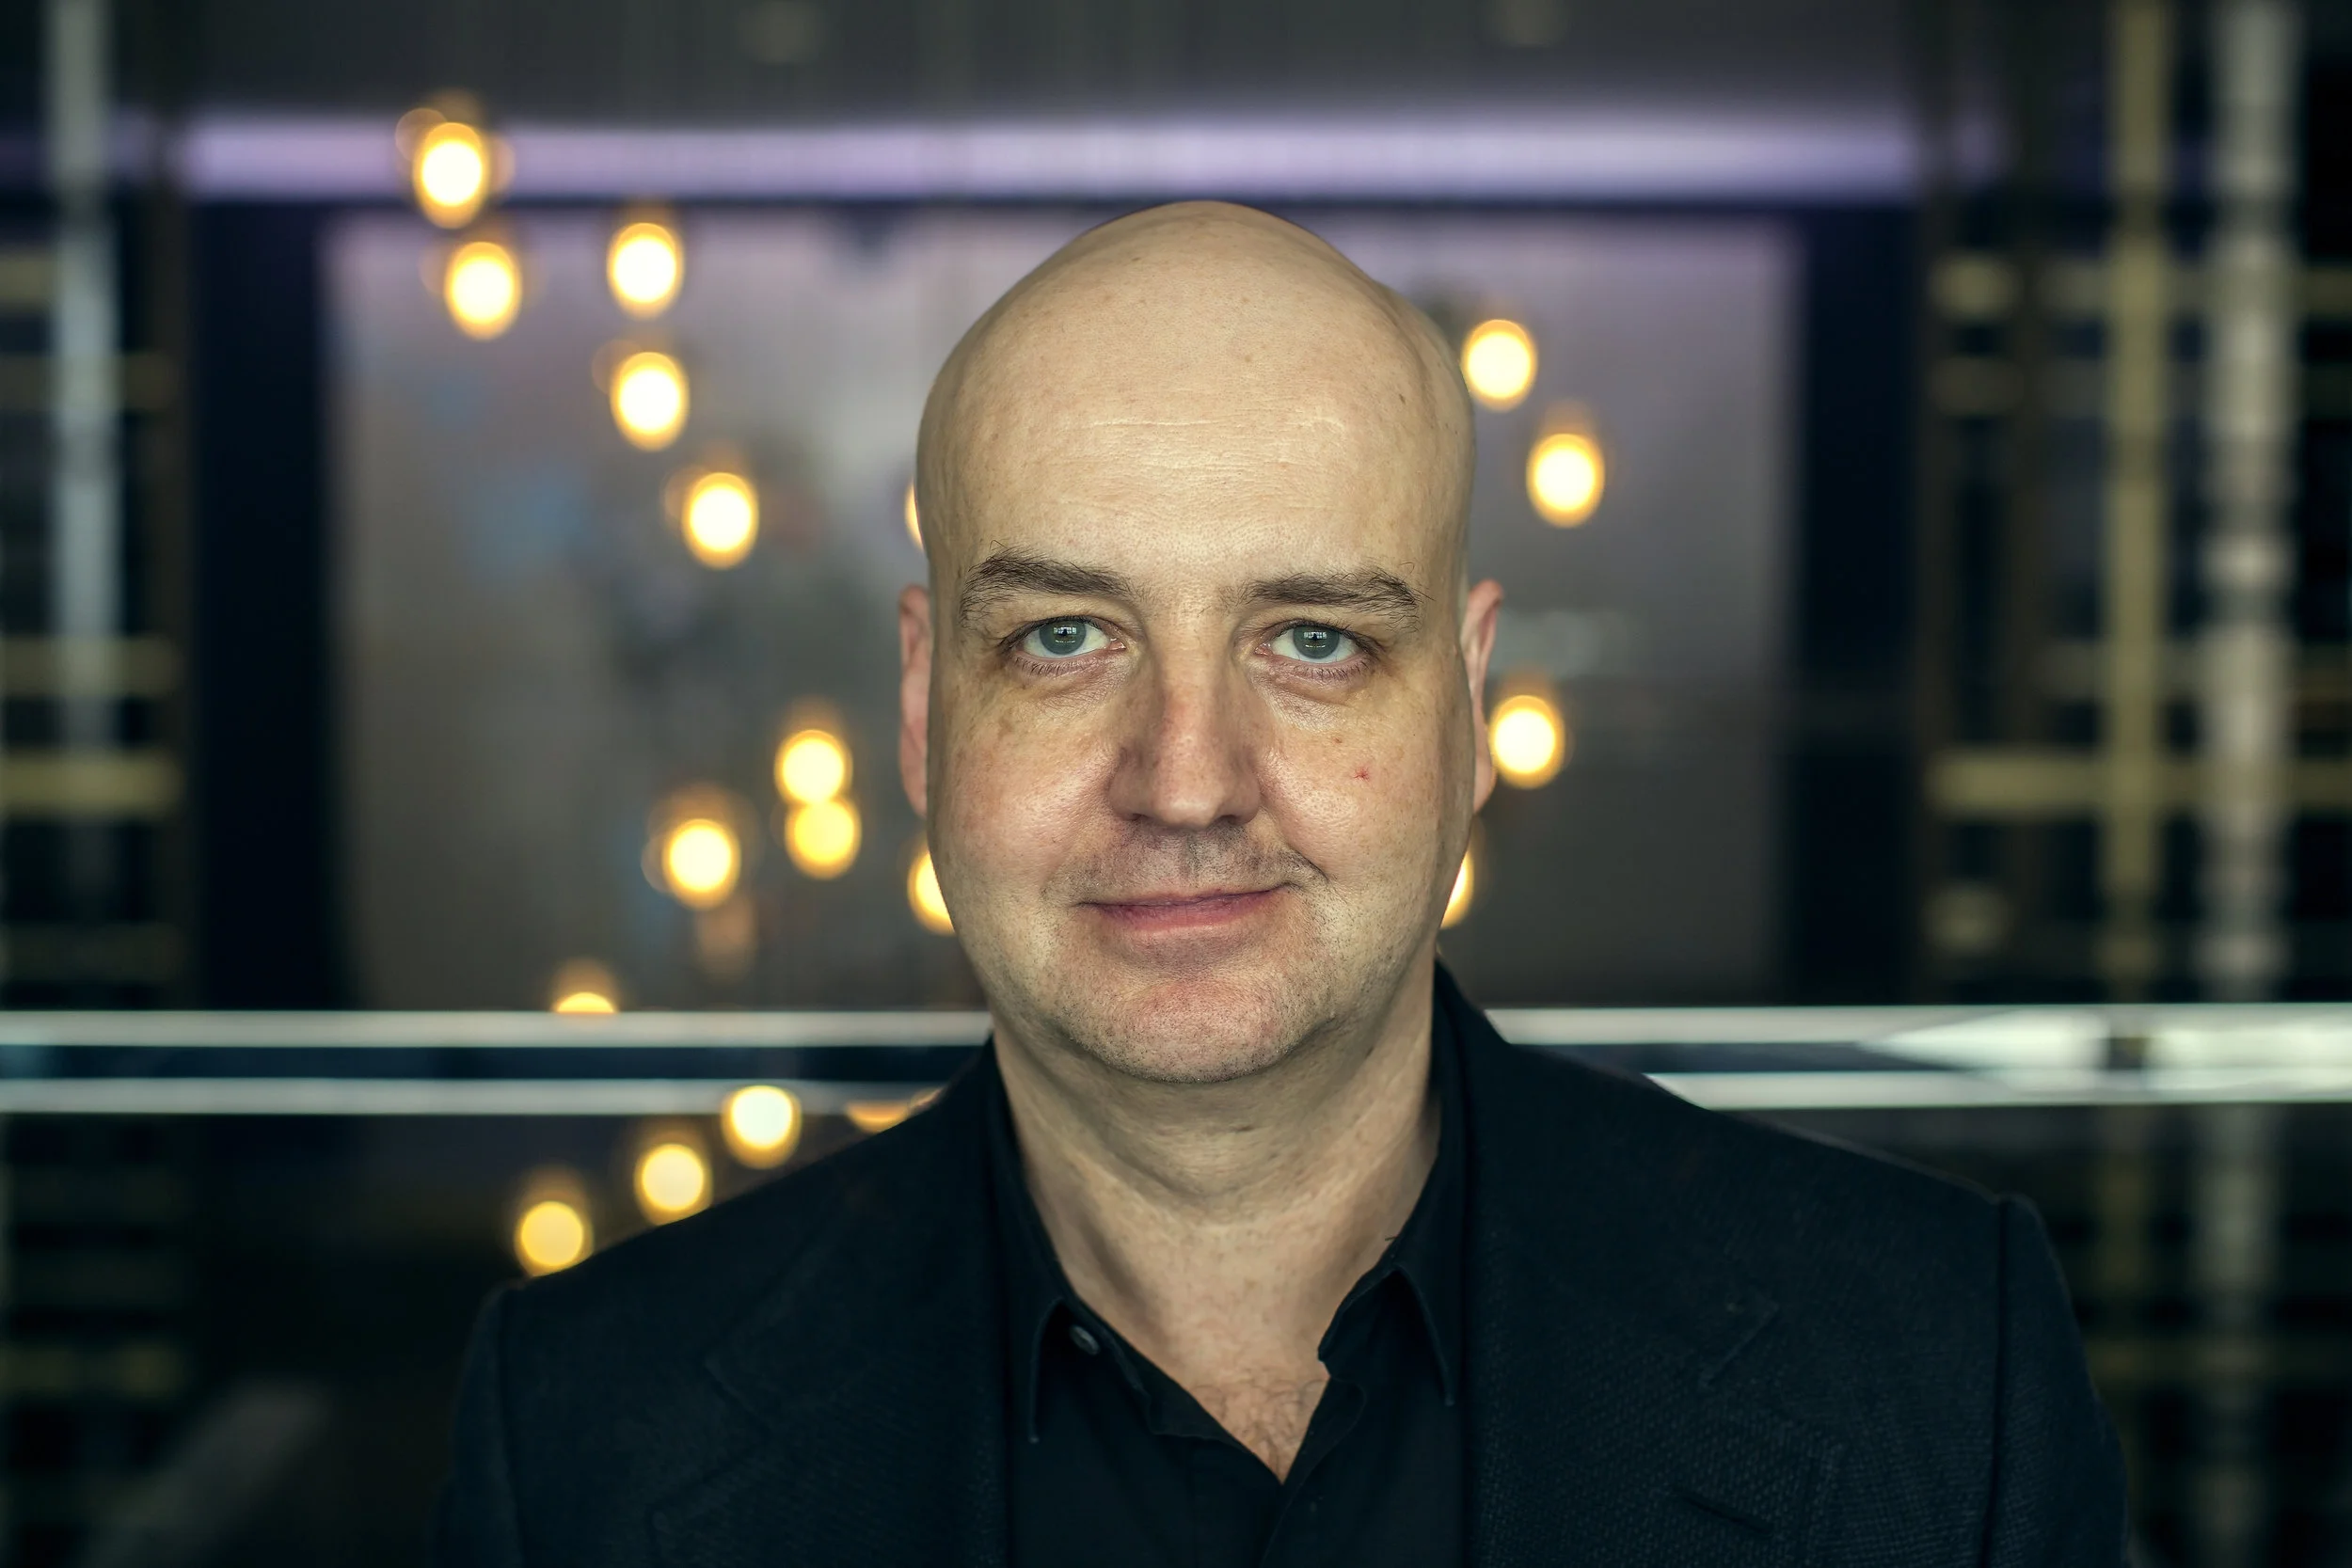
The Render Shot is a single image that represents the final desired look of the puppet in its resting state.
It should be taken with a background that should be included in the puppet scene.
The subject should be comfortable and be in a resting neutral face, in a comfortable environment.
If this is Lars’ render shot, the expected puppet in its resting state would look as similar to this as possible.
High Resolution RGB Reference Shots
Multiple images of the subject from different angles at a high resolution
Images should include closeups of face as well as the subject’s upper body, for reference
3D Mesh & Video Reference Capture
3D Scans of the face
Video of the subject - MindQuest
Lars’ render shot, the expected puppet in its resting state would look as similar to this as possible.
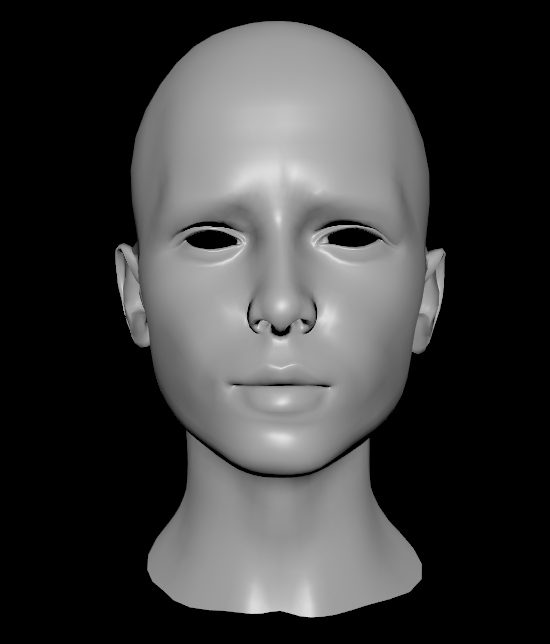
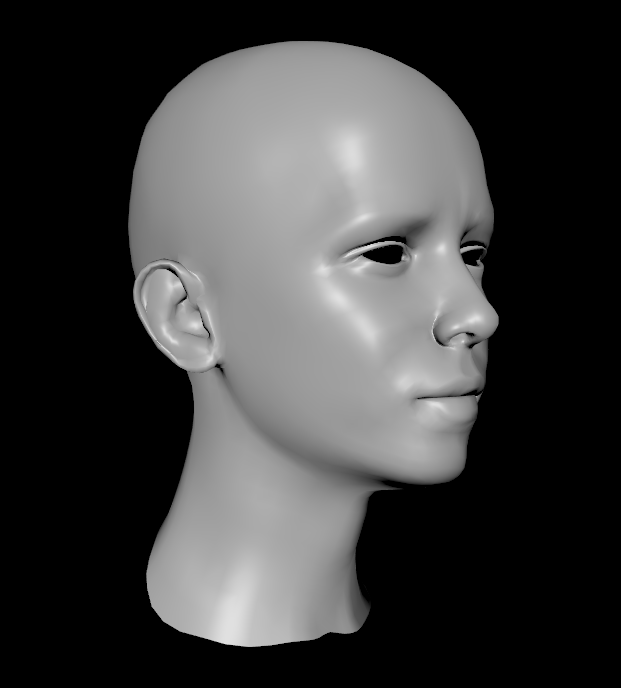
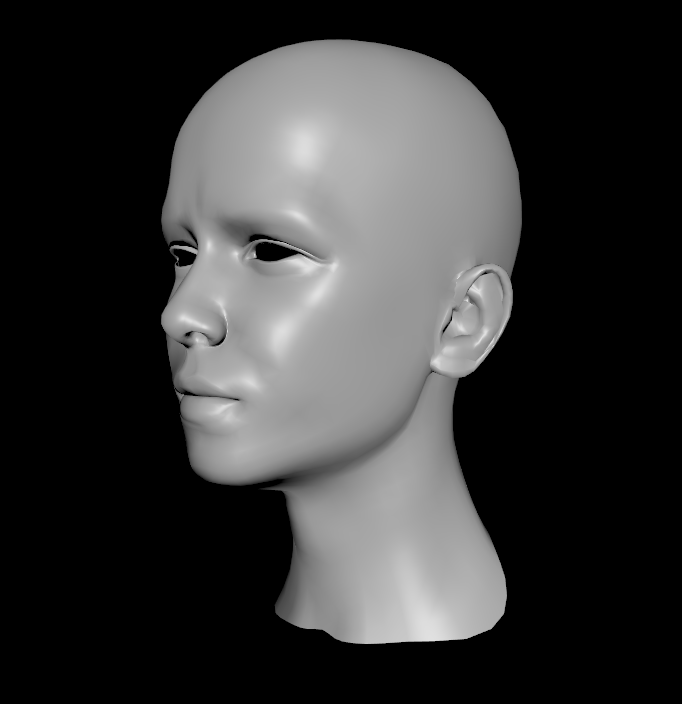
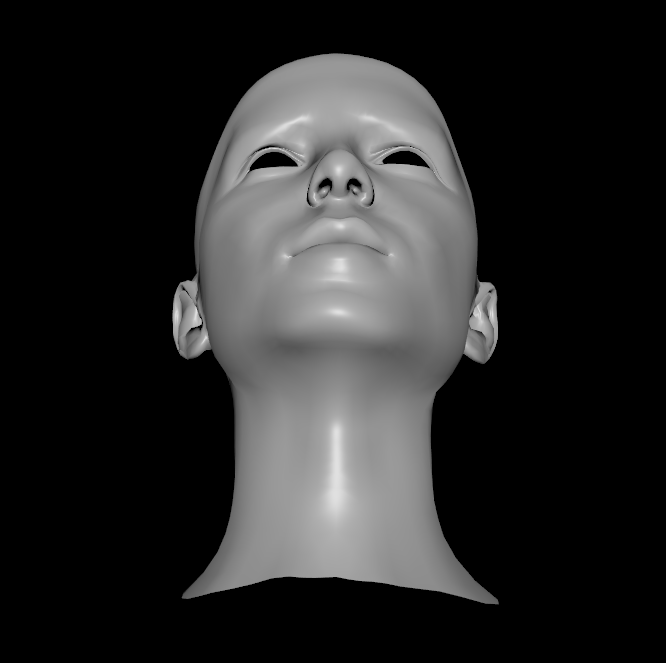
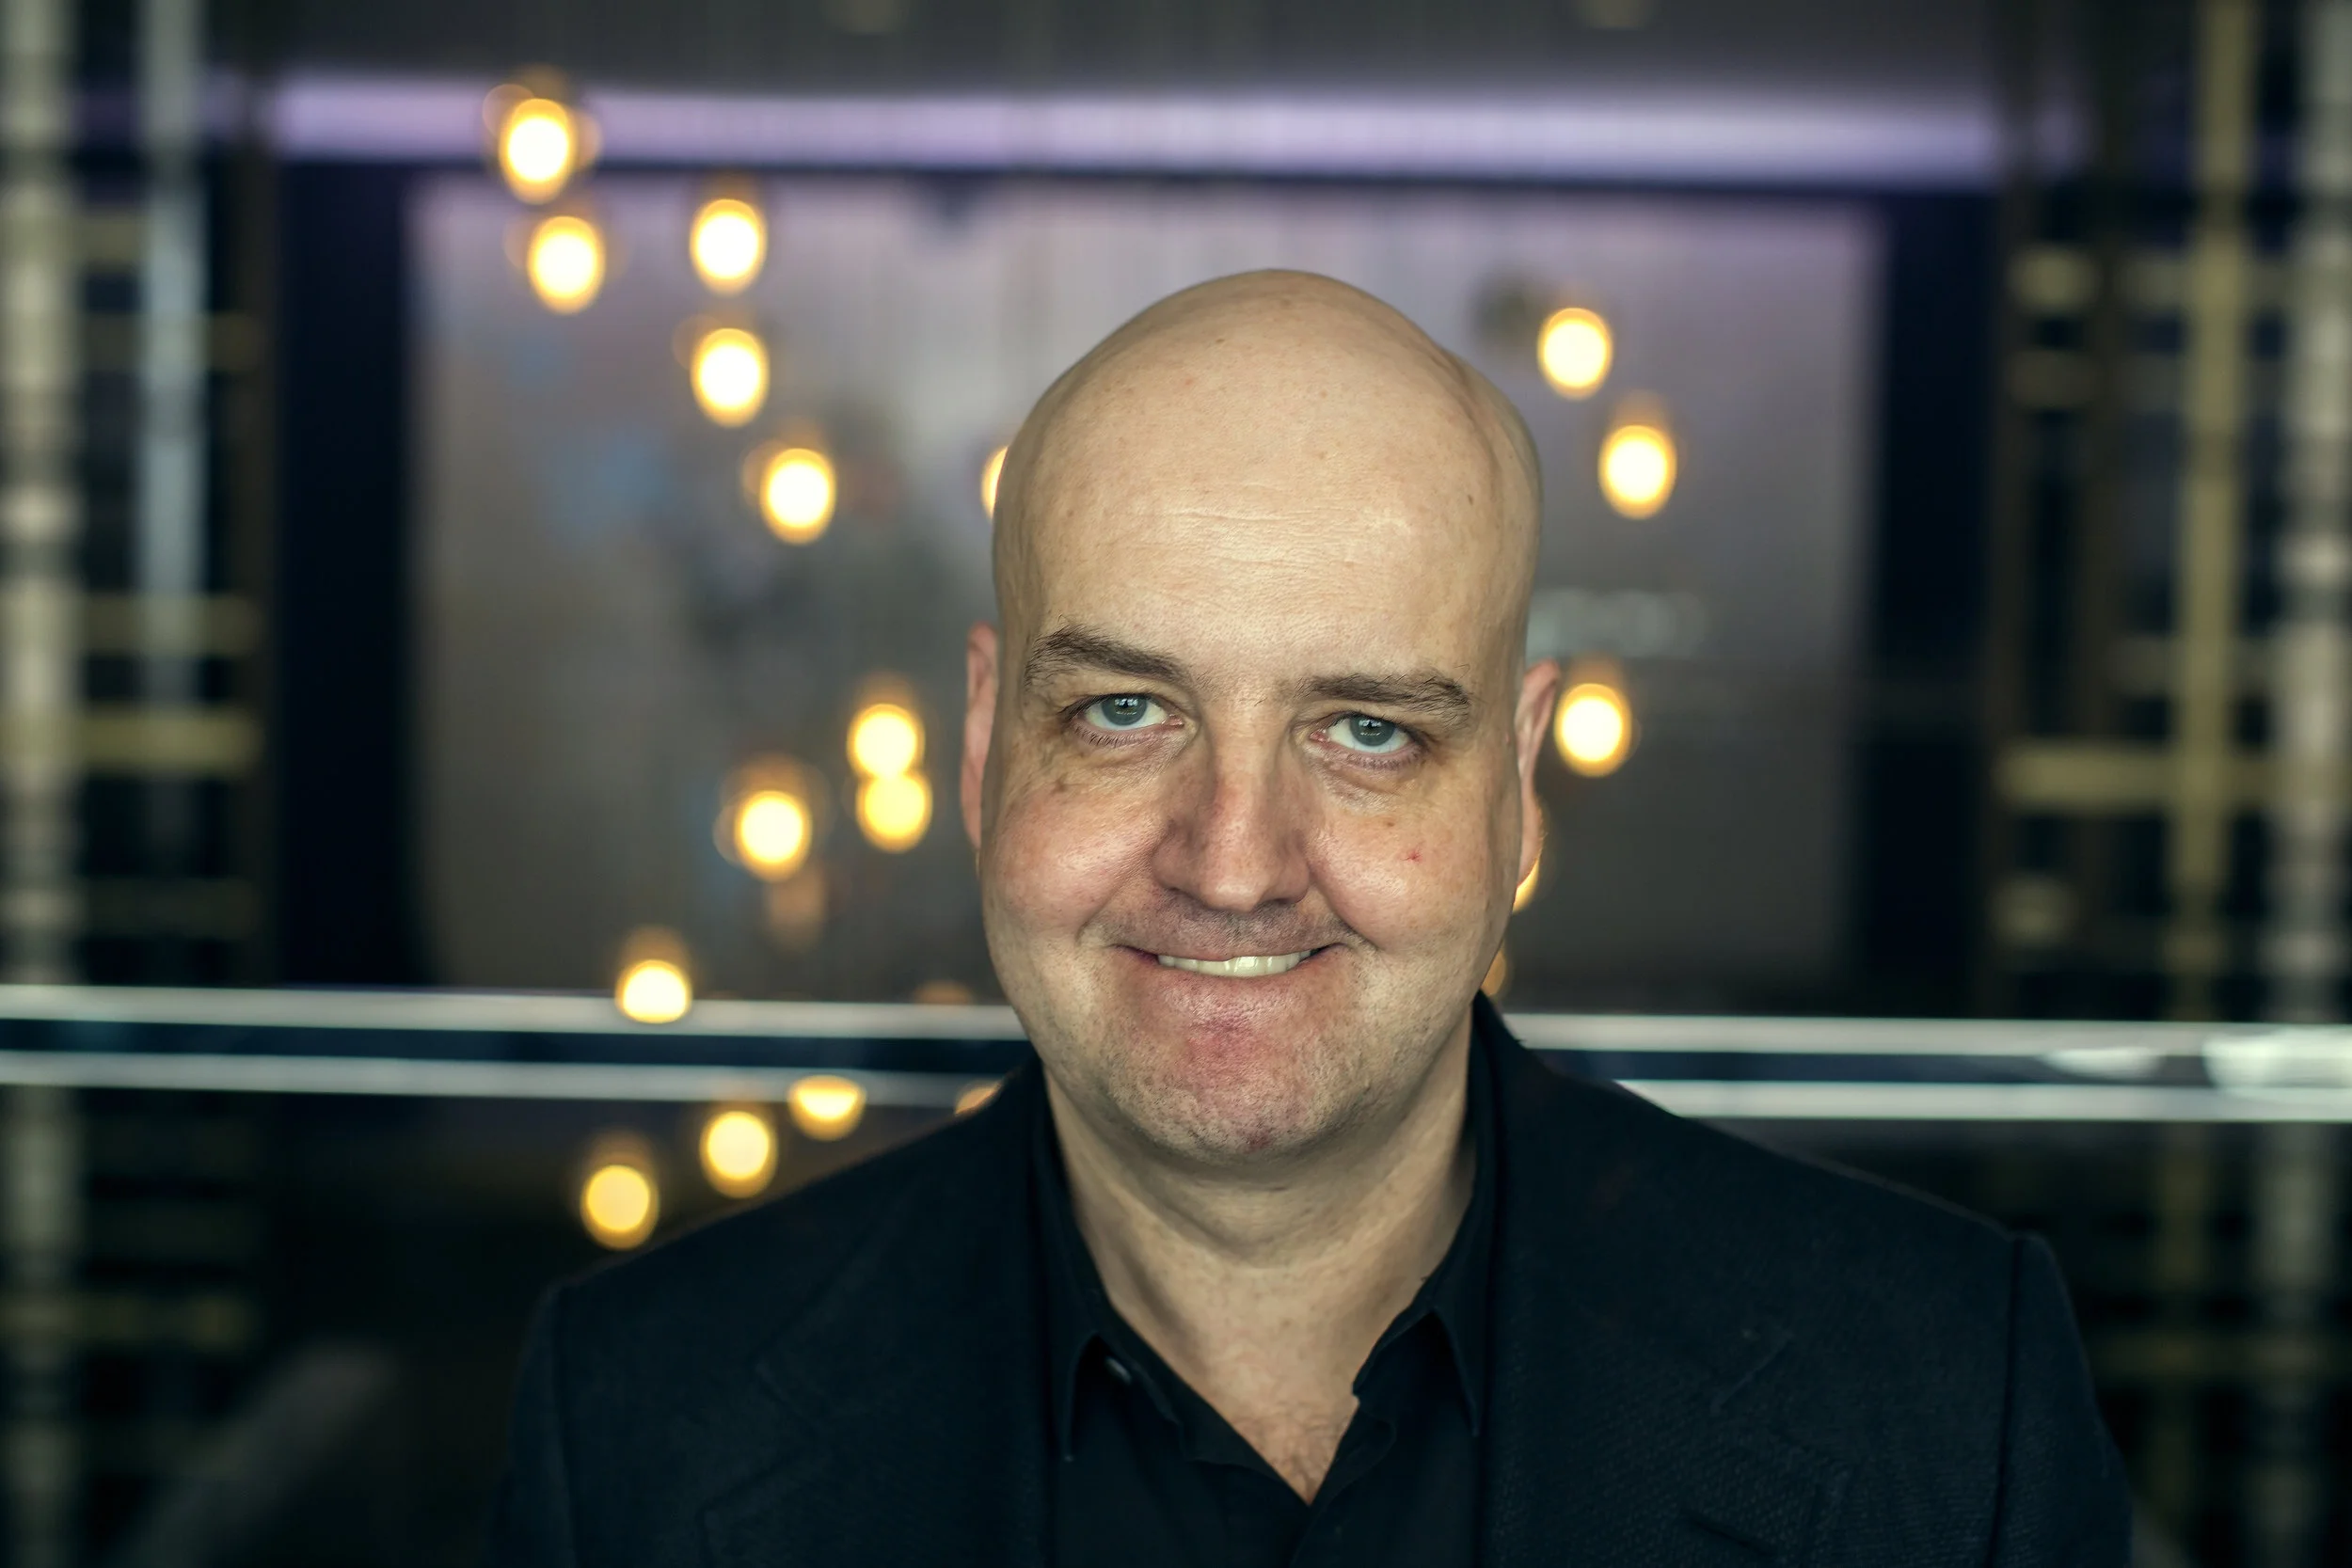
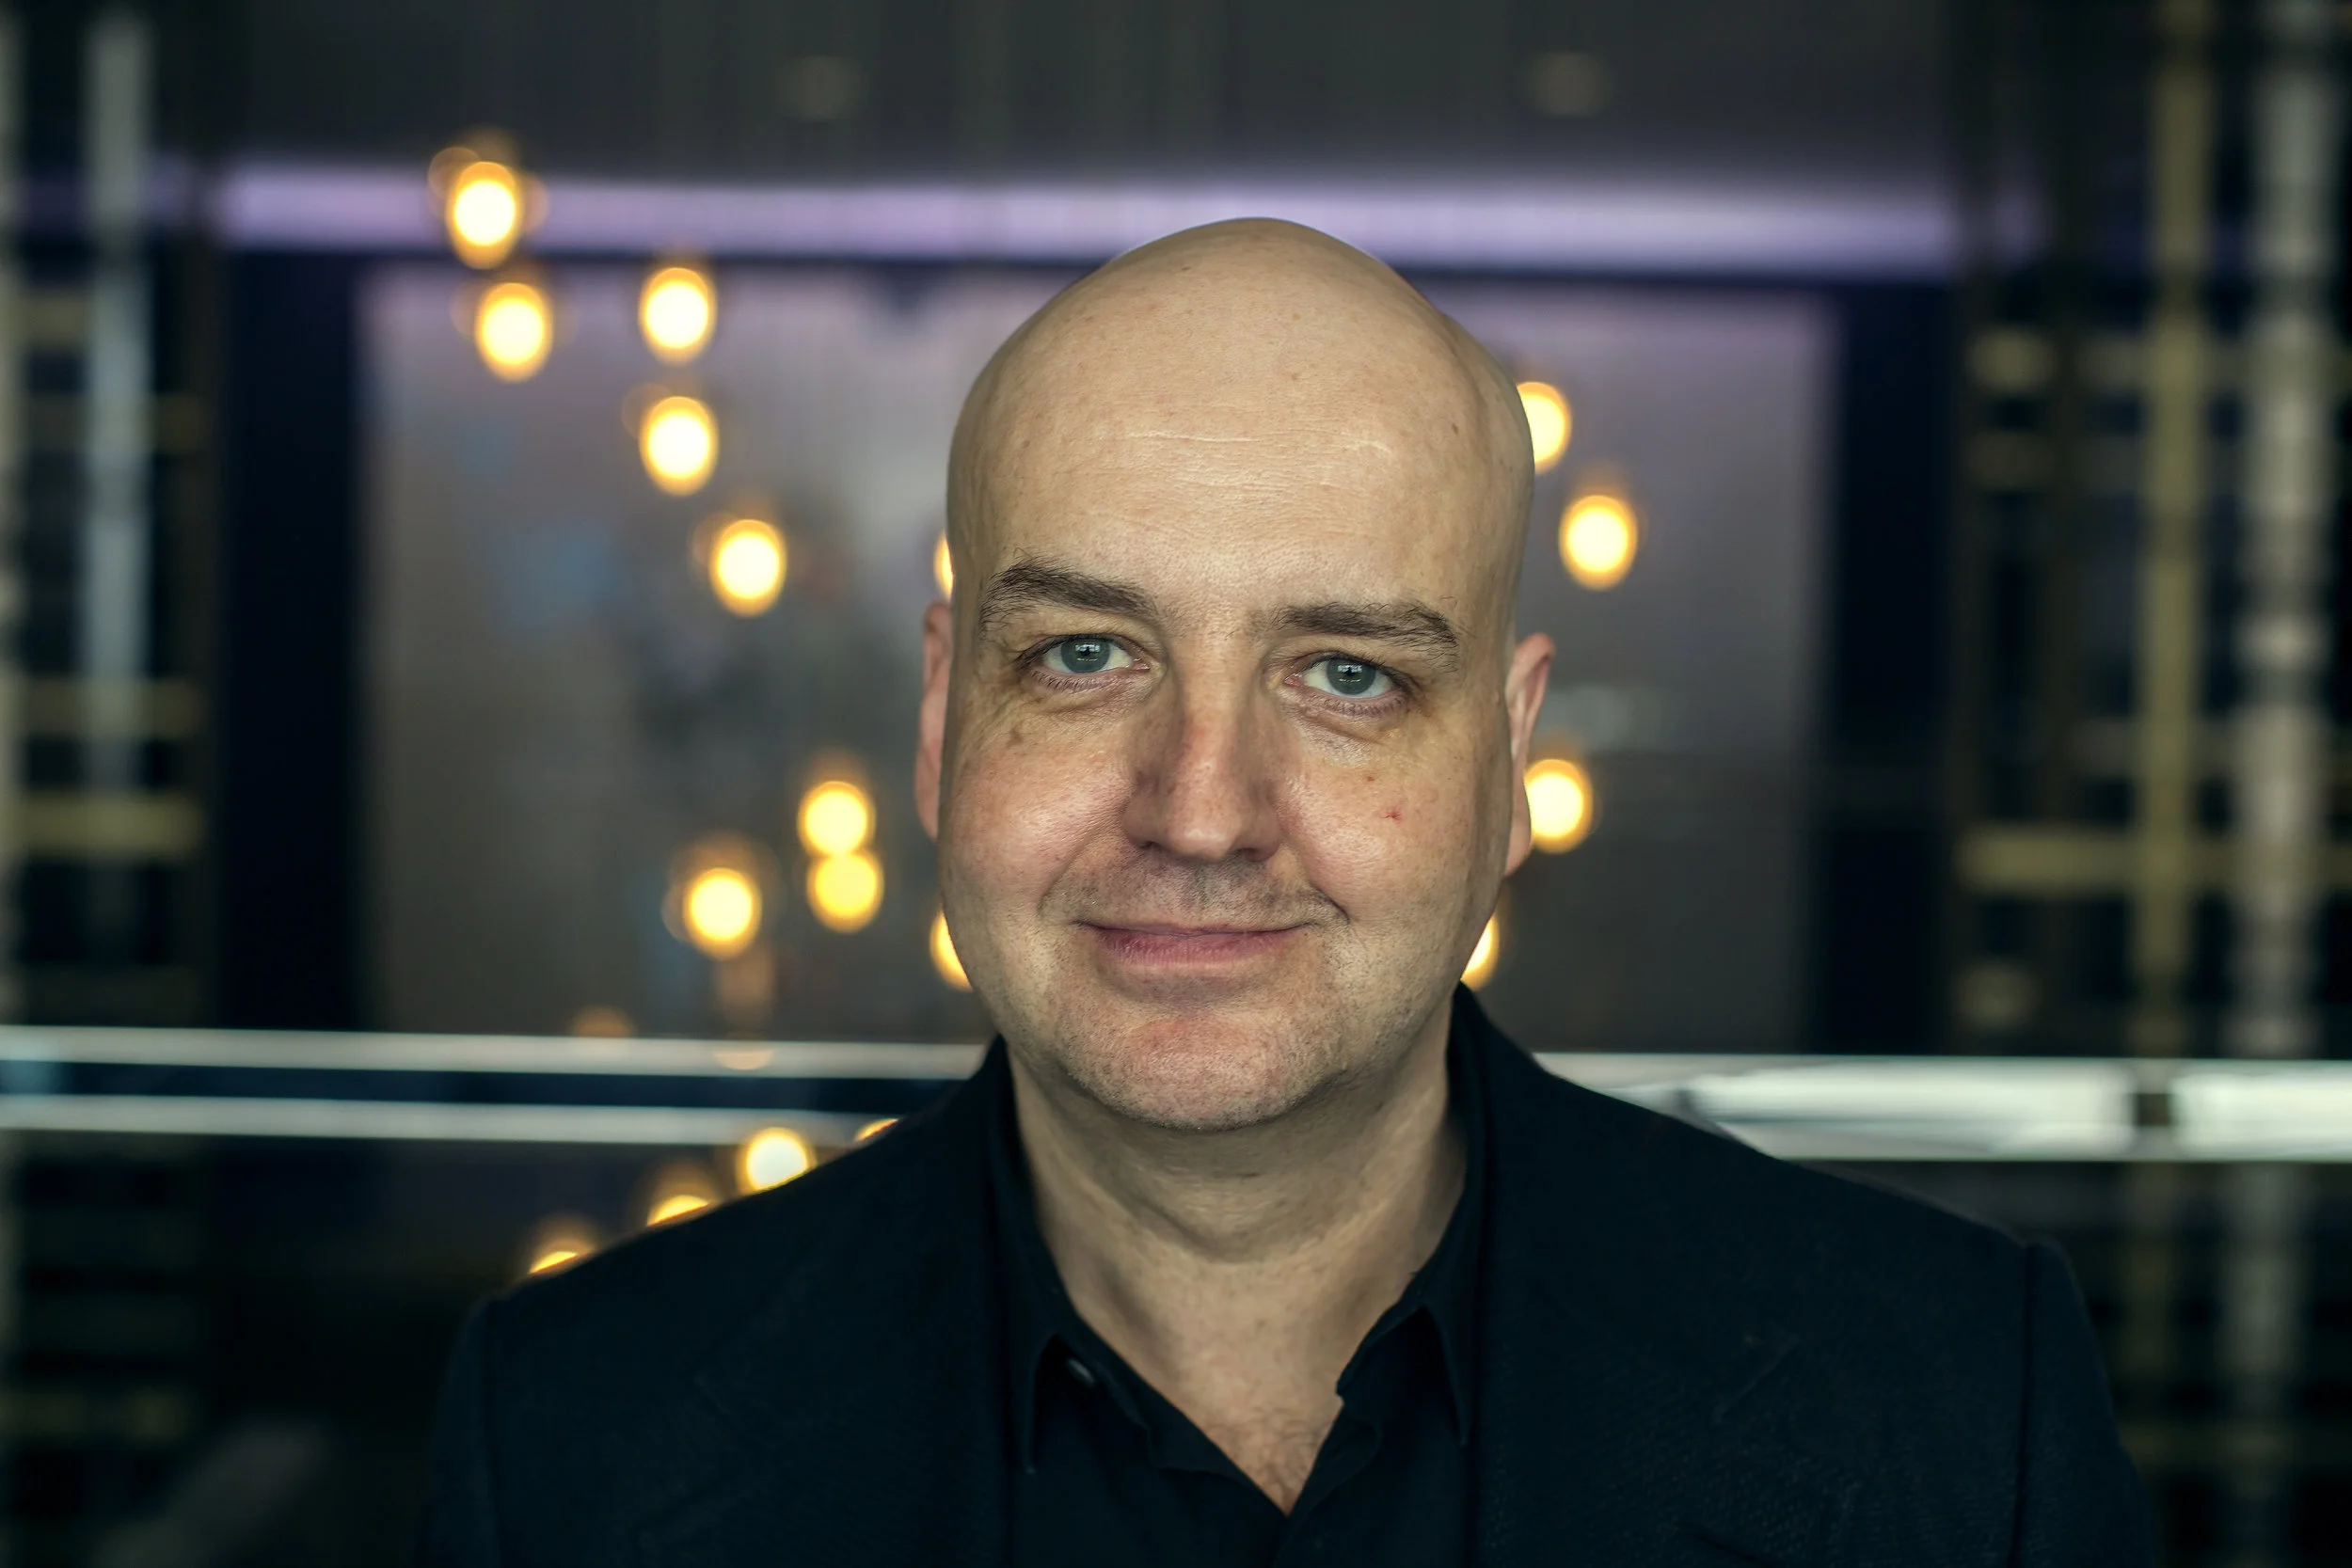
[Render Shot] Resting Face Capture - 5 Angles
For reconstructing the face, the five images below represent the most useful set of RGB data for our needs. Try to keep the subject in the same resting pose for all images. Mouth should be closed without any teeth visible. The pose should be close to what the desired resting puppet will look like. Try to frame each shot so that the head fills most of the frame and the camera is at the height of the subject’s head.
Use a full frame camera with a 50mm Lens (or 35mm equivalent)
As a very general rule of thumb, you can think of a full frame mirroless camera fitted with a 50mm lens to have a similar degree of perspective distortion as the human eye. This common setup is used to mimic what we see as humans in movies and photography. It’s one of the least distracting lens setups to use since it allows our brain to focus on the subject rather.
A prime 50mm lens is also desirable over a zoom lens because of the simplicity of the glass inside. The fewer pieces of glass in a lens allow more quality light to reach the sensor with a minimal amount of distortion.
Note that with a 50mm lens, you will need to physically move closer and farther away from the subject in order to frame each shot.
| Image size | diagonal-based EFL | width-based EFL |
|---|---|---|
| 4:3 (sensor width w) | f35 = 34.6 f /w mm | f35 = 36.0 f /w mm |
| 4:3 (sensor diagonal d) | f35 = 43.3 f /d mm | f35 = 45.0 f /d mm |
| 3:2 (sensor width w) | f35 = 36.0 f /w mm | f35 = 36.0 f /w mm |
| 3:2 (sensor diagonal d) | f35 = 43.3 f /d mm | f35 = 43.3 f /d mm |
Resolution & Format (RAW/ARW/SR2/SRF)
Use the largest resolution possible without compromising sensor noise or other aspects of image quality.
Make sure that your camera’s sensor isn’t in a crop mode. Sensor cropping eliminates valuable data from the sensor in order to match other desirable traits in some situations.
Same images in your camera’s native RAW format. Years ago, the only RAW format was called “RAW”, but now each manufacturer has their own version of RAW. Select the uncompressed/RAW format for your camera. Save RAW+JPEG if available, but never only JPEG.
Avoid camera shake
It’s not easy to avoid; It’s nearly impossible, but some things can help.
Note: It’s sometimes difficult to see camera shake on the preview screen on the camera. The resolution is often too great to notice motion blur due to camera shake. Make sure you zoom in after a test shot to determine if your image has any camera shake at 1:1 resolution.
Use a fast shutter speed
The shutter speed is the duration of time that light is allowed to enter the lens and hit the camera’s sensor. The quicker this duration, the less opportunity there is for blurring, but the tradeoff comes at a cost. When not enough light hits the sensor, the resulting image can look grainy. So you want to select a shutter speed that is as fast (or small) as possible before there is a noticeable degradation of image quality.
Take note of the ‘feel’ of the click to process time
When you press the button to take a picture, the resulting picture should take quickly. As you adjust settings, it’s possible that you feel a lag time between clicking the button and seeing your shot on the preview screen. This is likely a settings mismatch that is either requiring the camera to quickly post process your shot or the shutter is staying open too long.
Avoid Shallow Depth of Field
Shallow depth of field should be avoided when possible. This can be achieved by closing the iris in the lens. A wider iris, which allows more parallel light into the lens will create more depth blurring, resulting in a shallower region of focus. But, the tradeoff in closing the iris means that less light reaches the sensor, resulting in a potentially noisy image. To compensate, ensure that the environment has plenty of light.
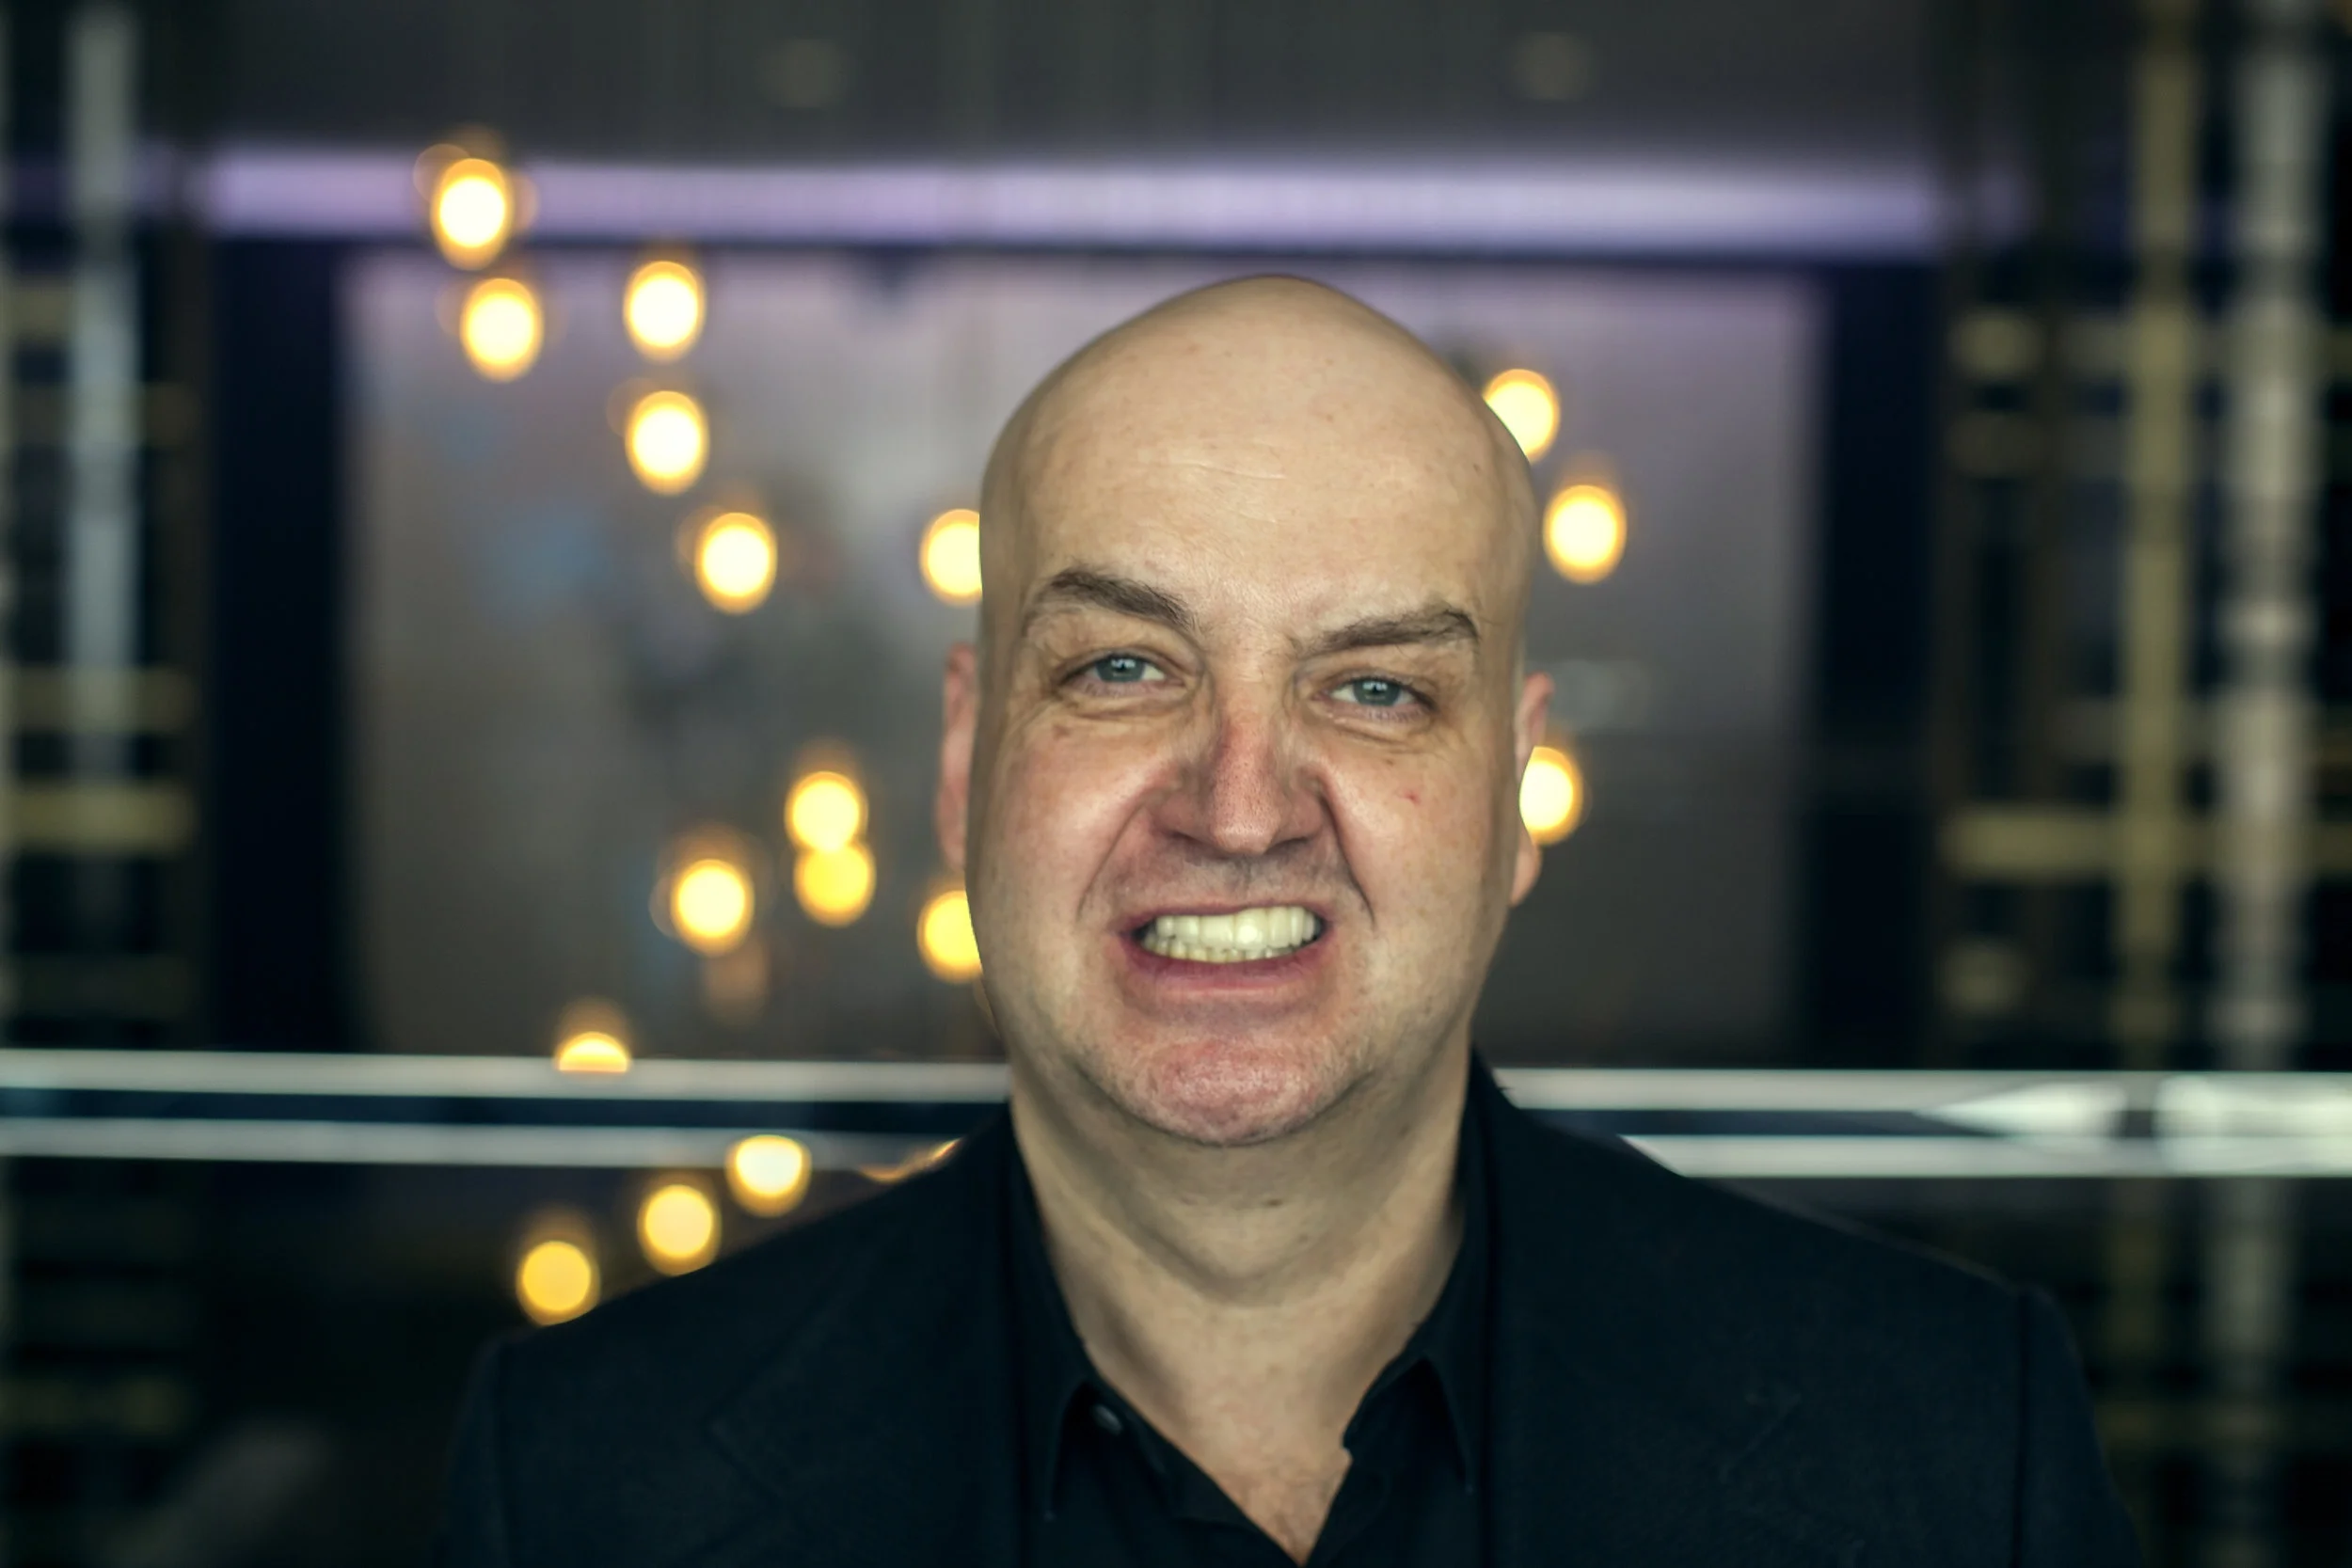
Capture Key Expressions
When shooting the general subject, the framing should include everything from the belt to slightly above the head. When shooting mouth shapes, move the camera closer to frame just the head and neck of the subject. The body is not needed. Refer to the shape guide for a visual representation of the shapes that should be made.
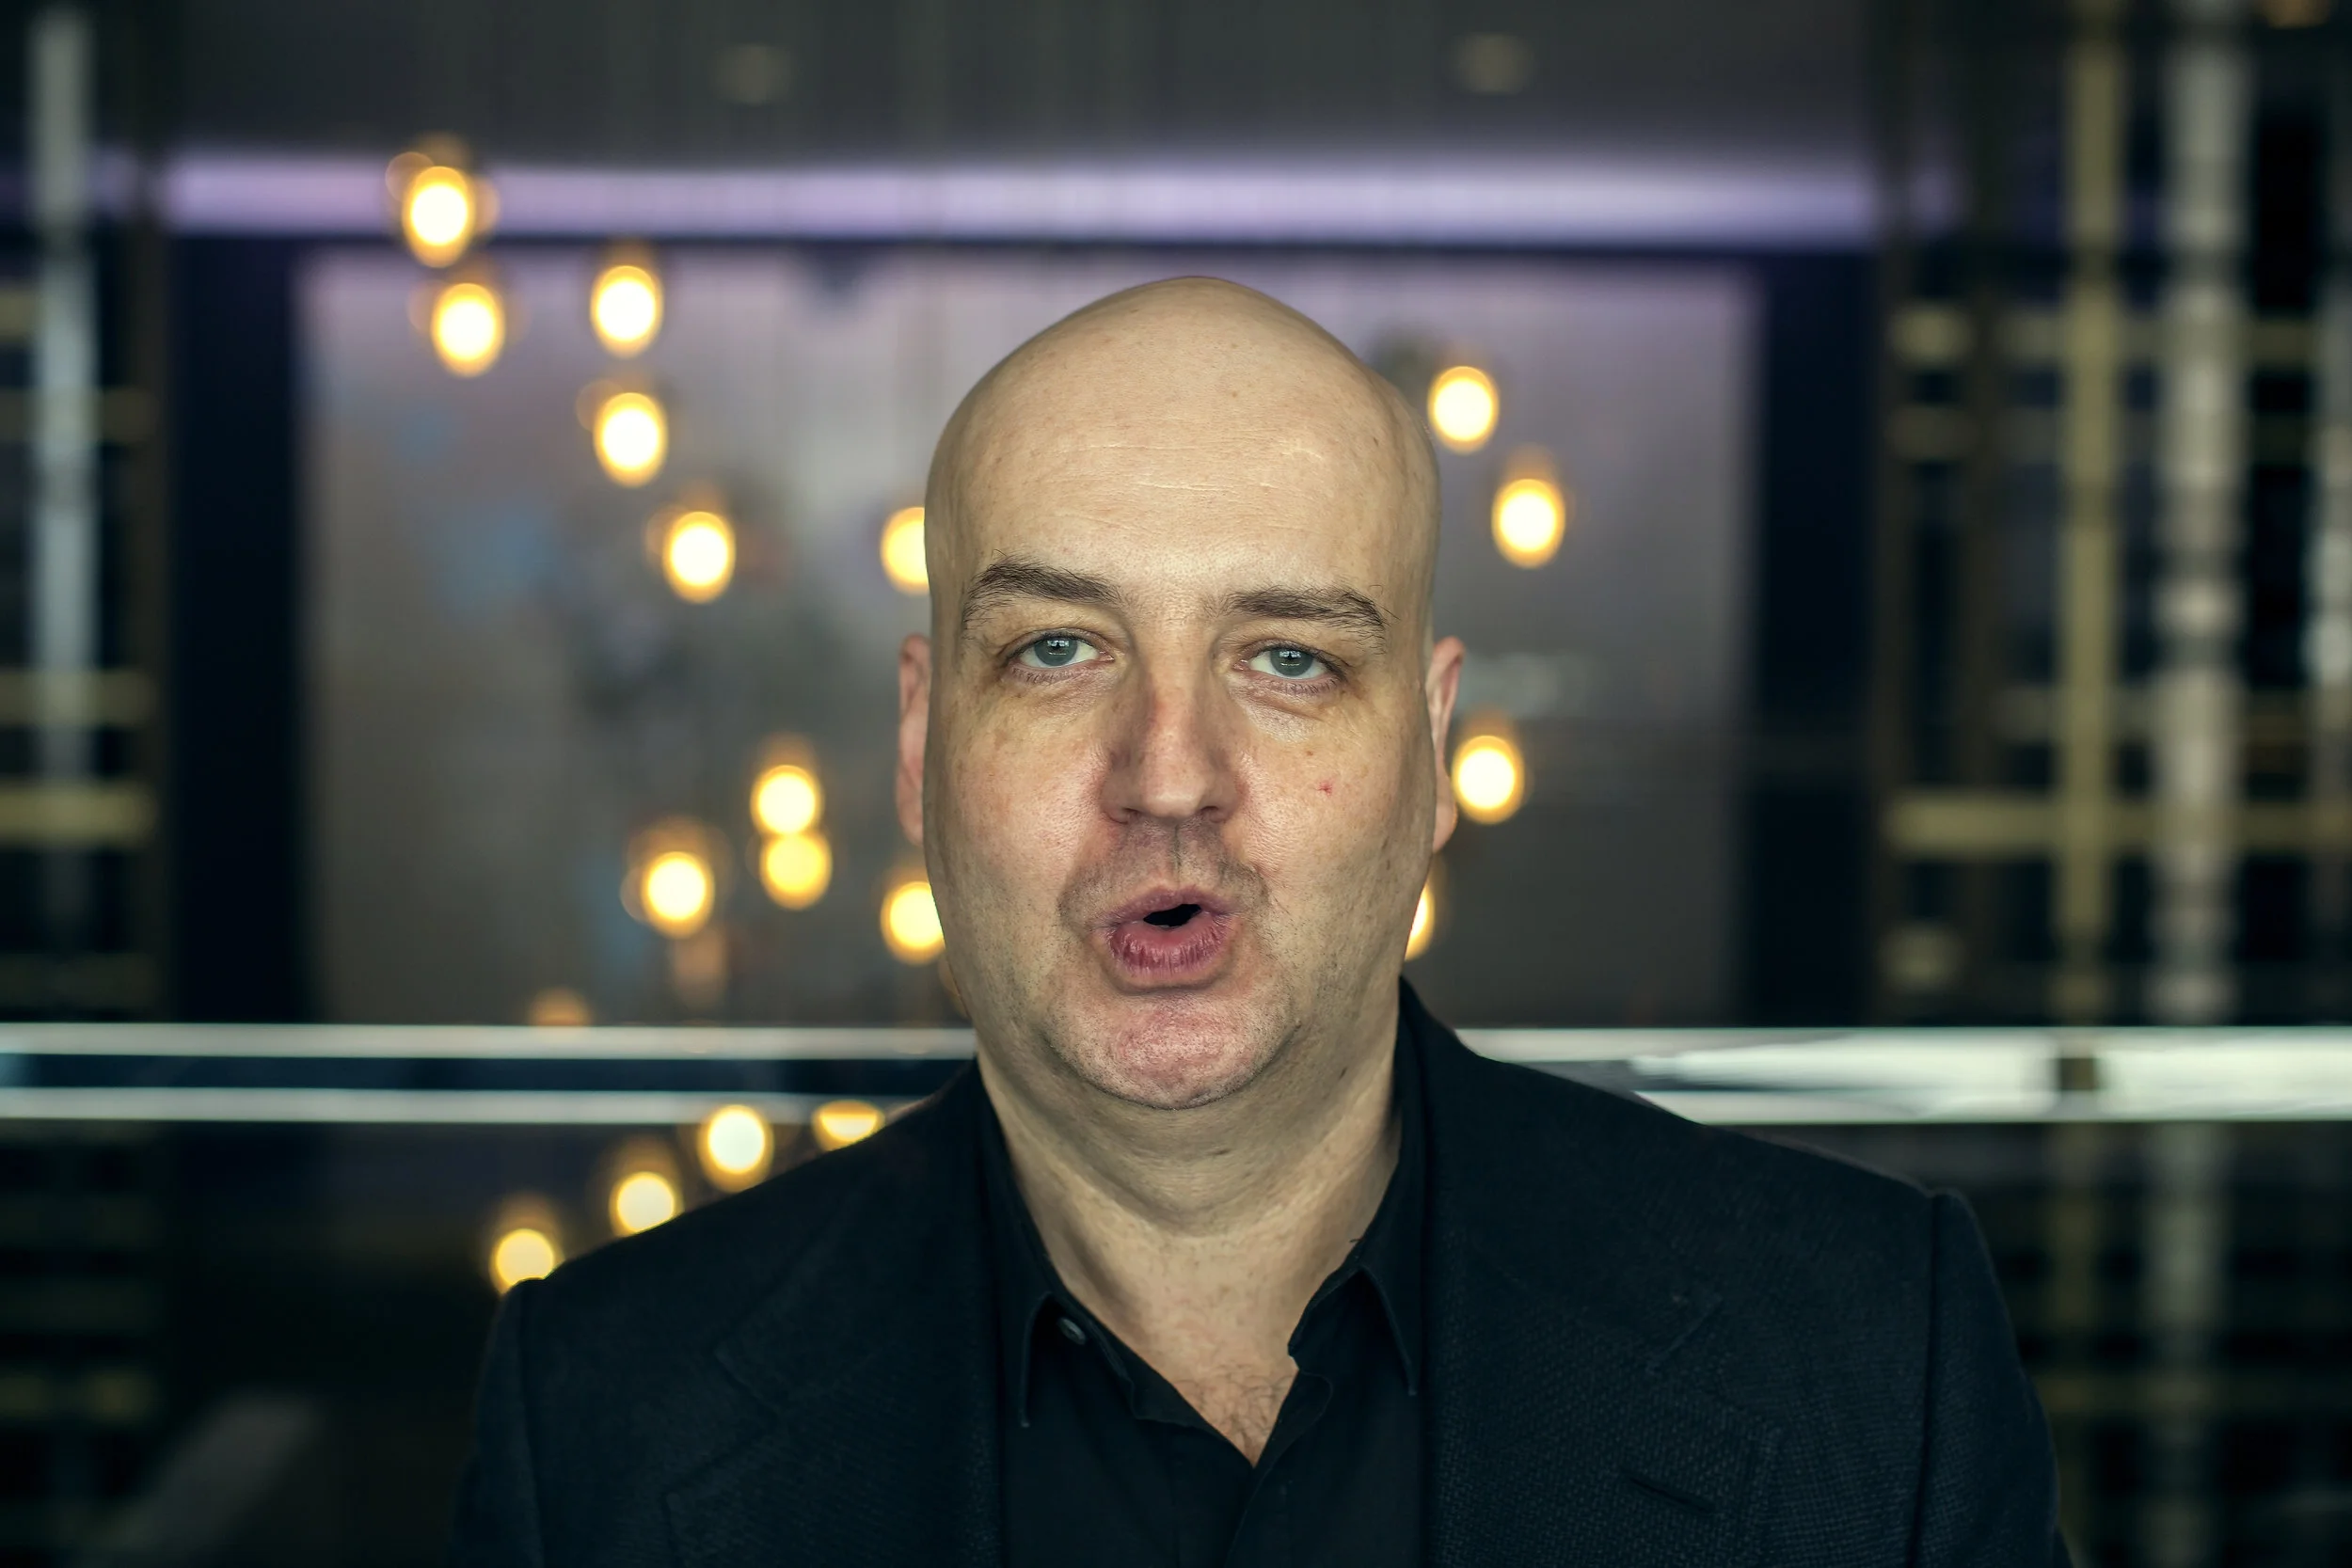
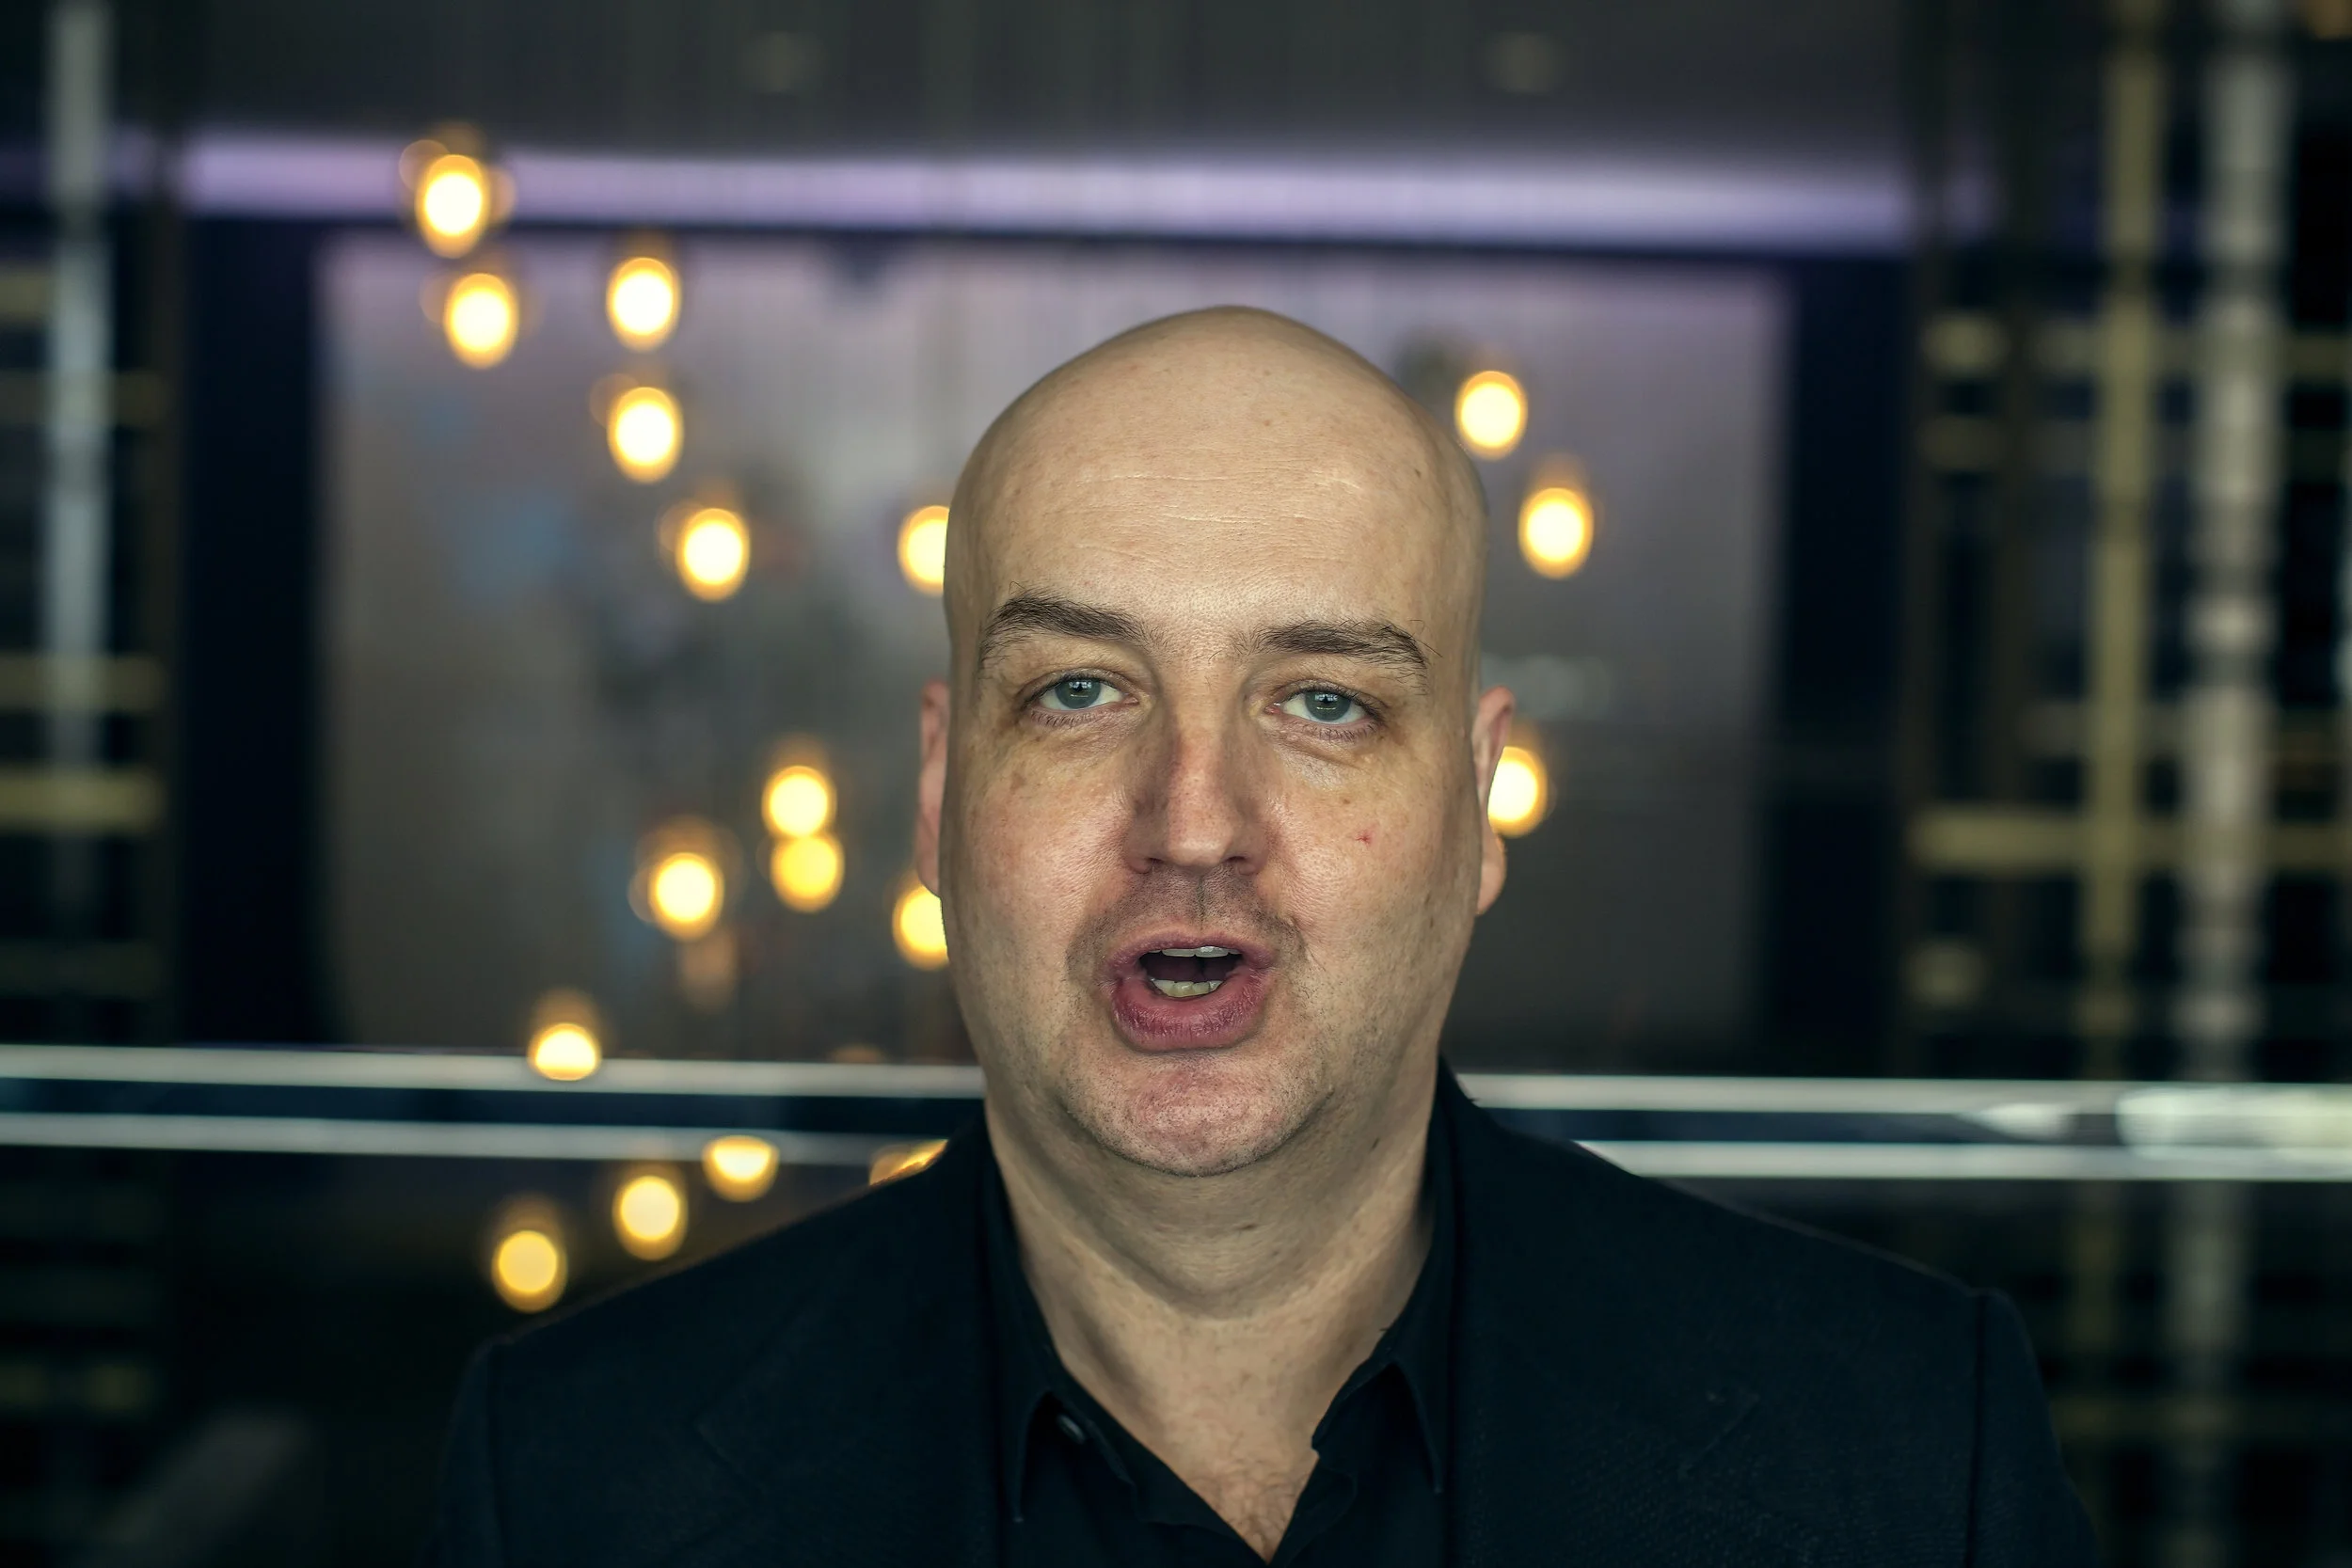
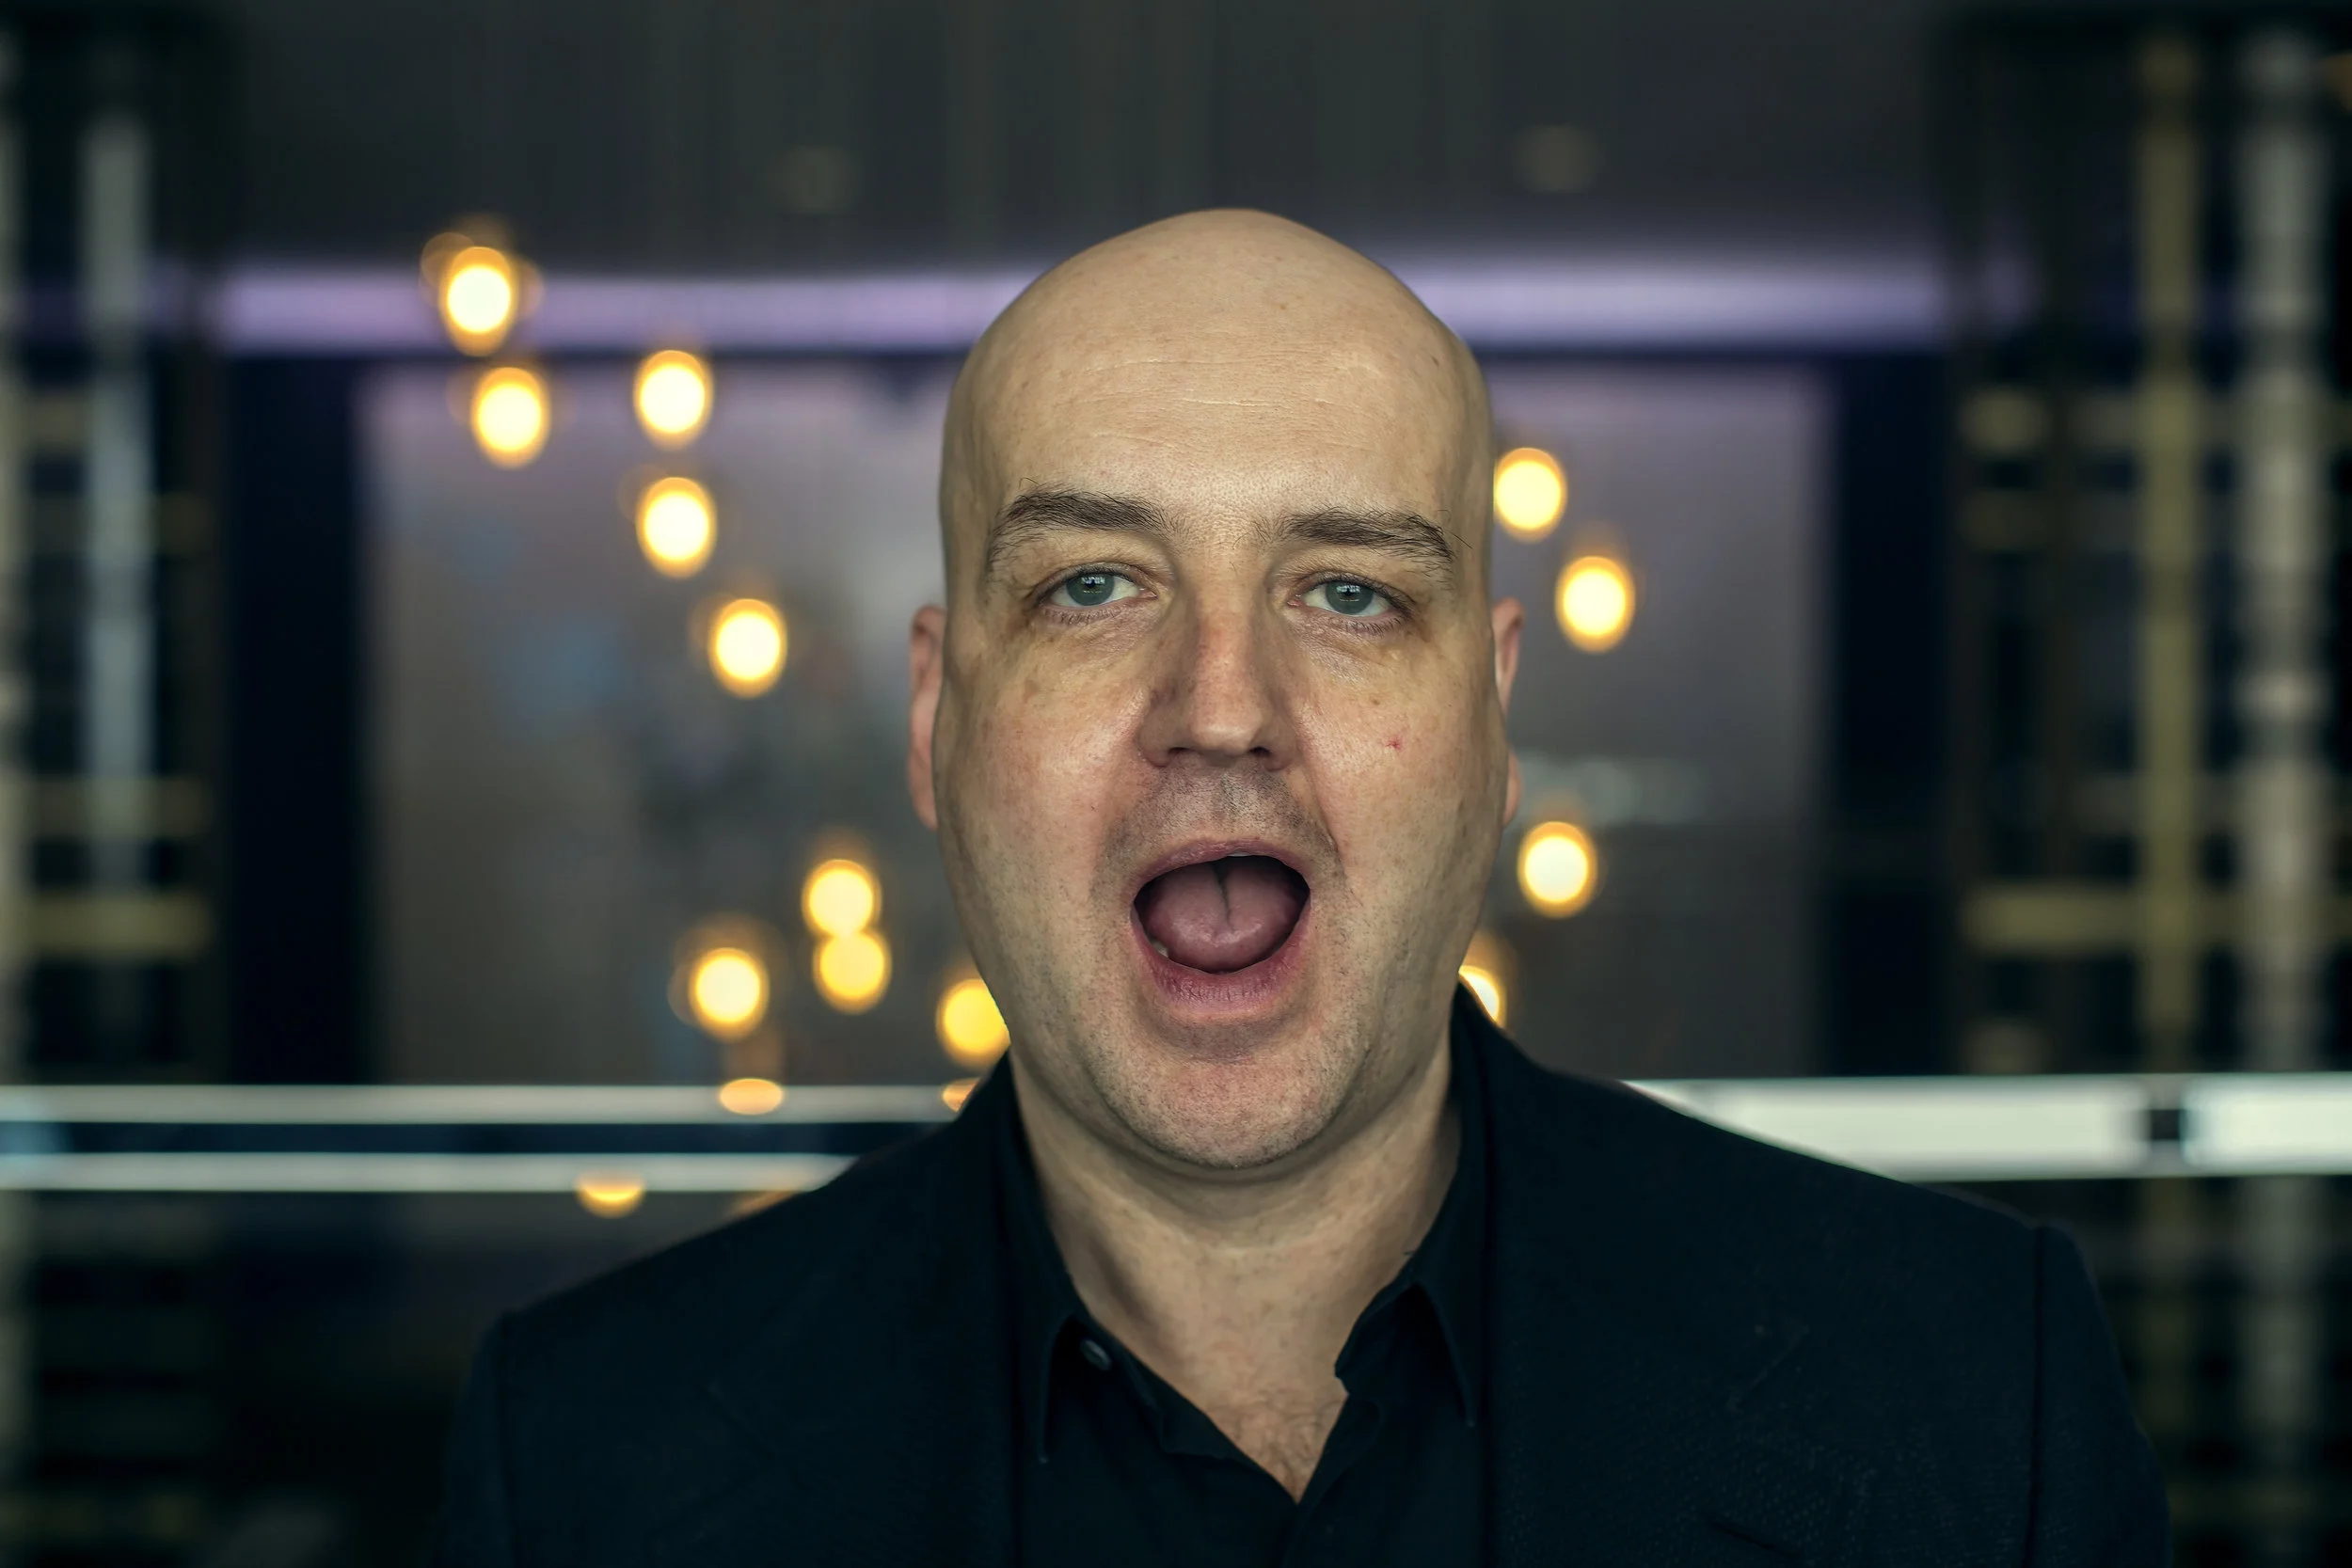
Mouth Shape Capture (It’s important that the subject over-characterize the following mouth shapes)
Mouth Fully Closed - Neutral
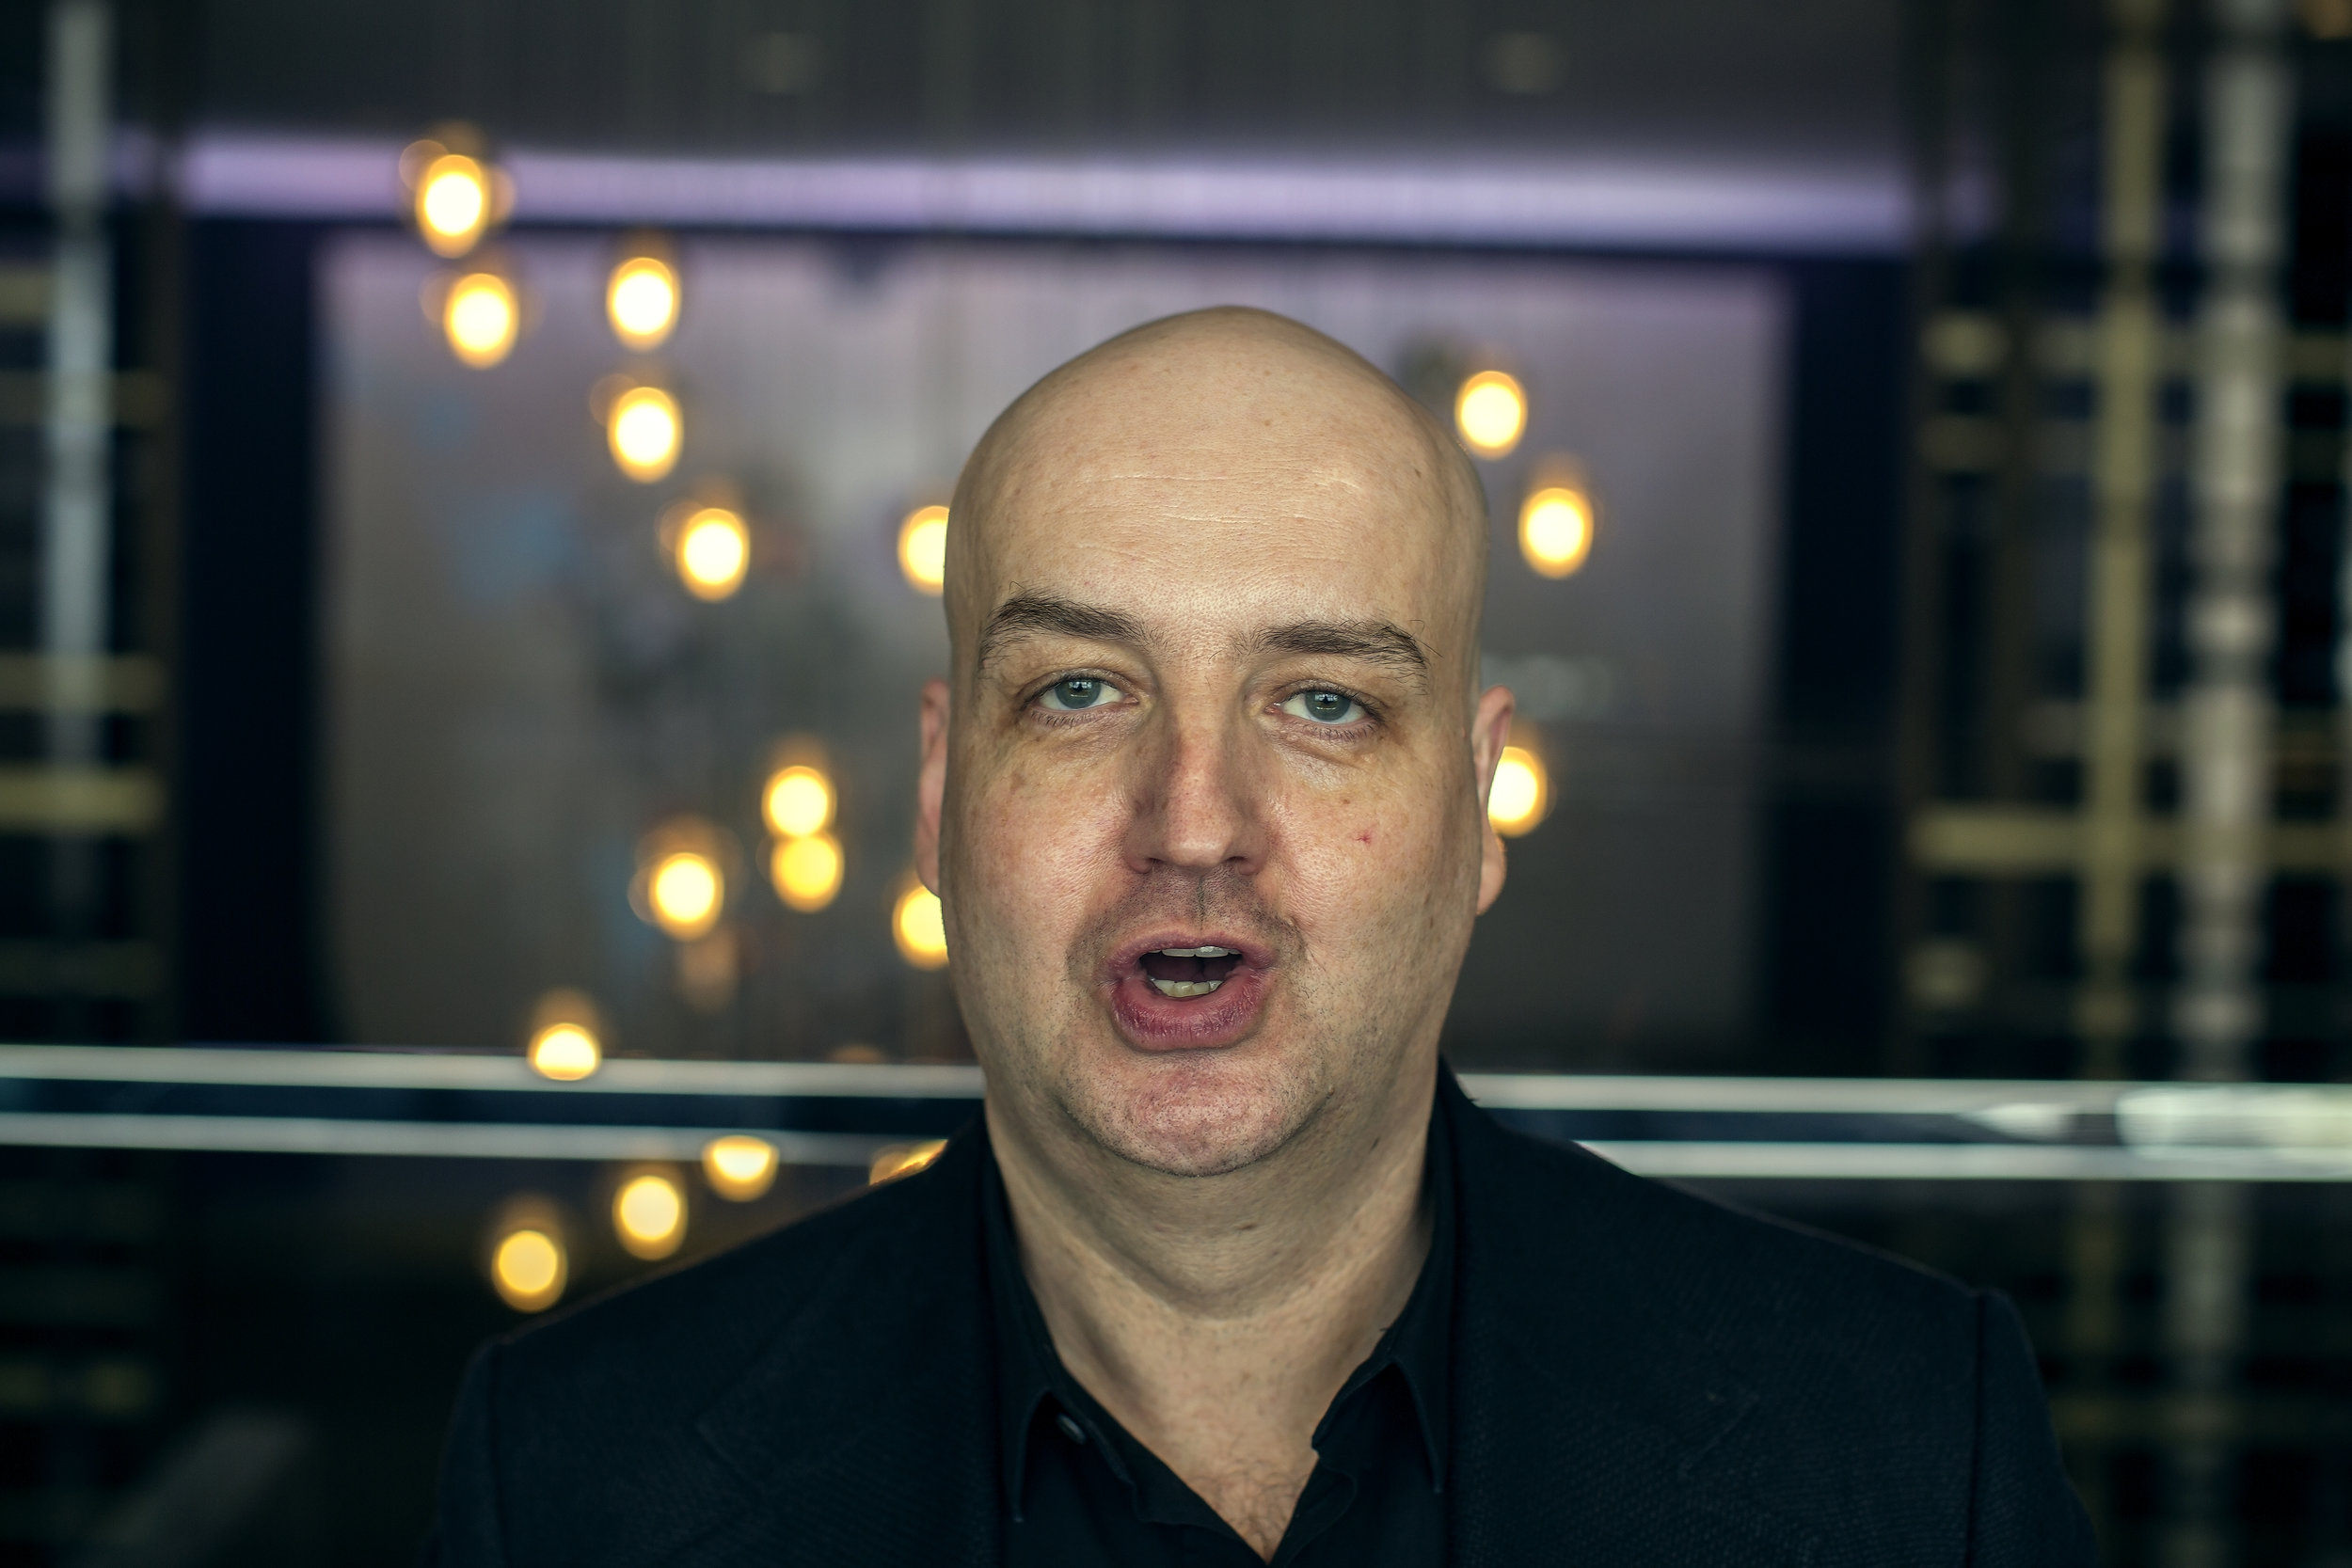
Mouth Open Wide
Shape - AI - as in “Cat”
Shape - O - as in “Moon”
Shape - E - as in “Bee”
Shape - U - as in “Uniform”
Shape - EX - as in “Exceptional”
Shape - L - as in “Leaf”
Shape - WQ - as in “Web”
Shape - MBP - as in “Money”
Shape - FV - as in “Fan”
Shape - TH - as in “Thirsty”
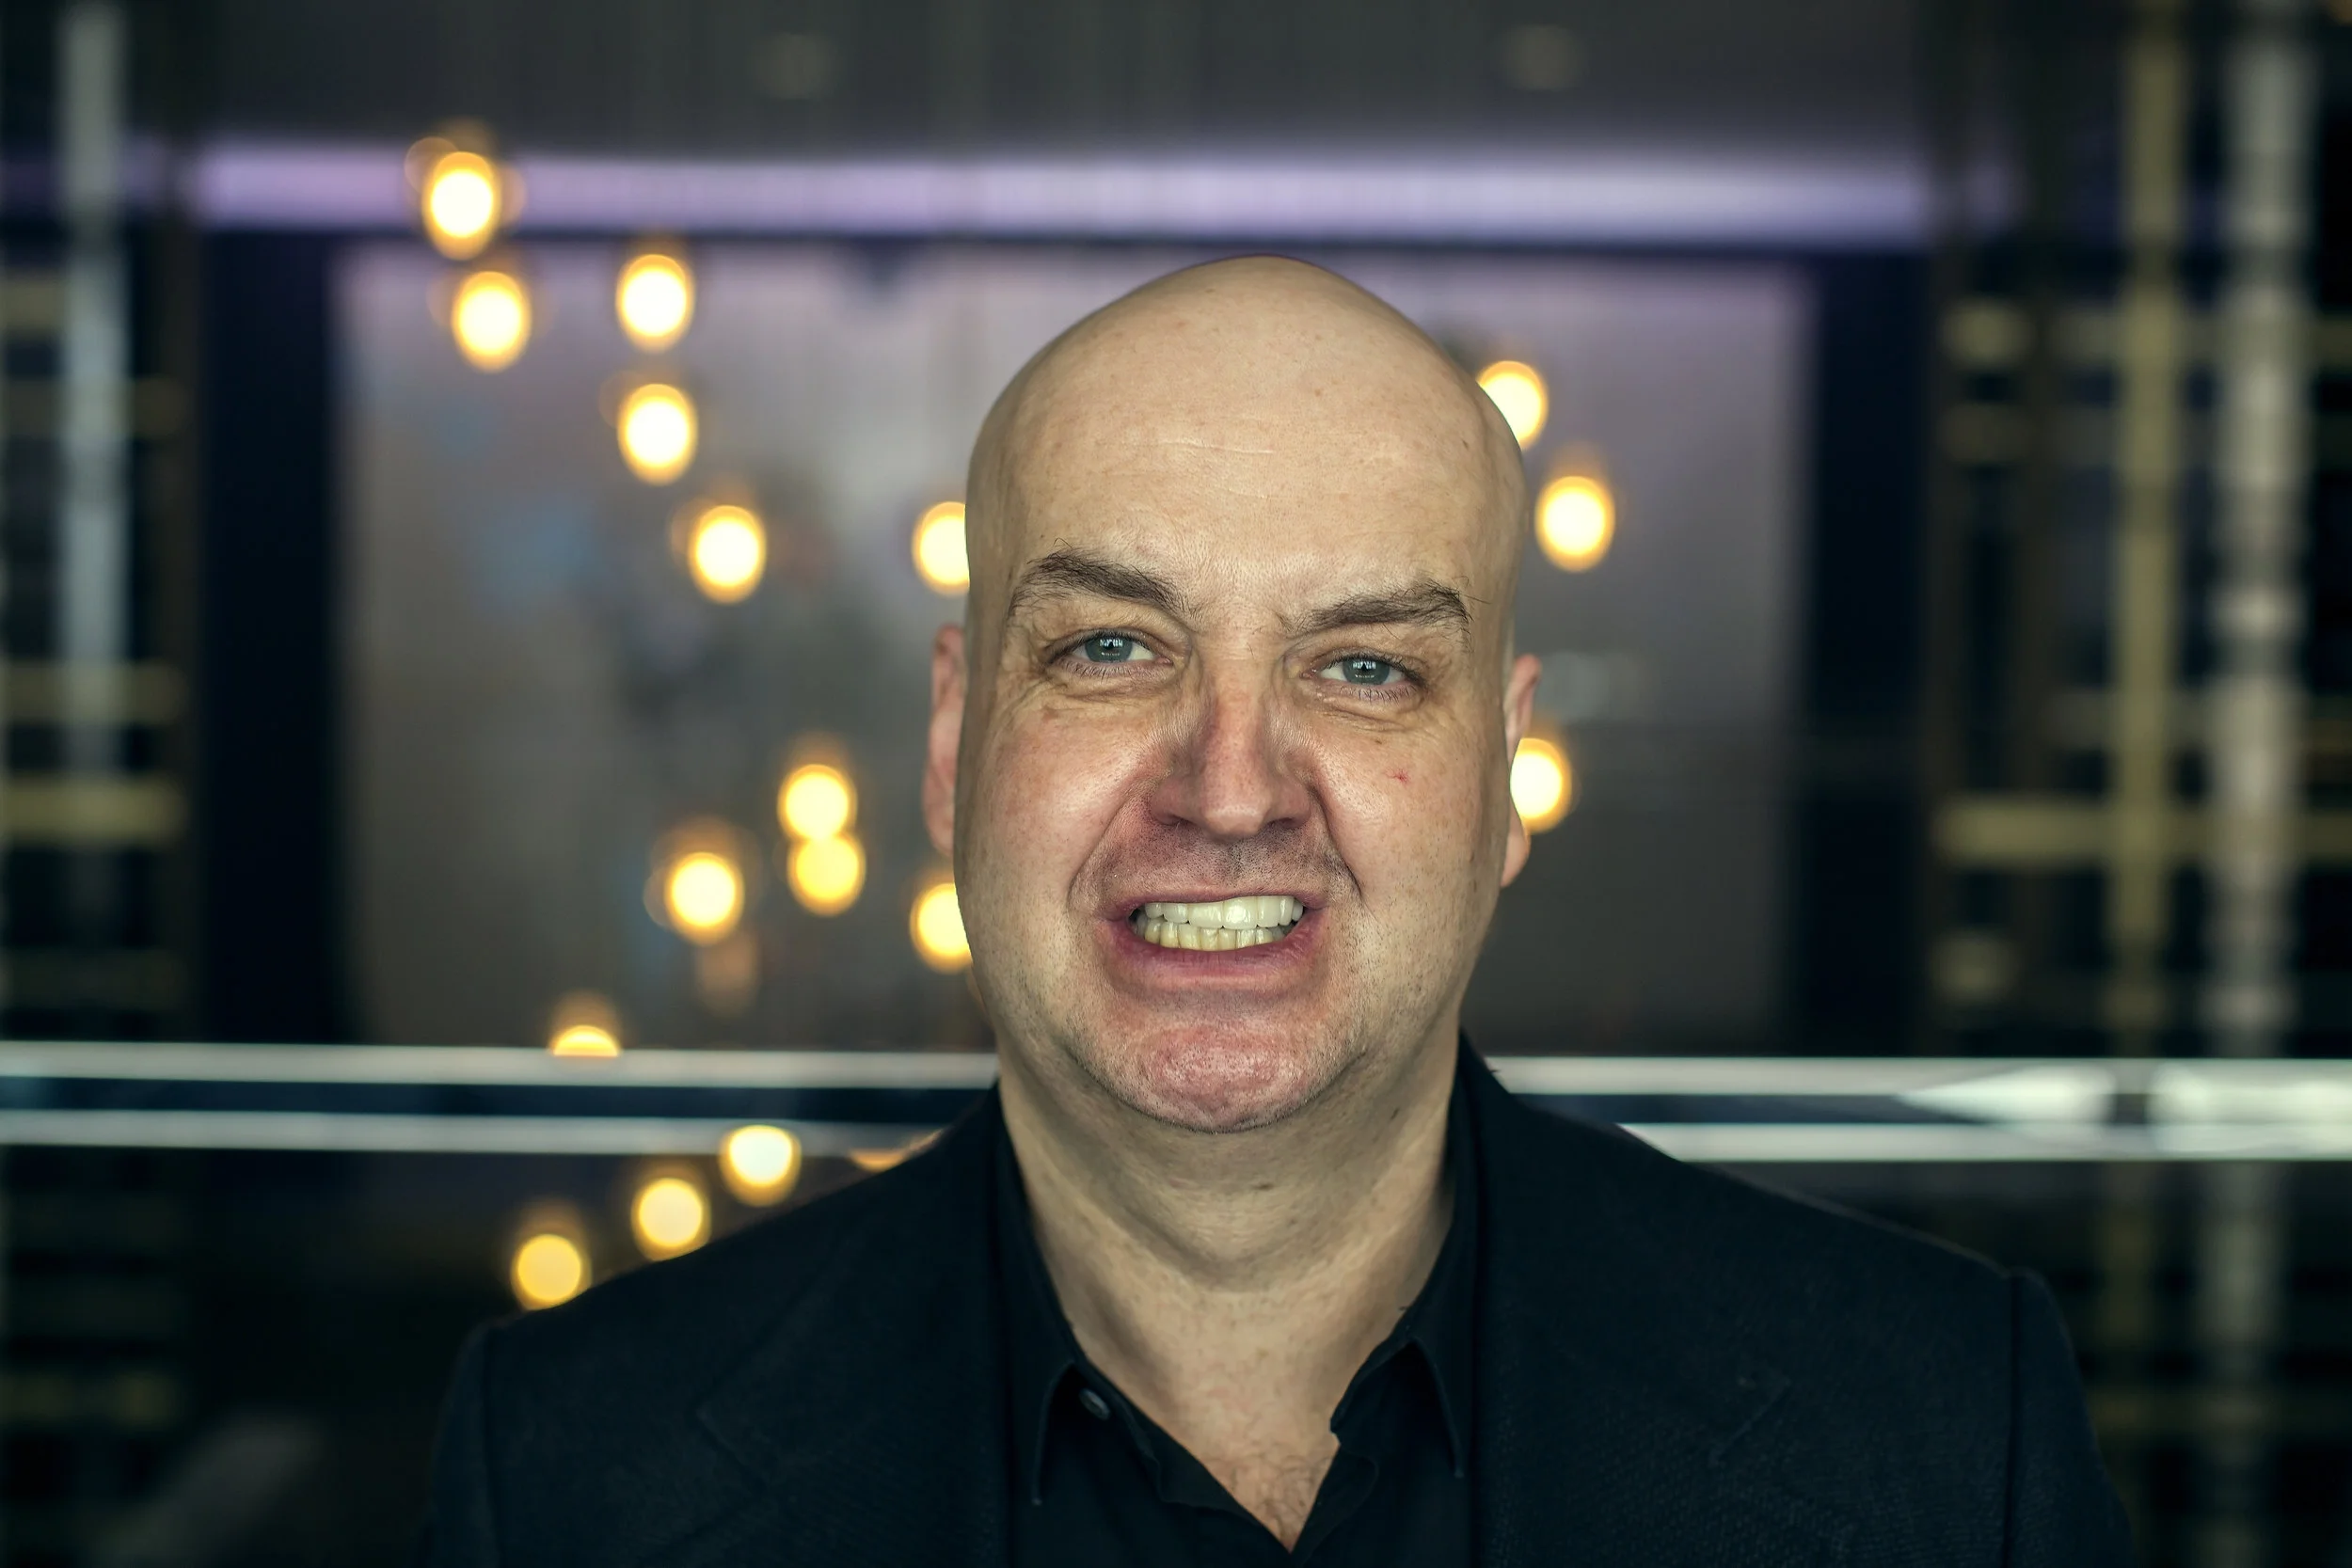
Shape - C - as in “Cheese”
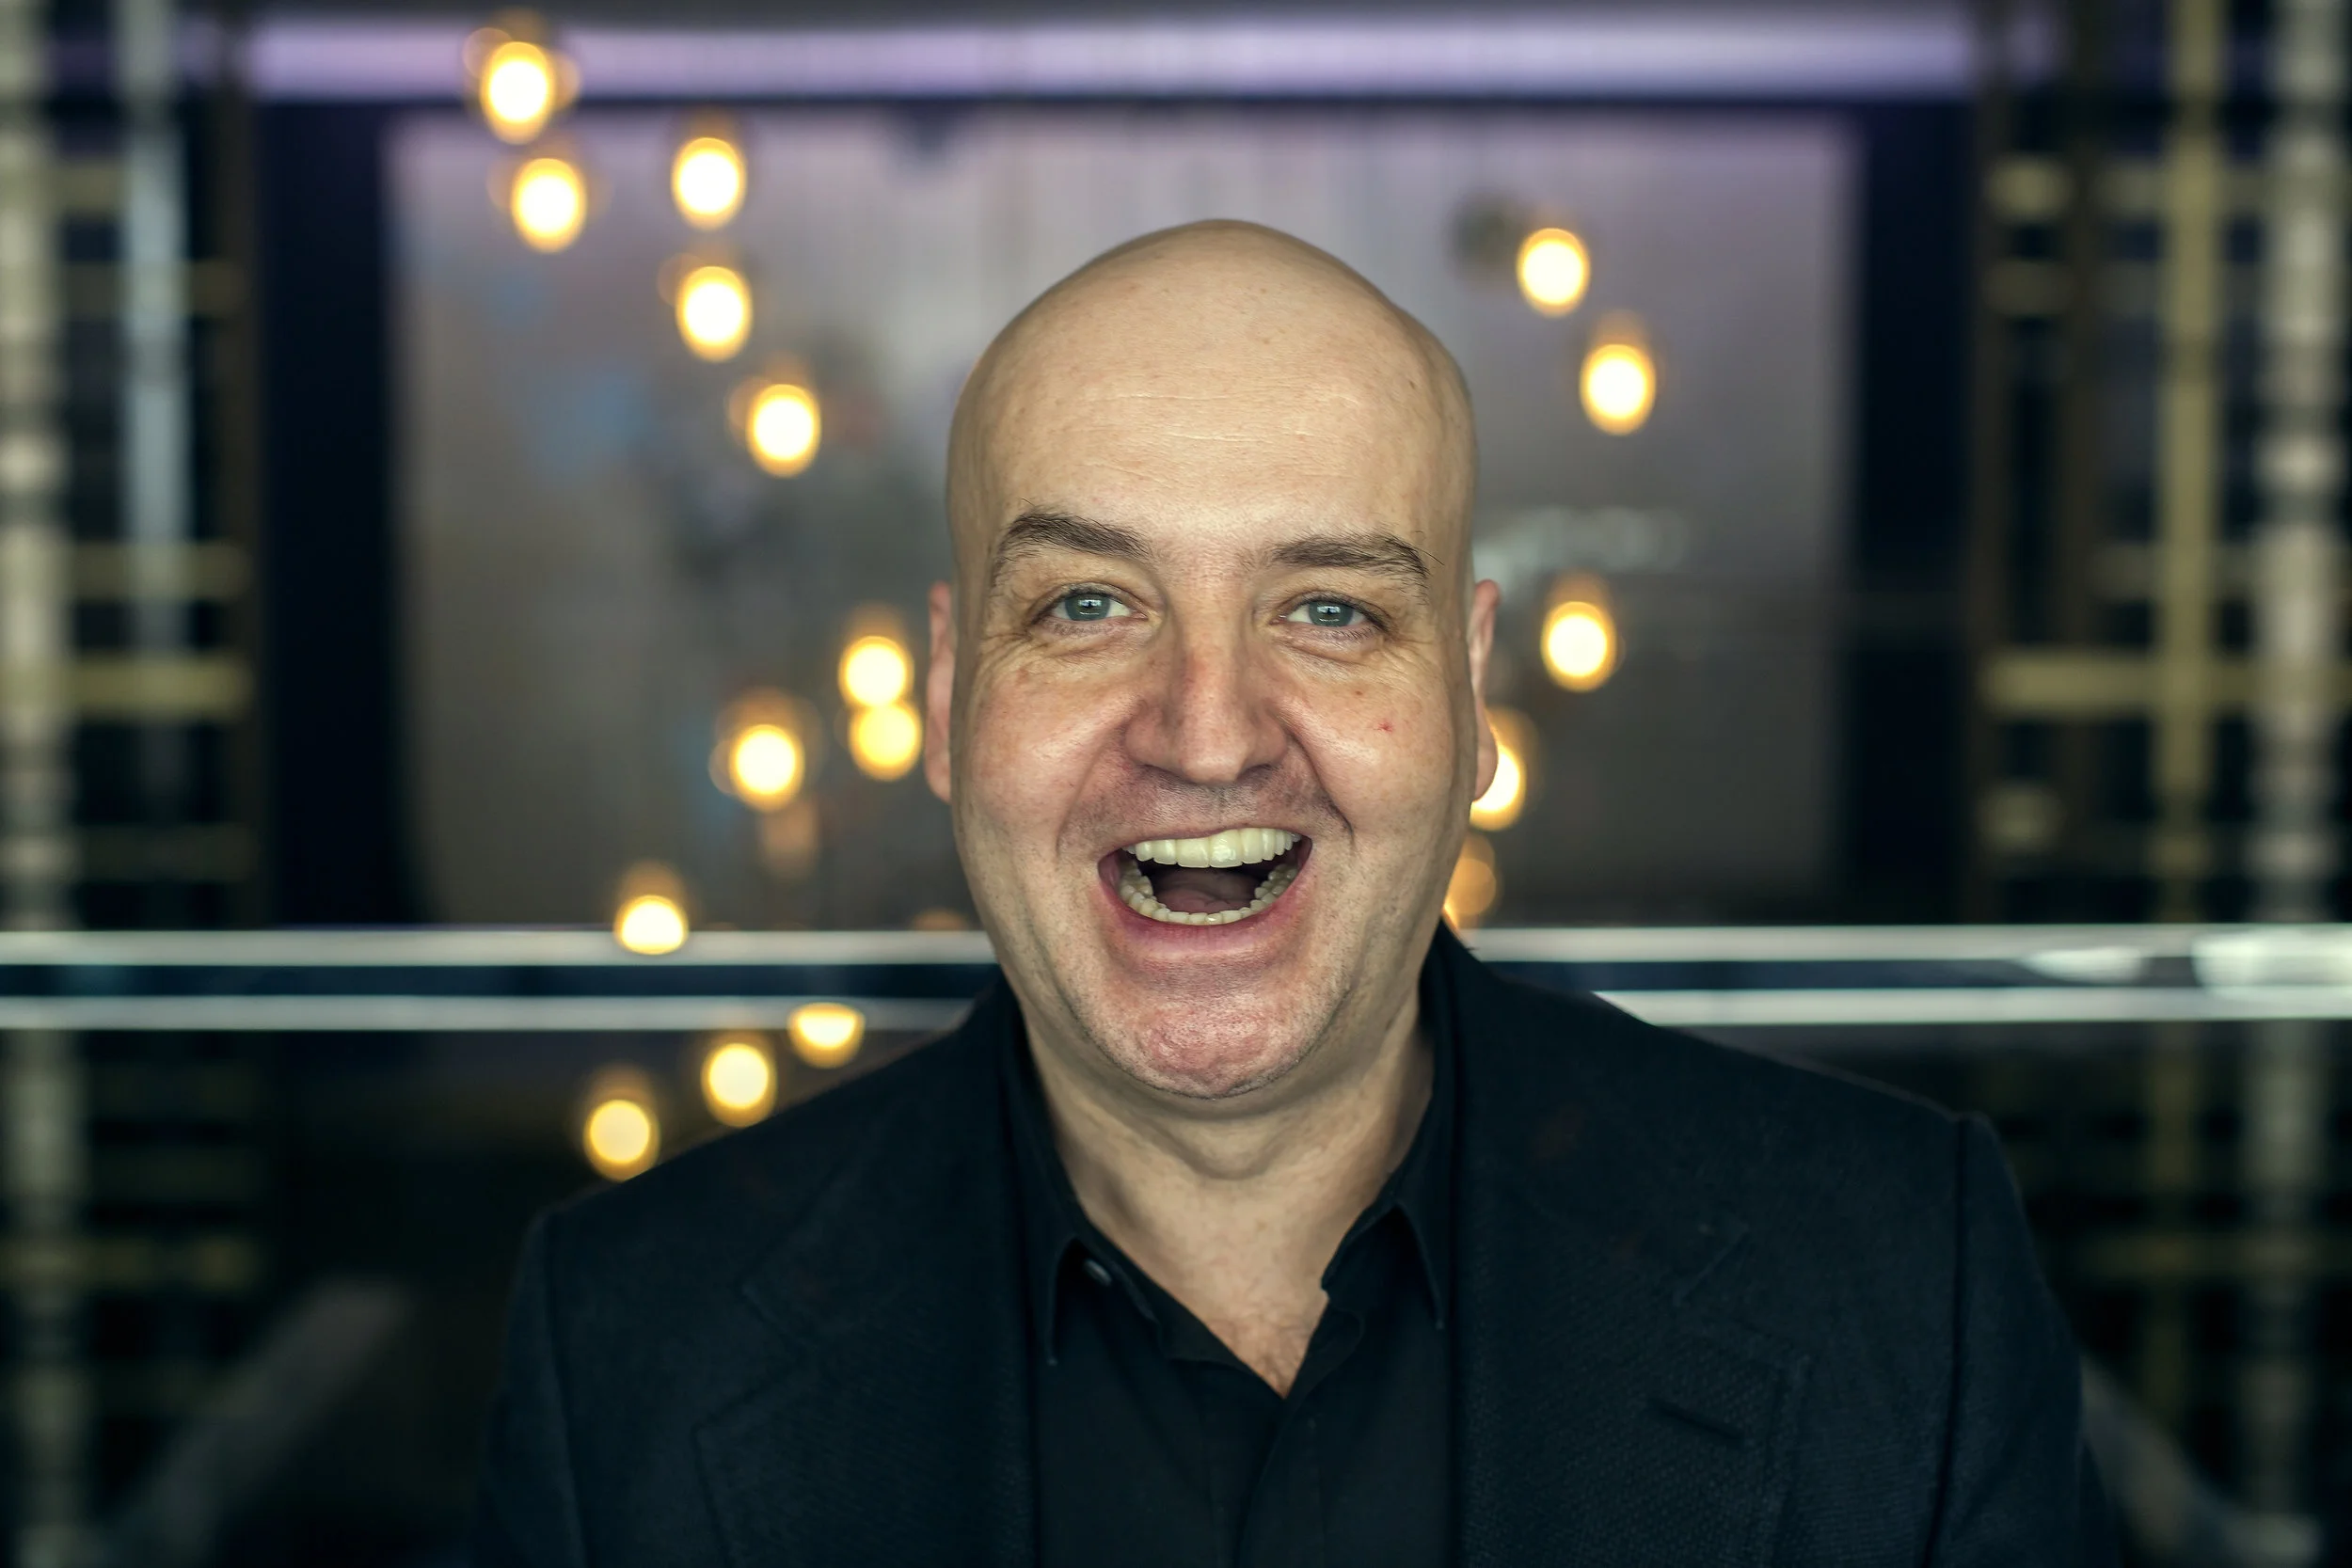
Expression - Giant Smile, Lips Open
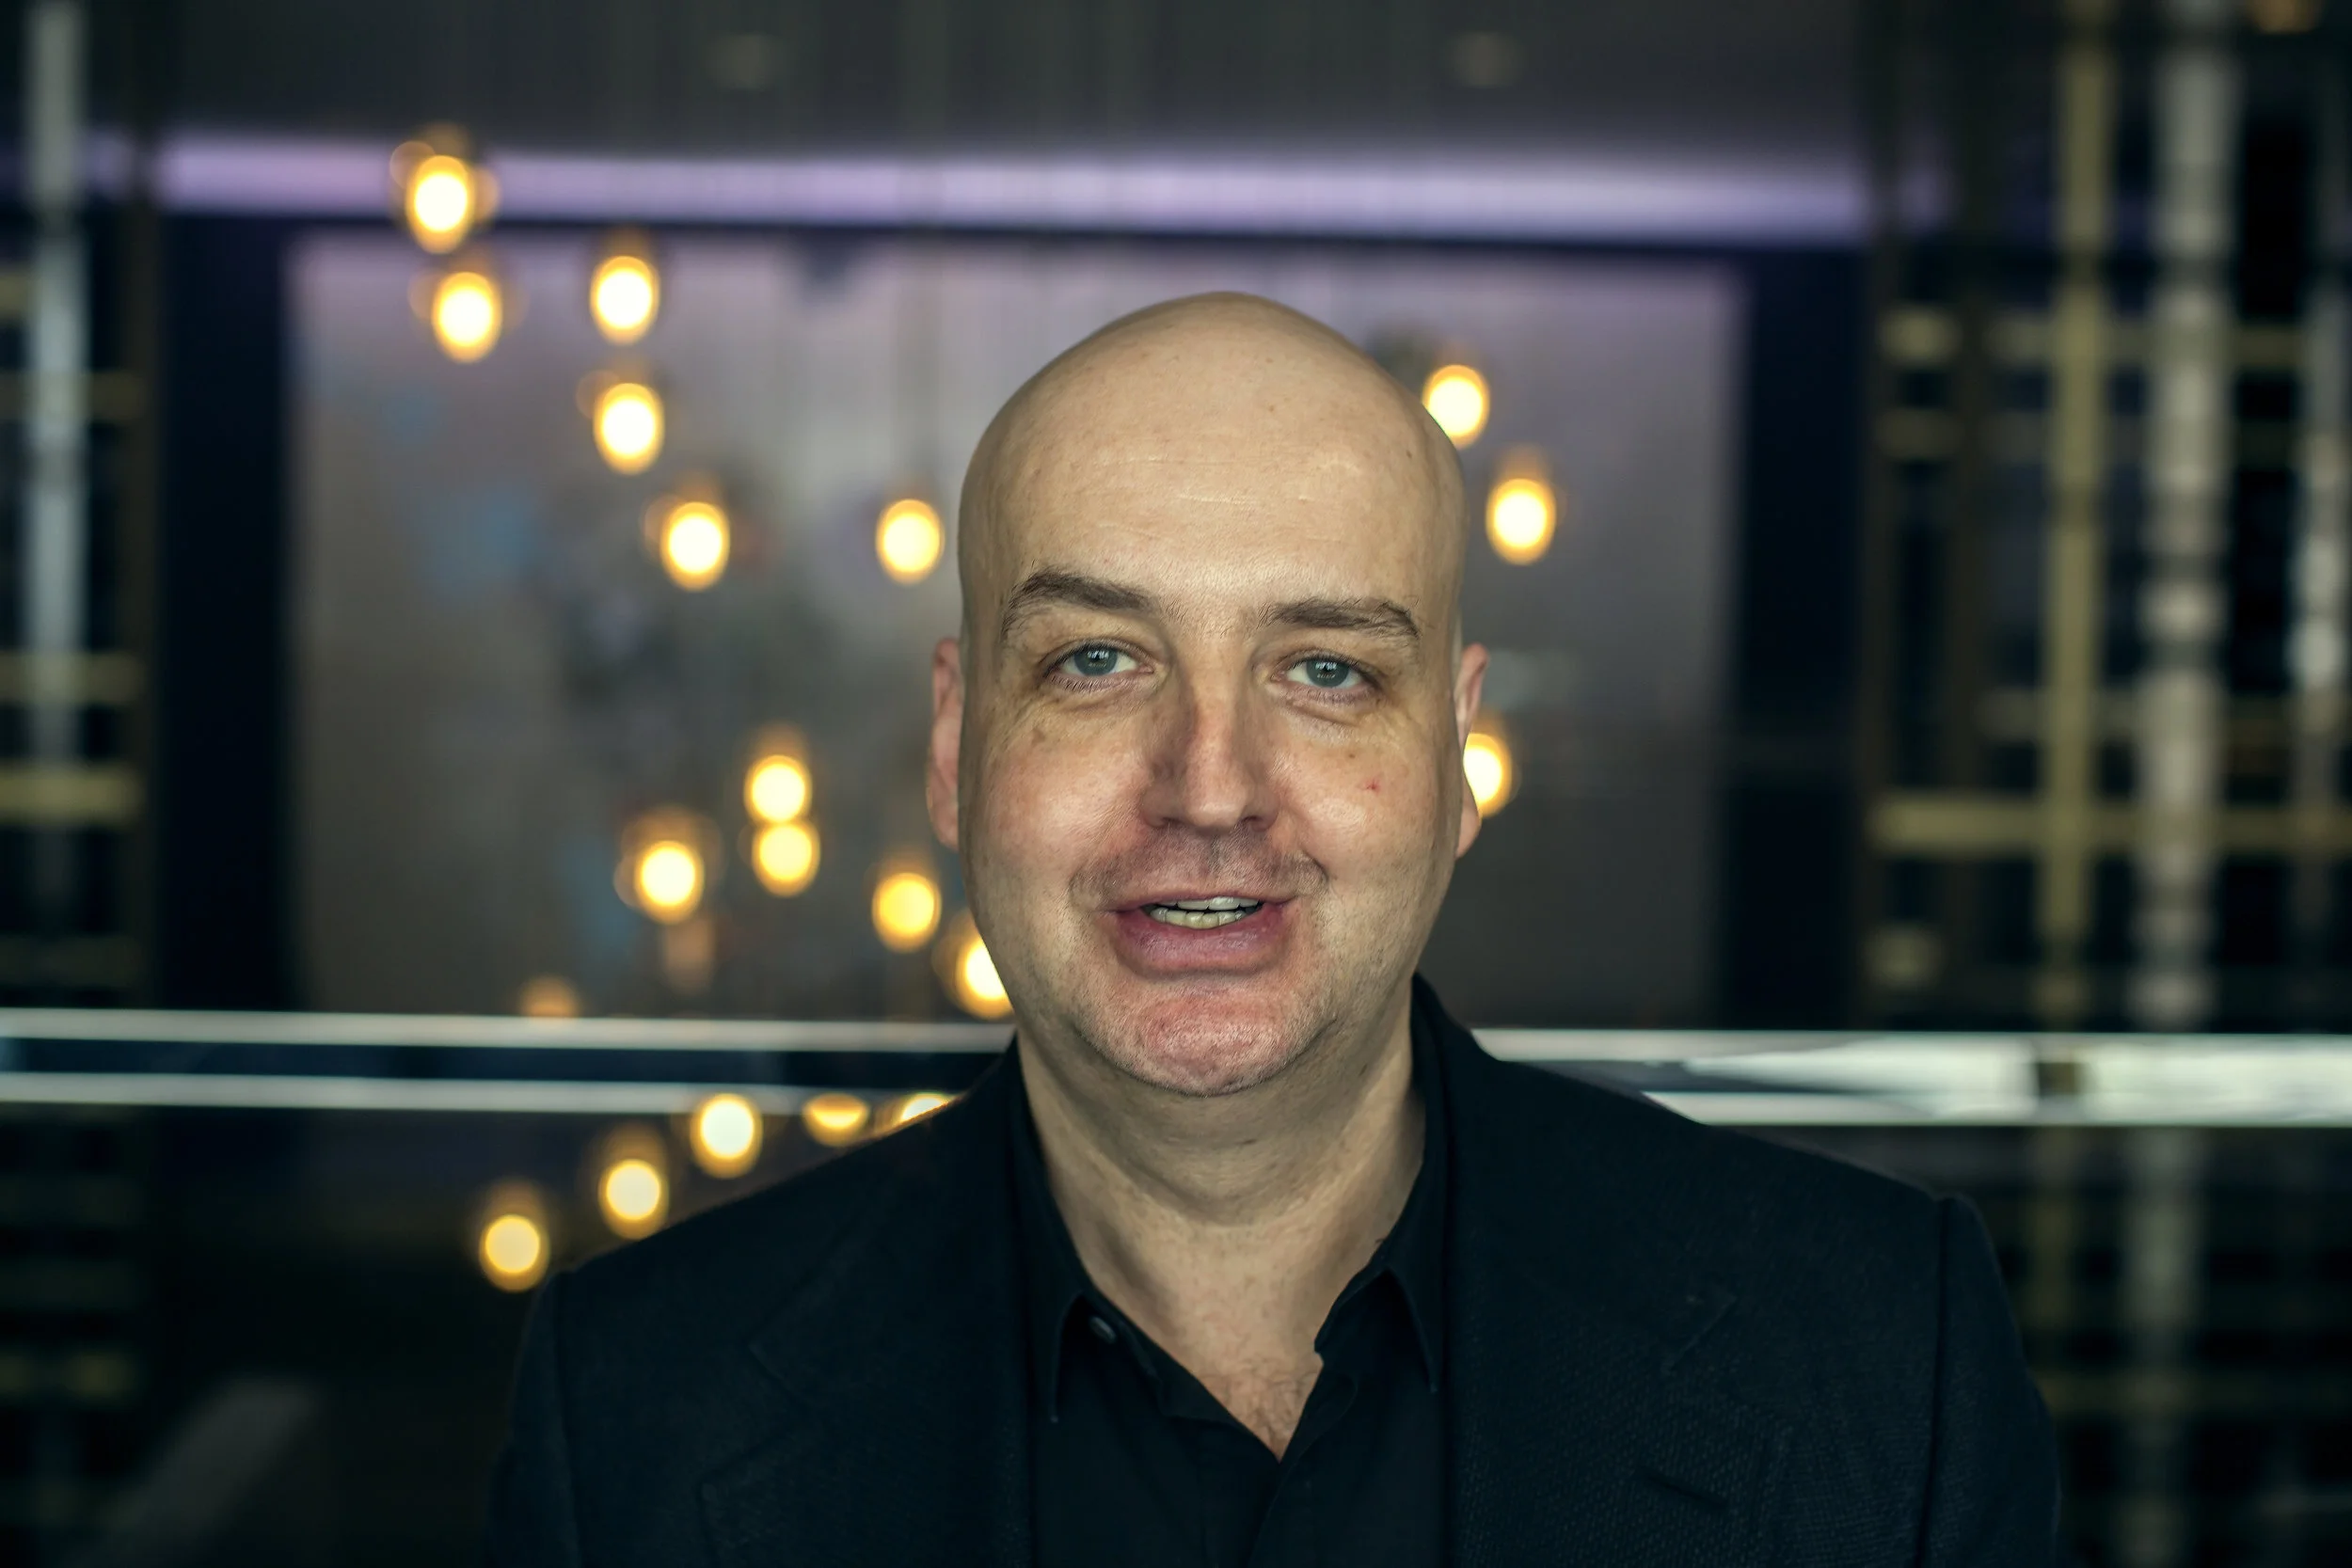
Expression - Smirk Smile, Lips Closed
Expression - Happy / Thrilled
Expression - Disappointed
Expression - Sad
Teeth - Upper and lower
Eyes closed - for eyelids
Eyebrows up - to capture forehead wrinkles
Eye squint - to capture ‘crow’s feet’
General Full Subject Capture (Subject should be in a rest pose)
Front and center - neutral
Front and center - subject’s chin up
From the left (Move the camera, not the subject)
From the right (Move the camera, not the subject)


Capture 3D Mesh
Using our 3D scanner, take a 3D scan of the subject from several angles, if time permits.
A single frontal shot can be sufficient, but multiple angles can be beneficial as well.
If you’re able to take multiple scans, make sure the subject has the same expression in each scan. This expression should be similar to the expression used for the RGB high res images, above.
Monty’s 3D Scan
If you have time for one 3D scan, take it from the front, like this.
If you have time to take 3 3D scans, these 3 angles are preferable
If time permits, add these 2 additional angles (Top and Bottom)
Resources & Sources
https://en.wikipedia.org/wiki/35_mm_equivalent_focal_length
https://photographylife.com/what-is-depth-of-field
https://www.bhphotovideo.com/explora/photography/tips-and-solutions/understanding-crop-factor