Markiplier Capture Notes

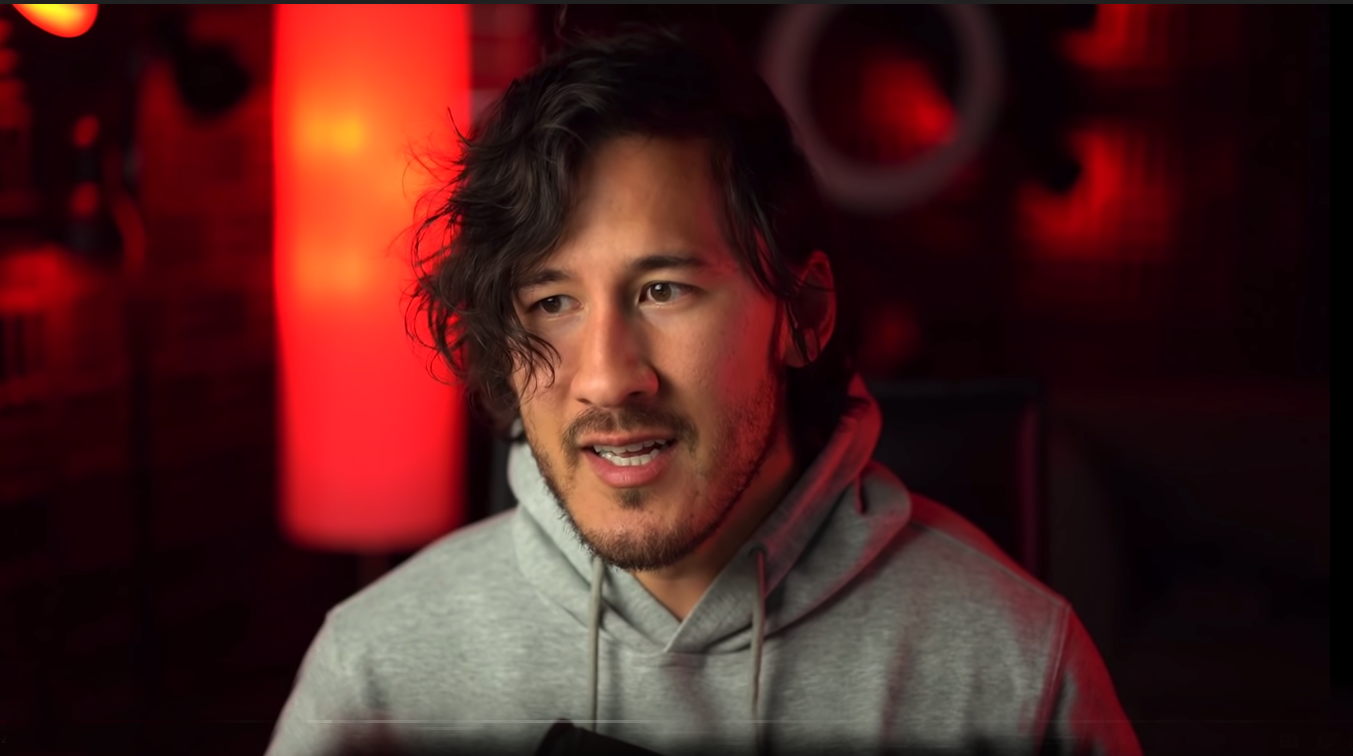
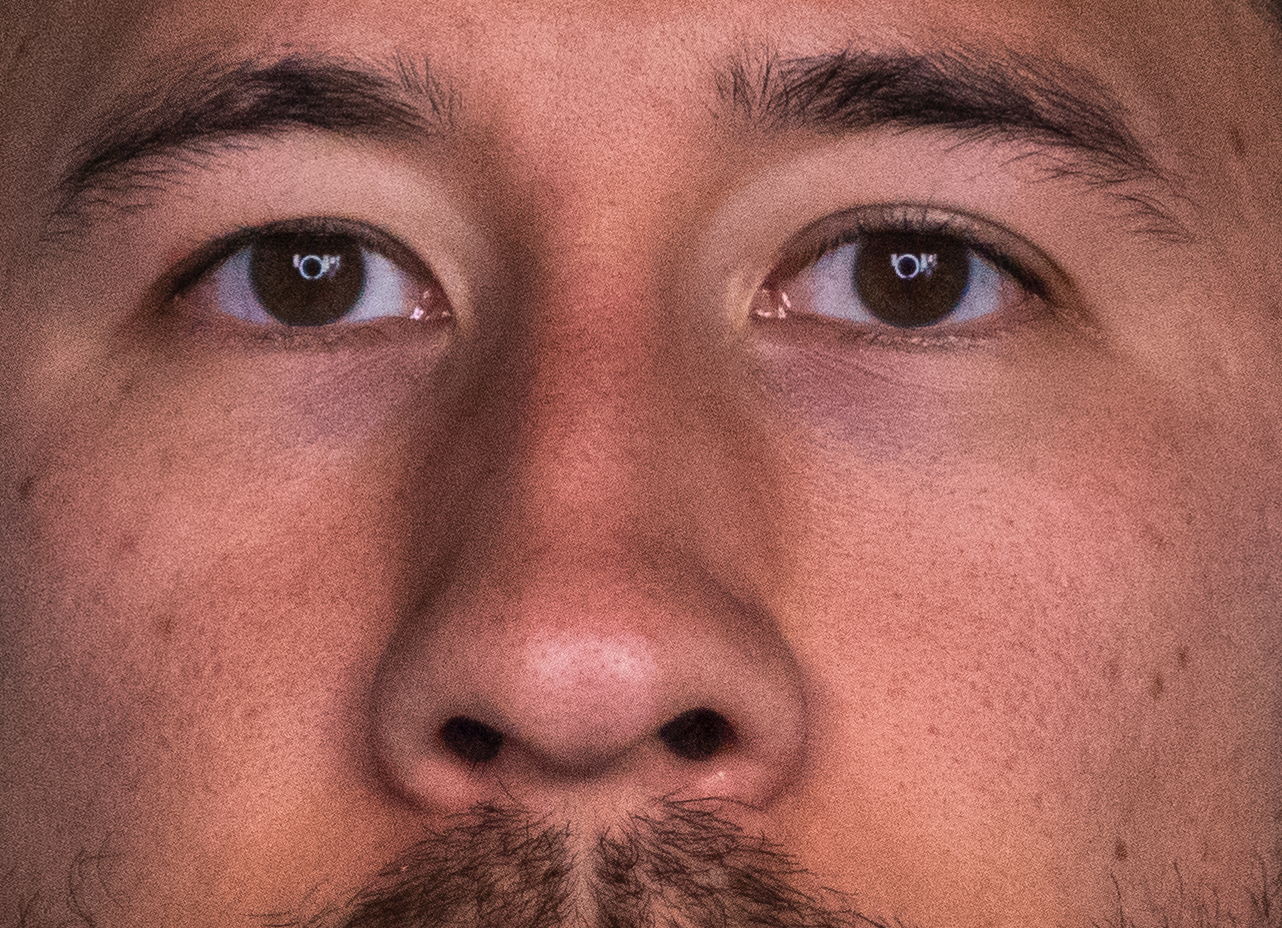
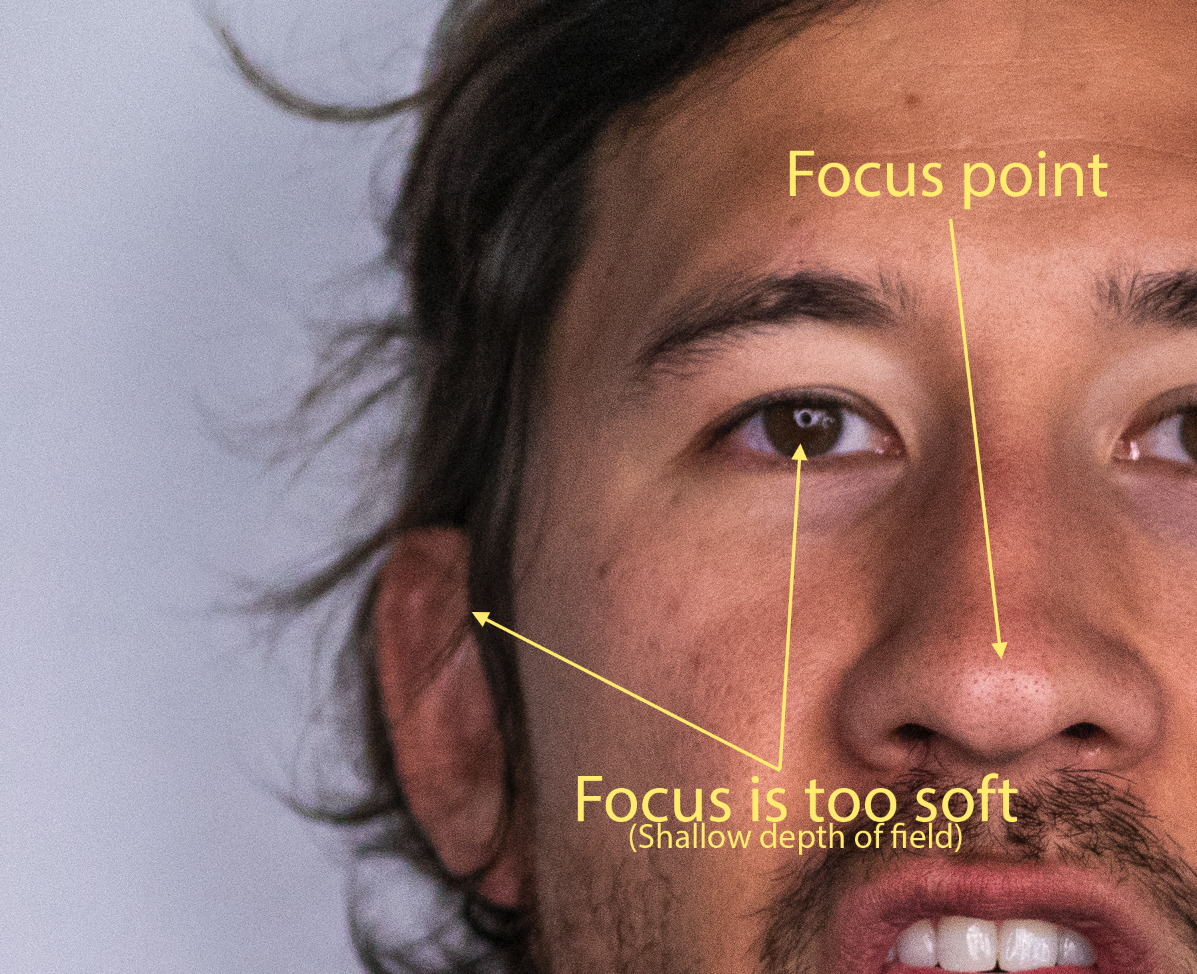
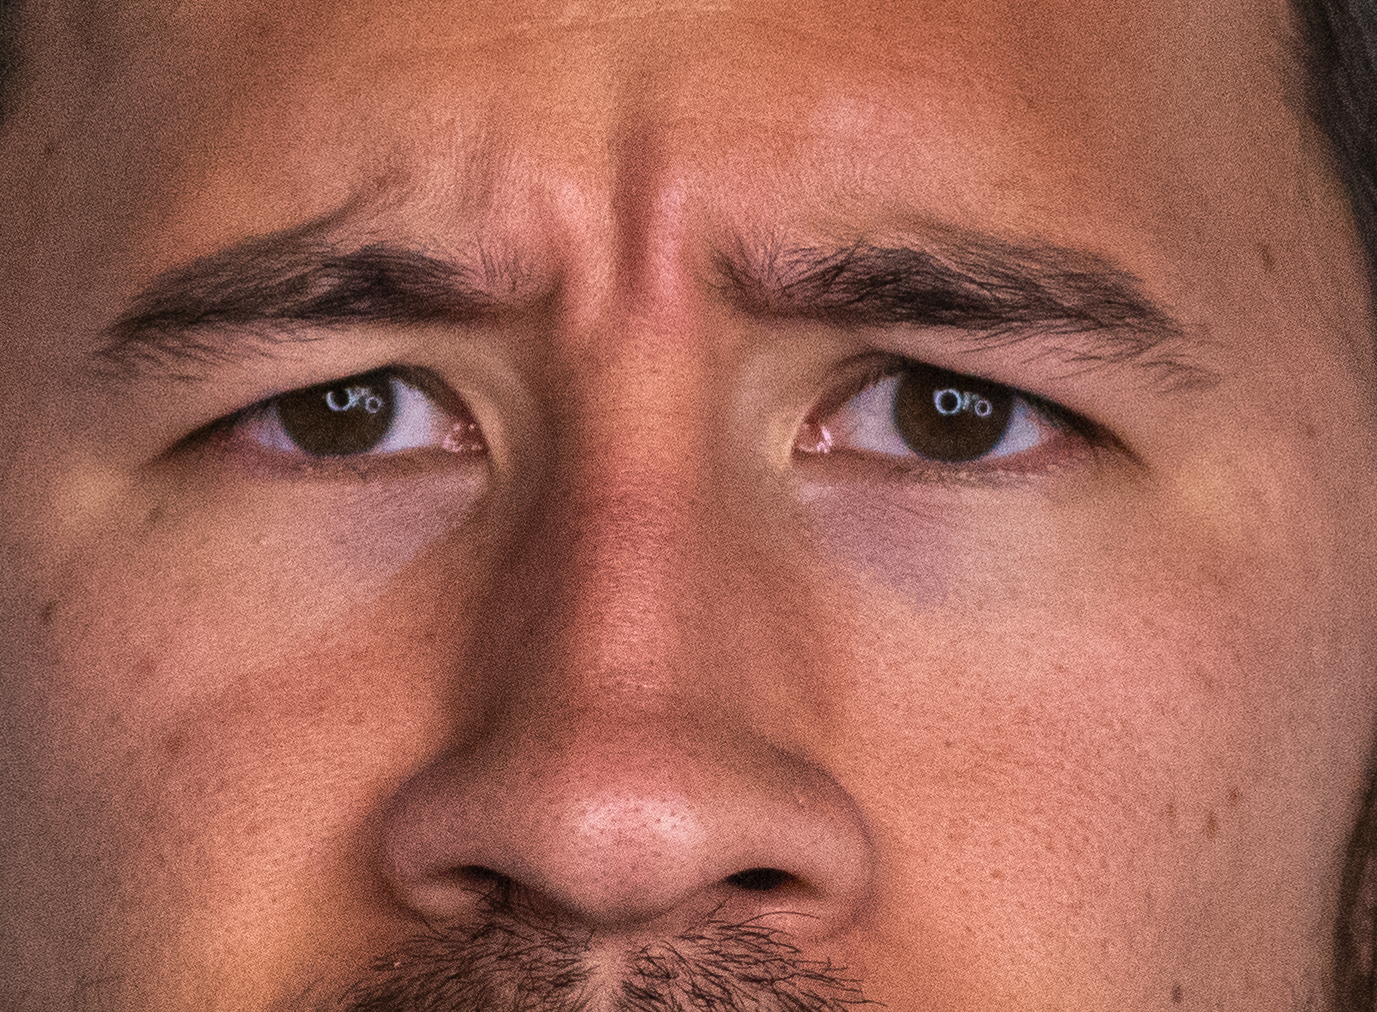
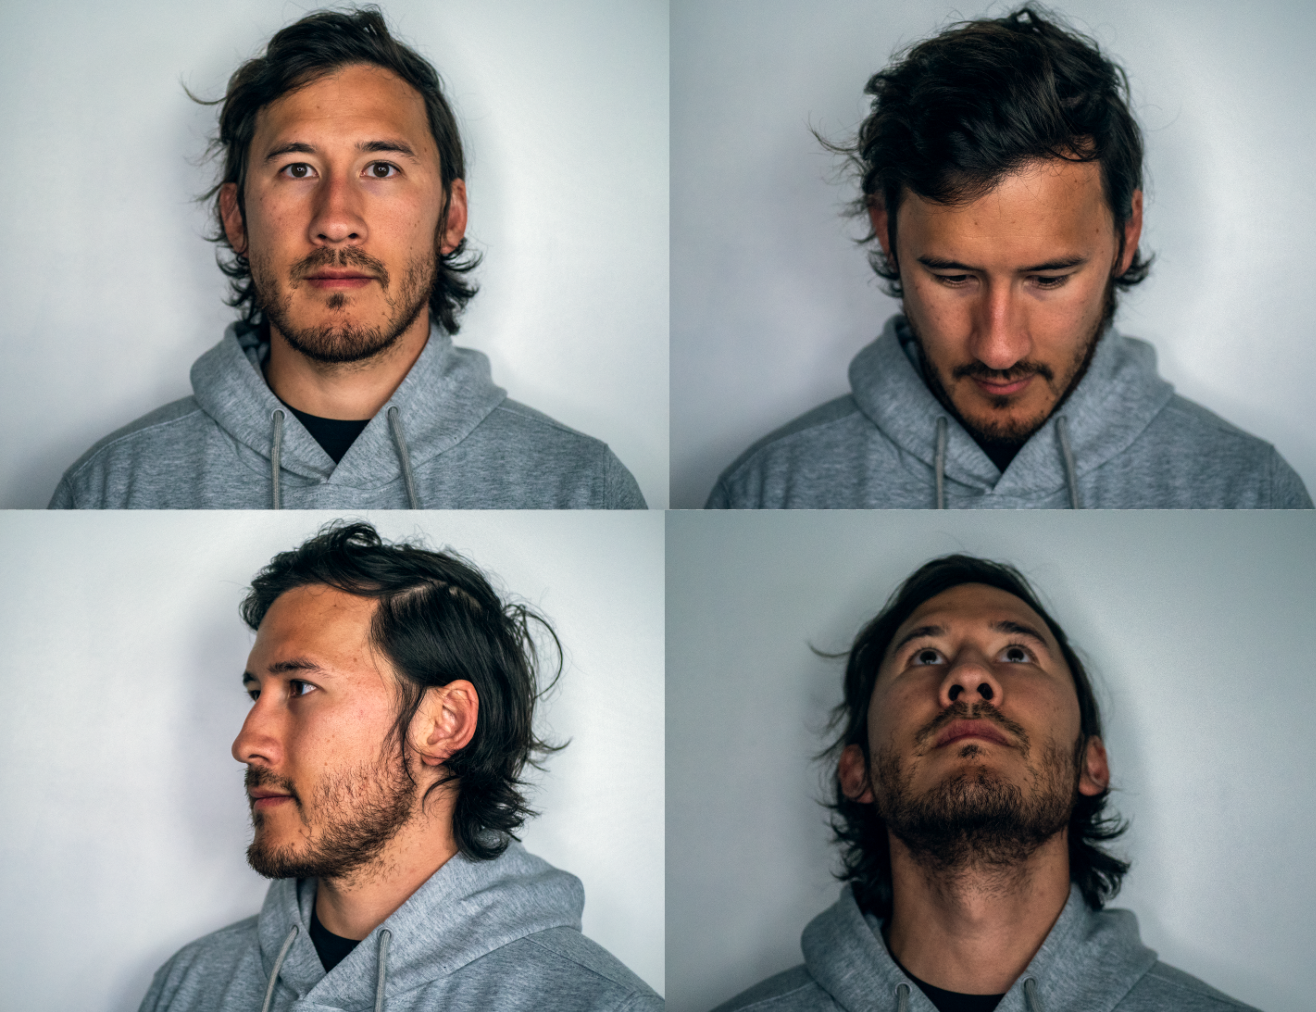
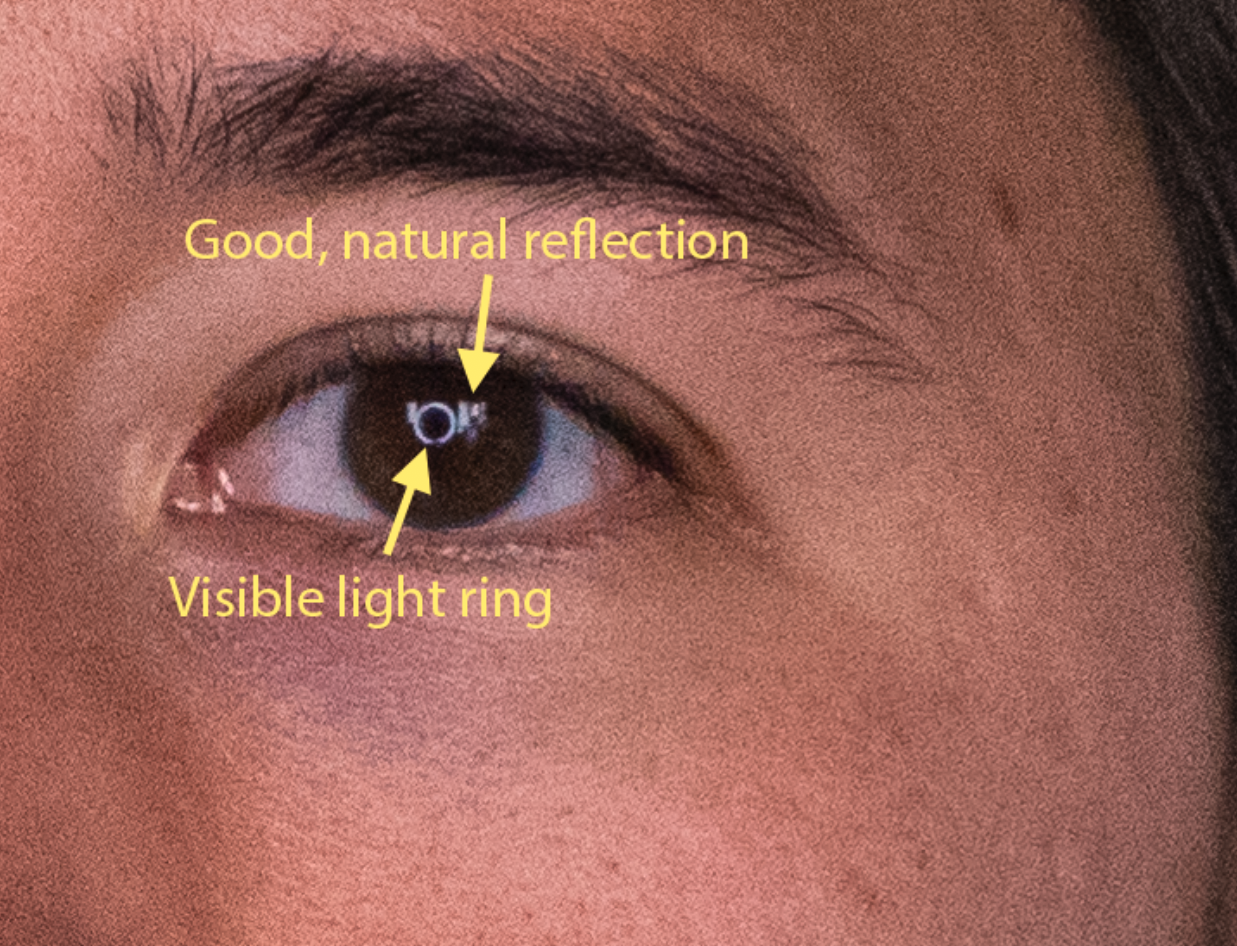
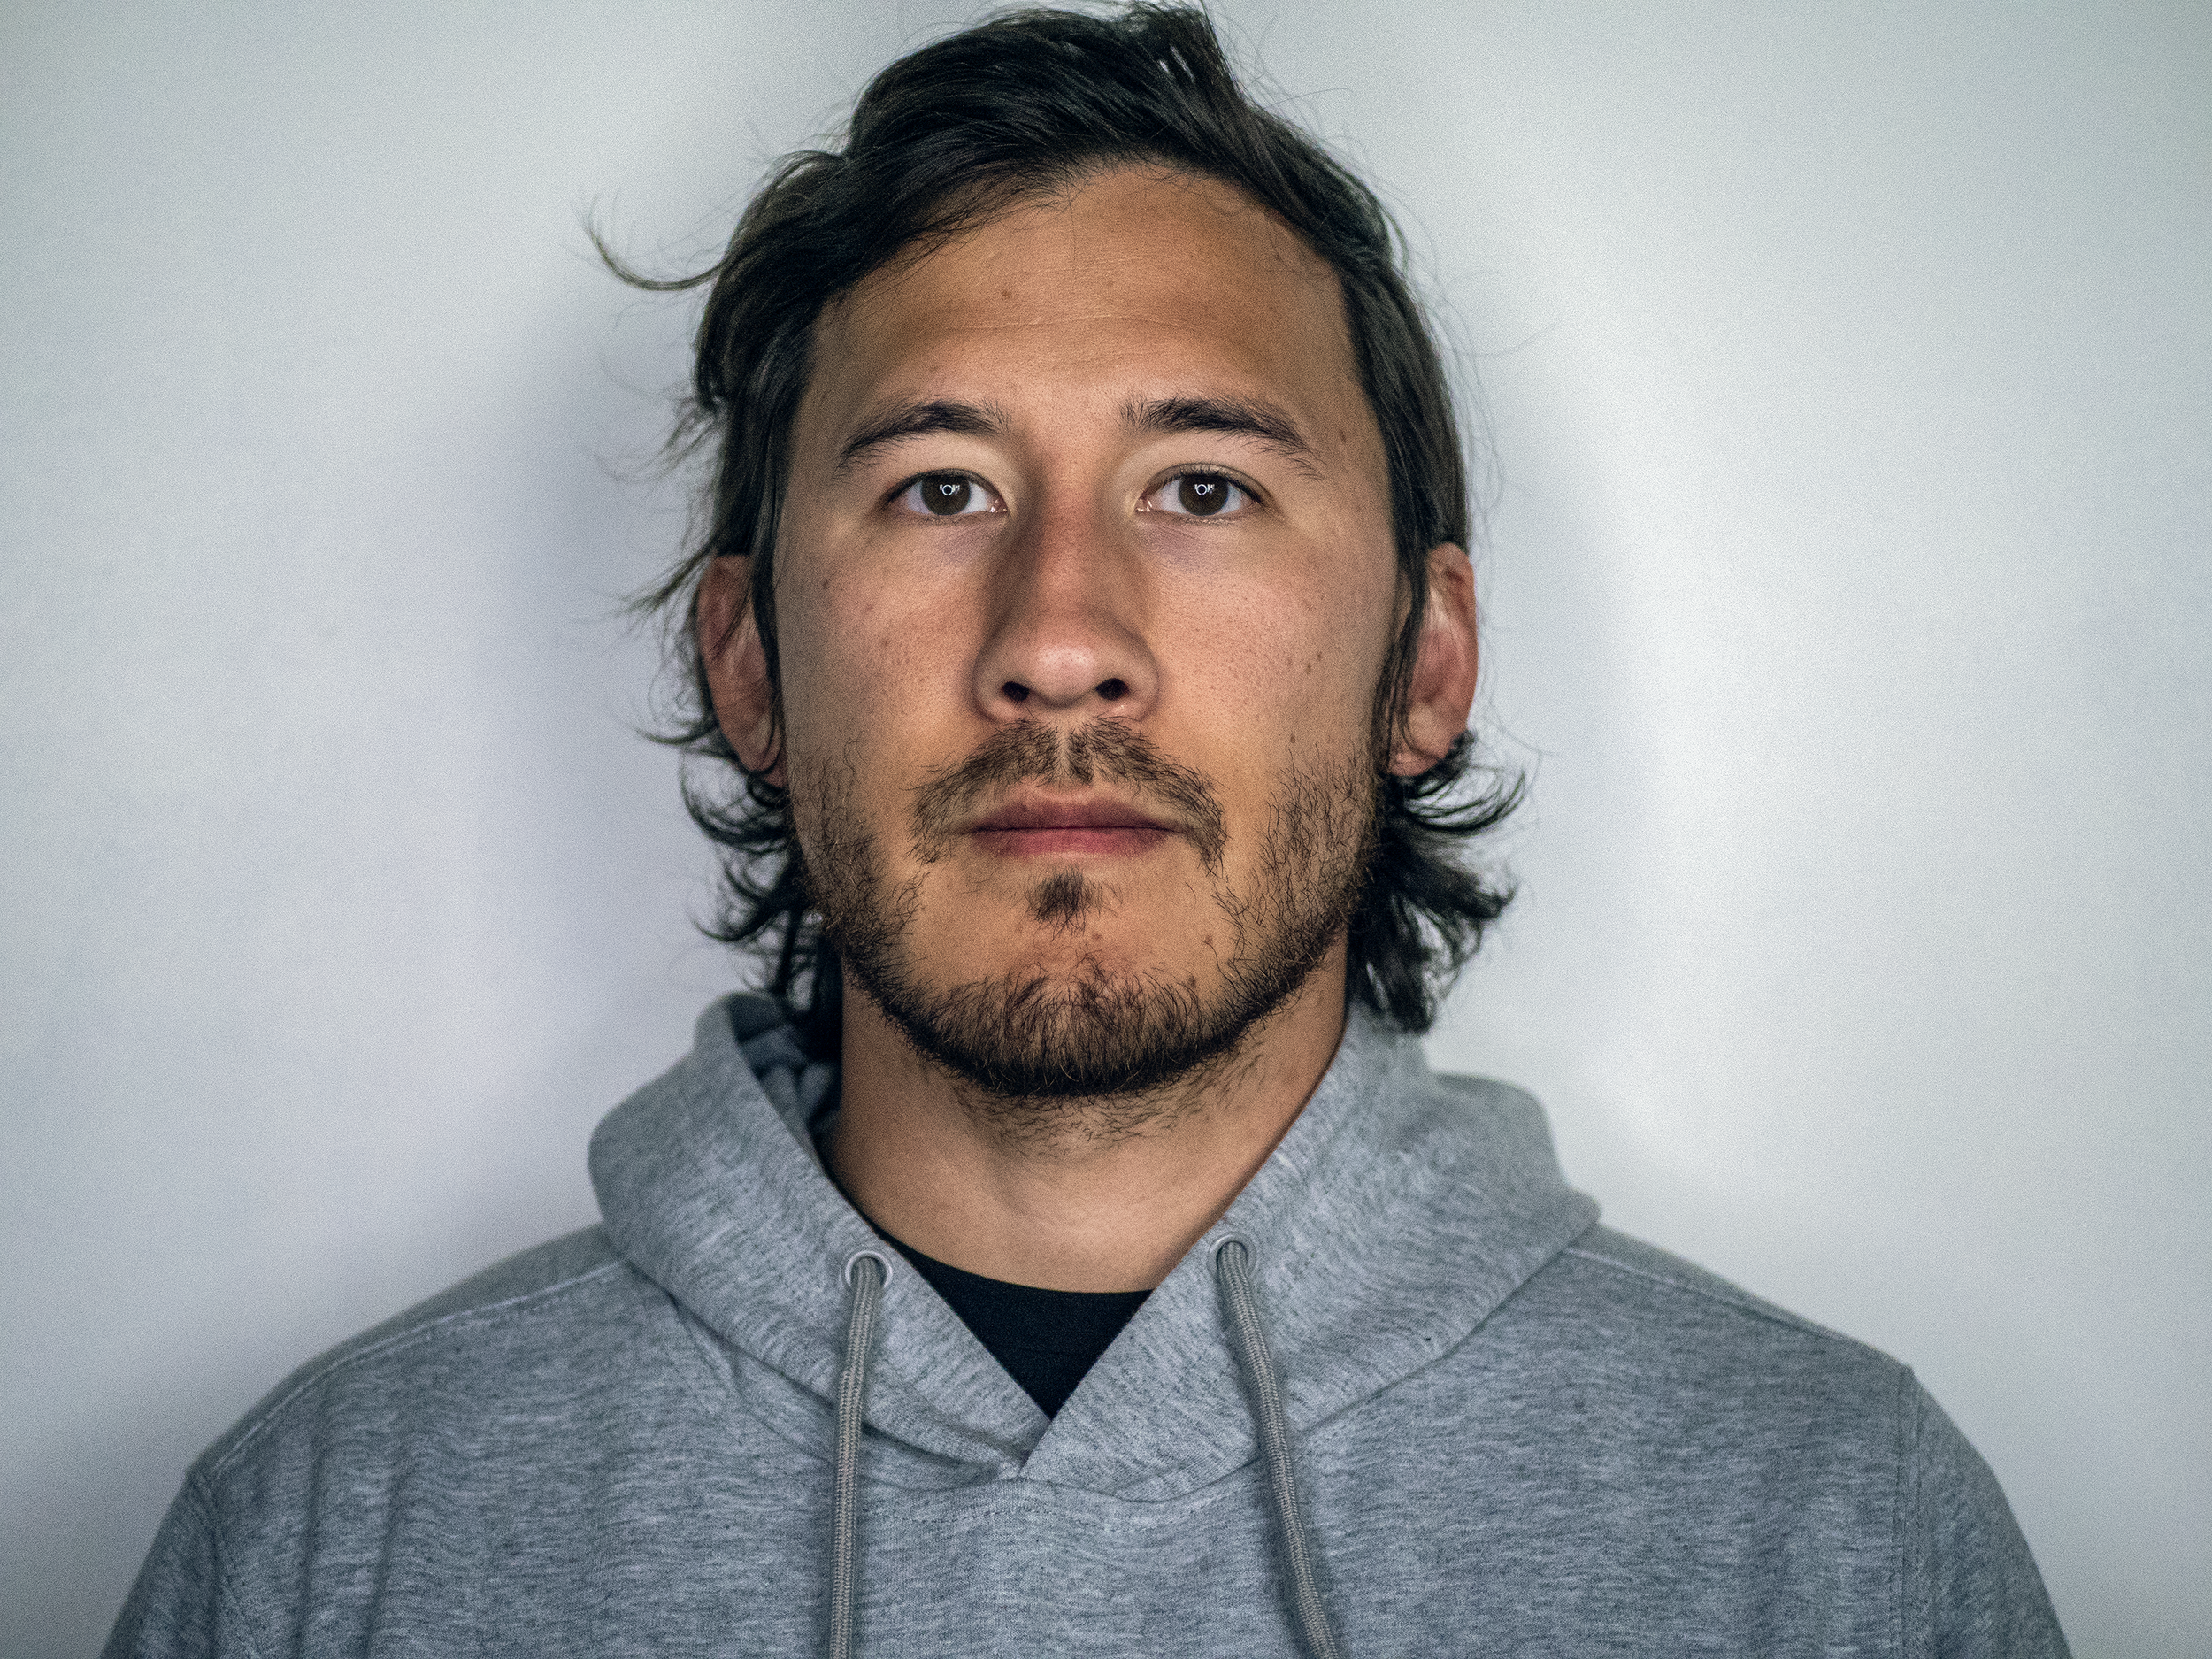
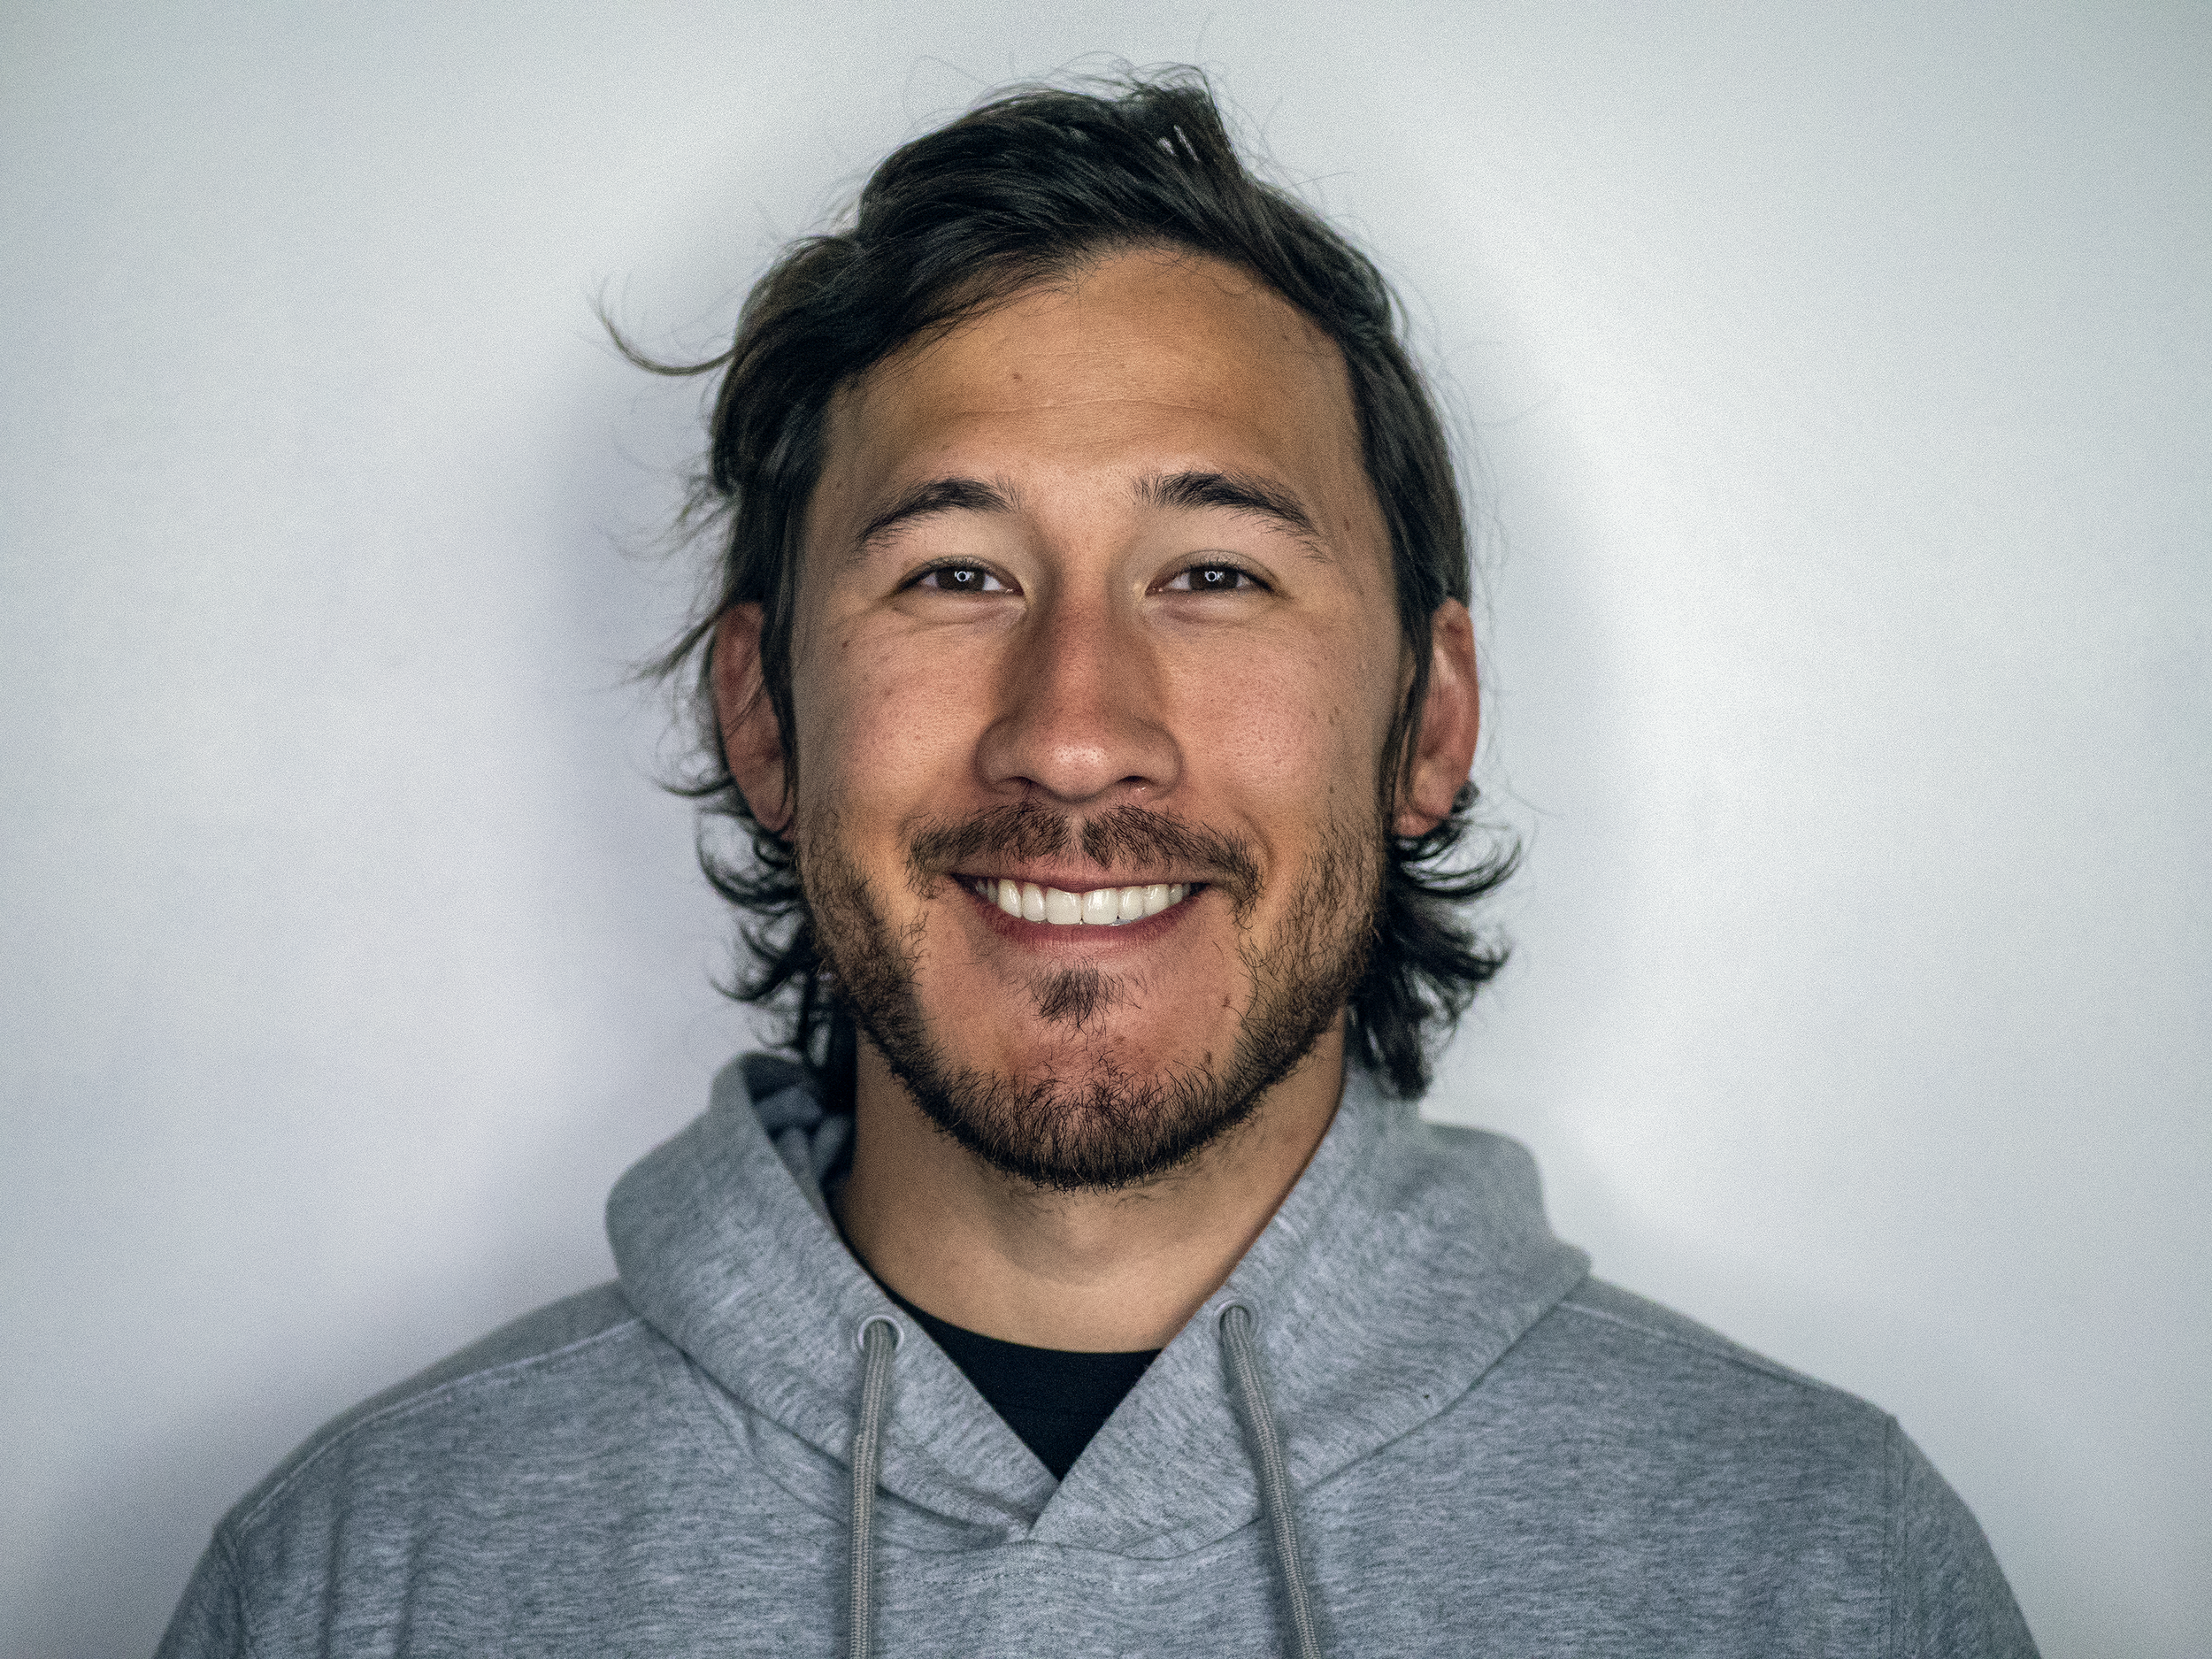
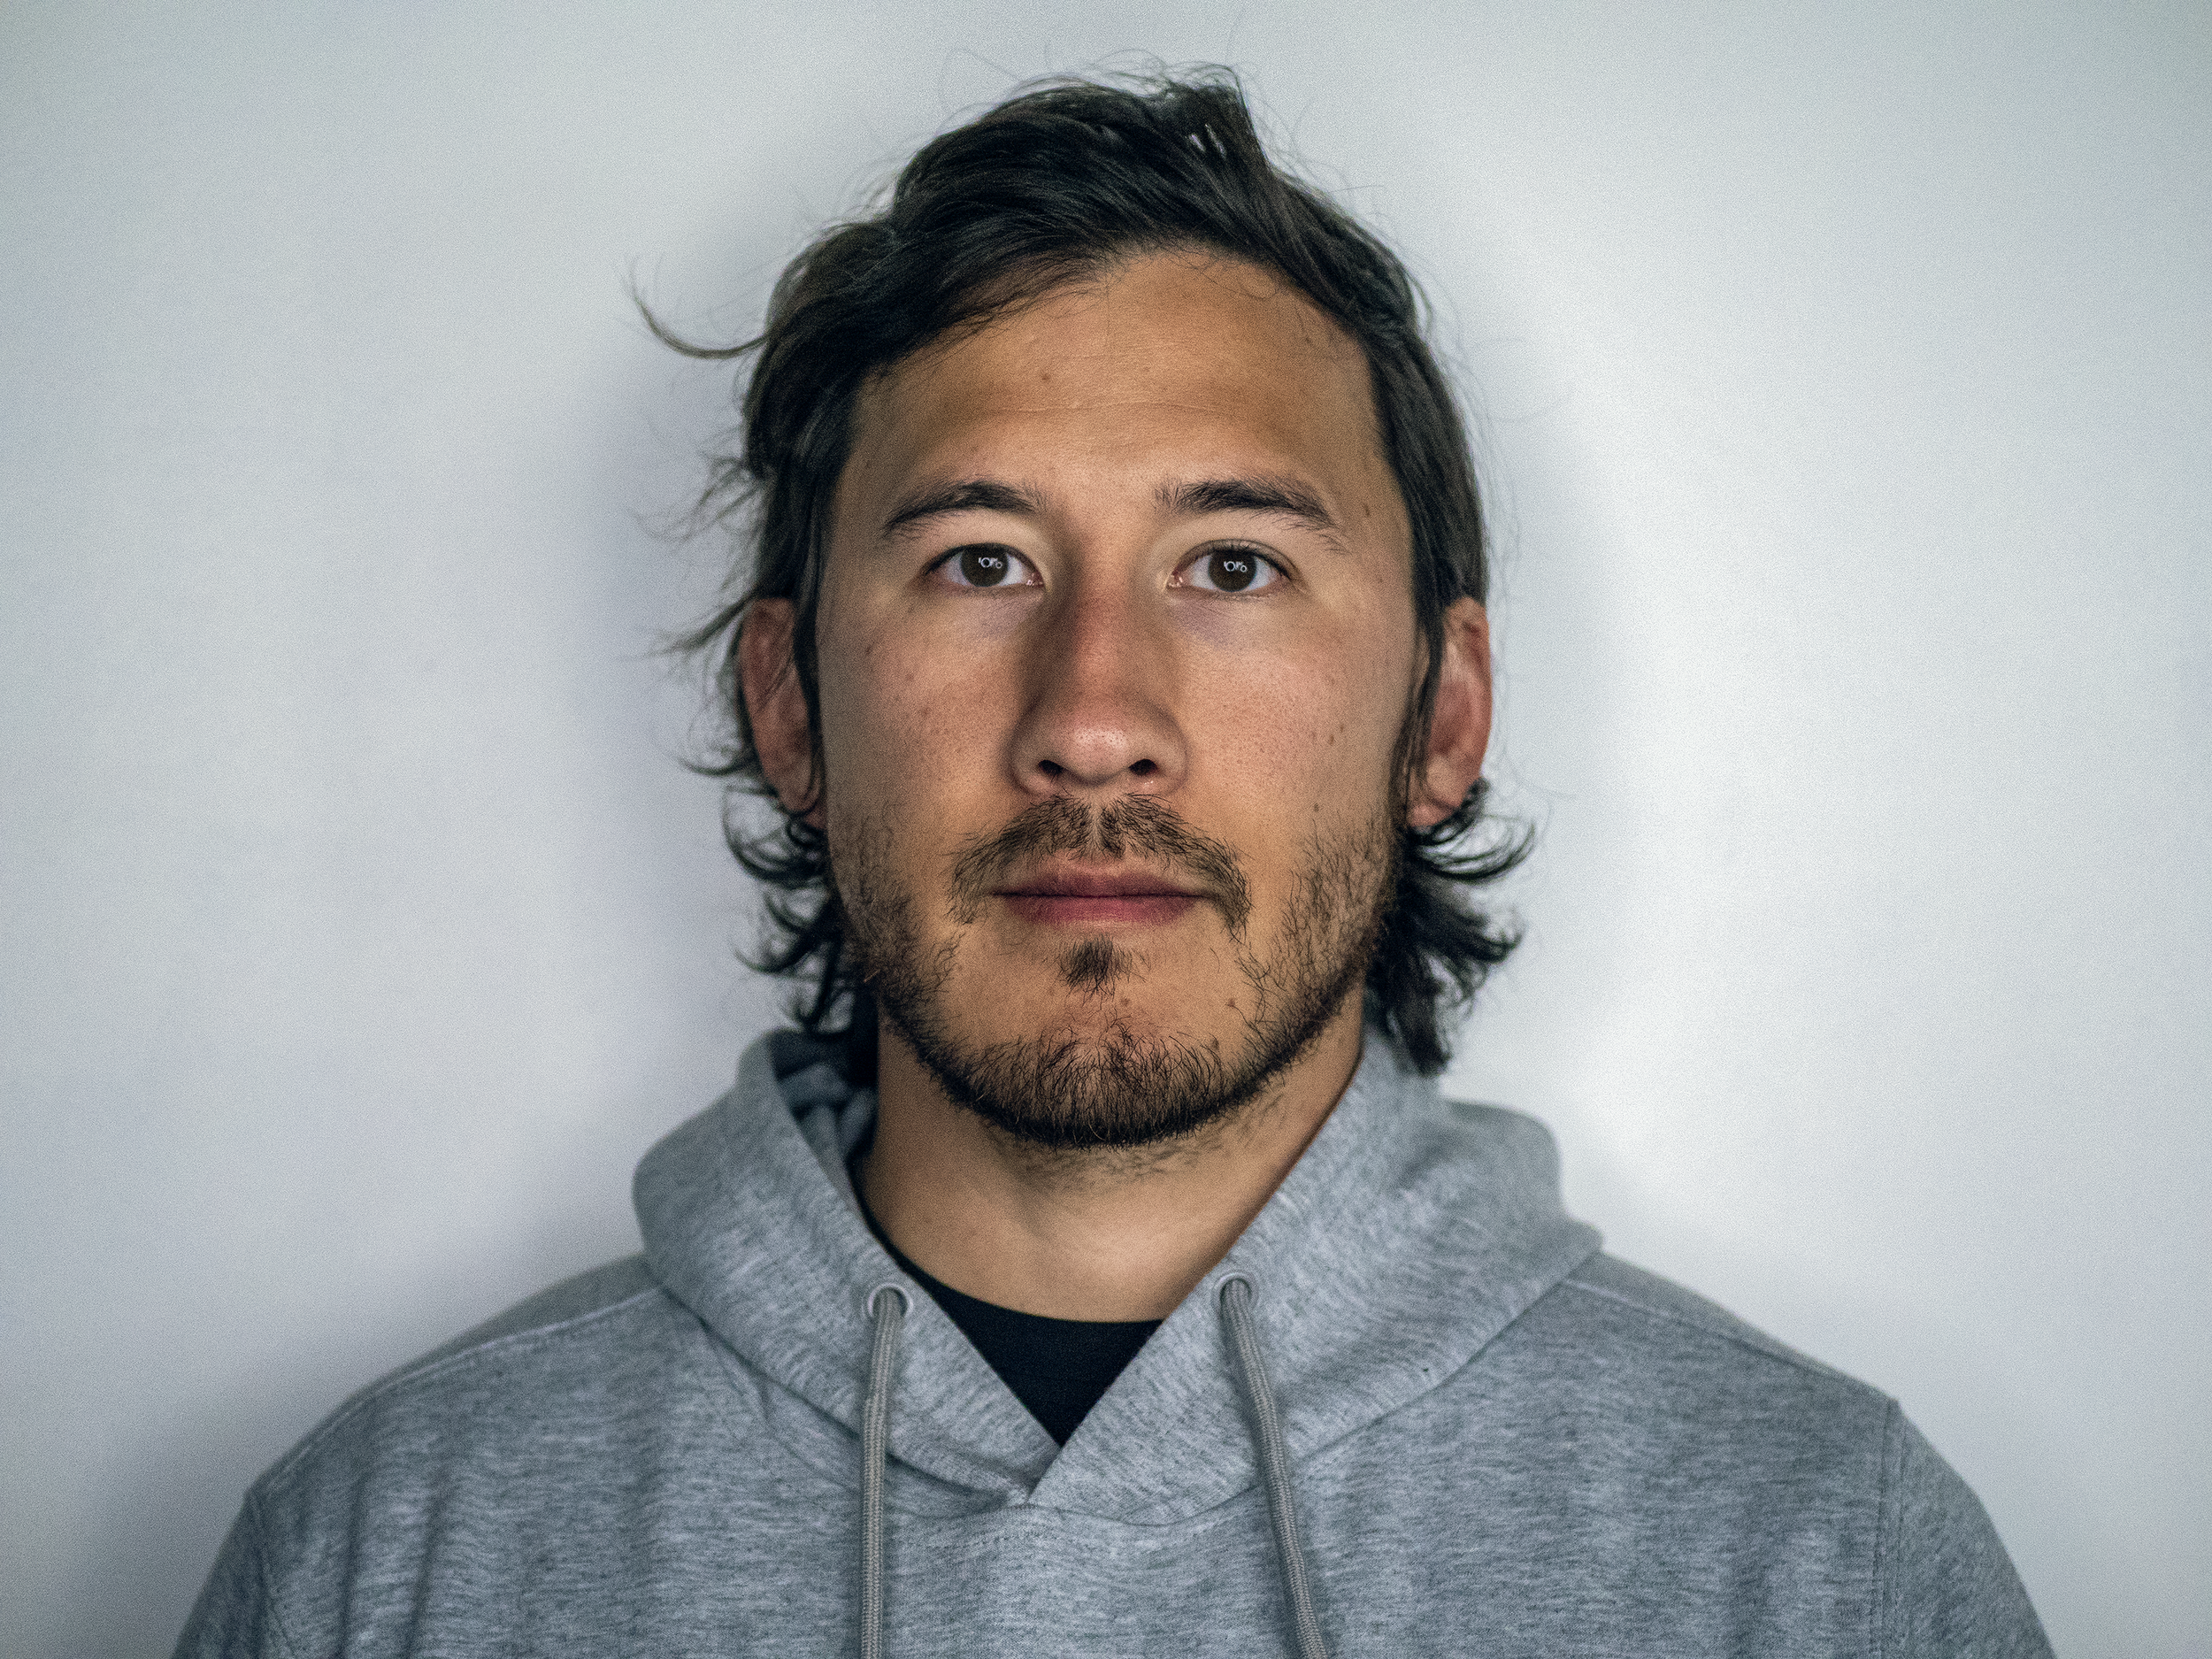
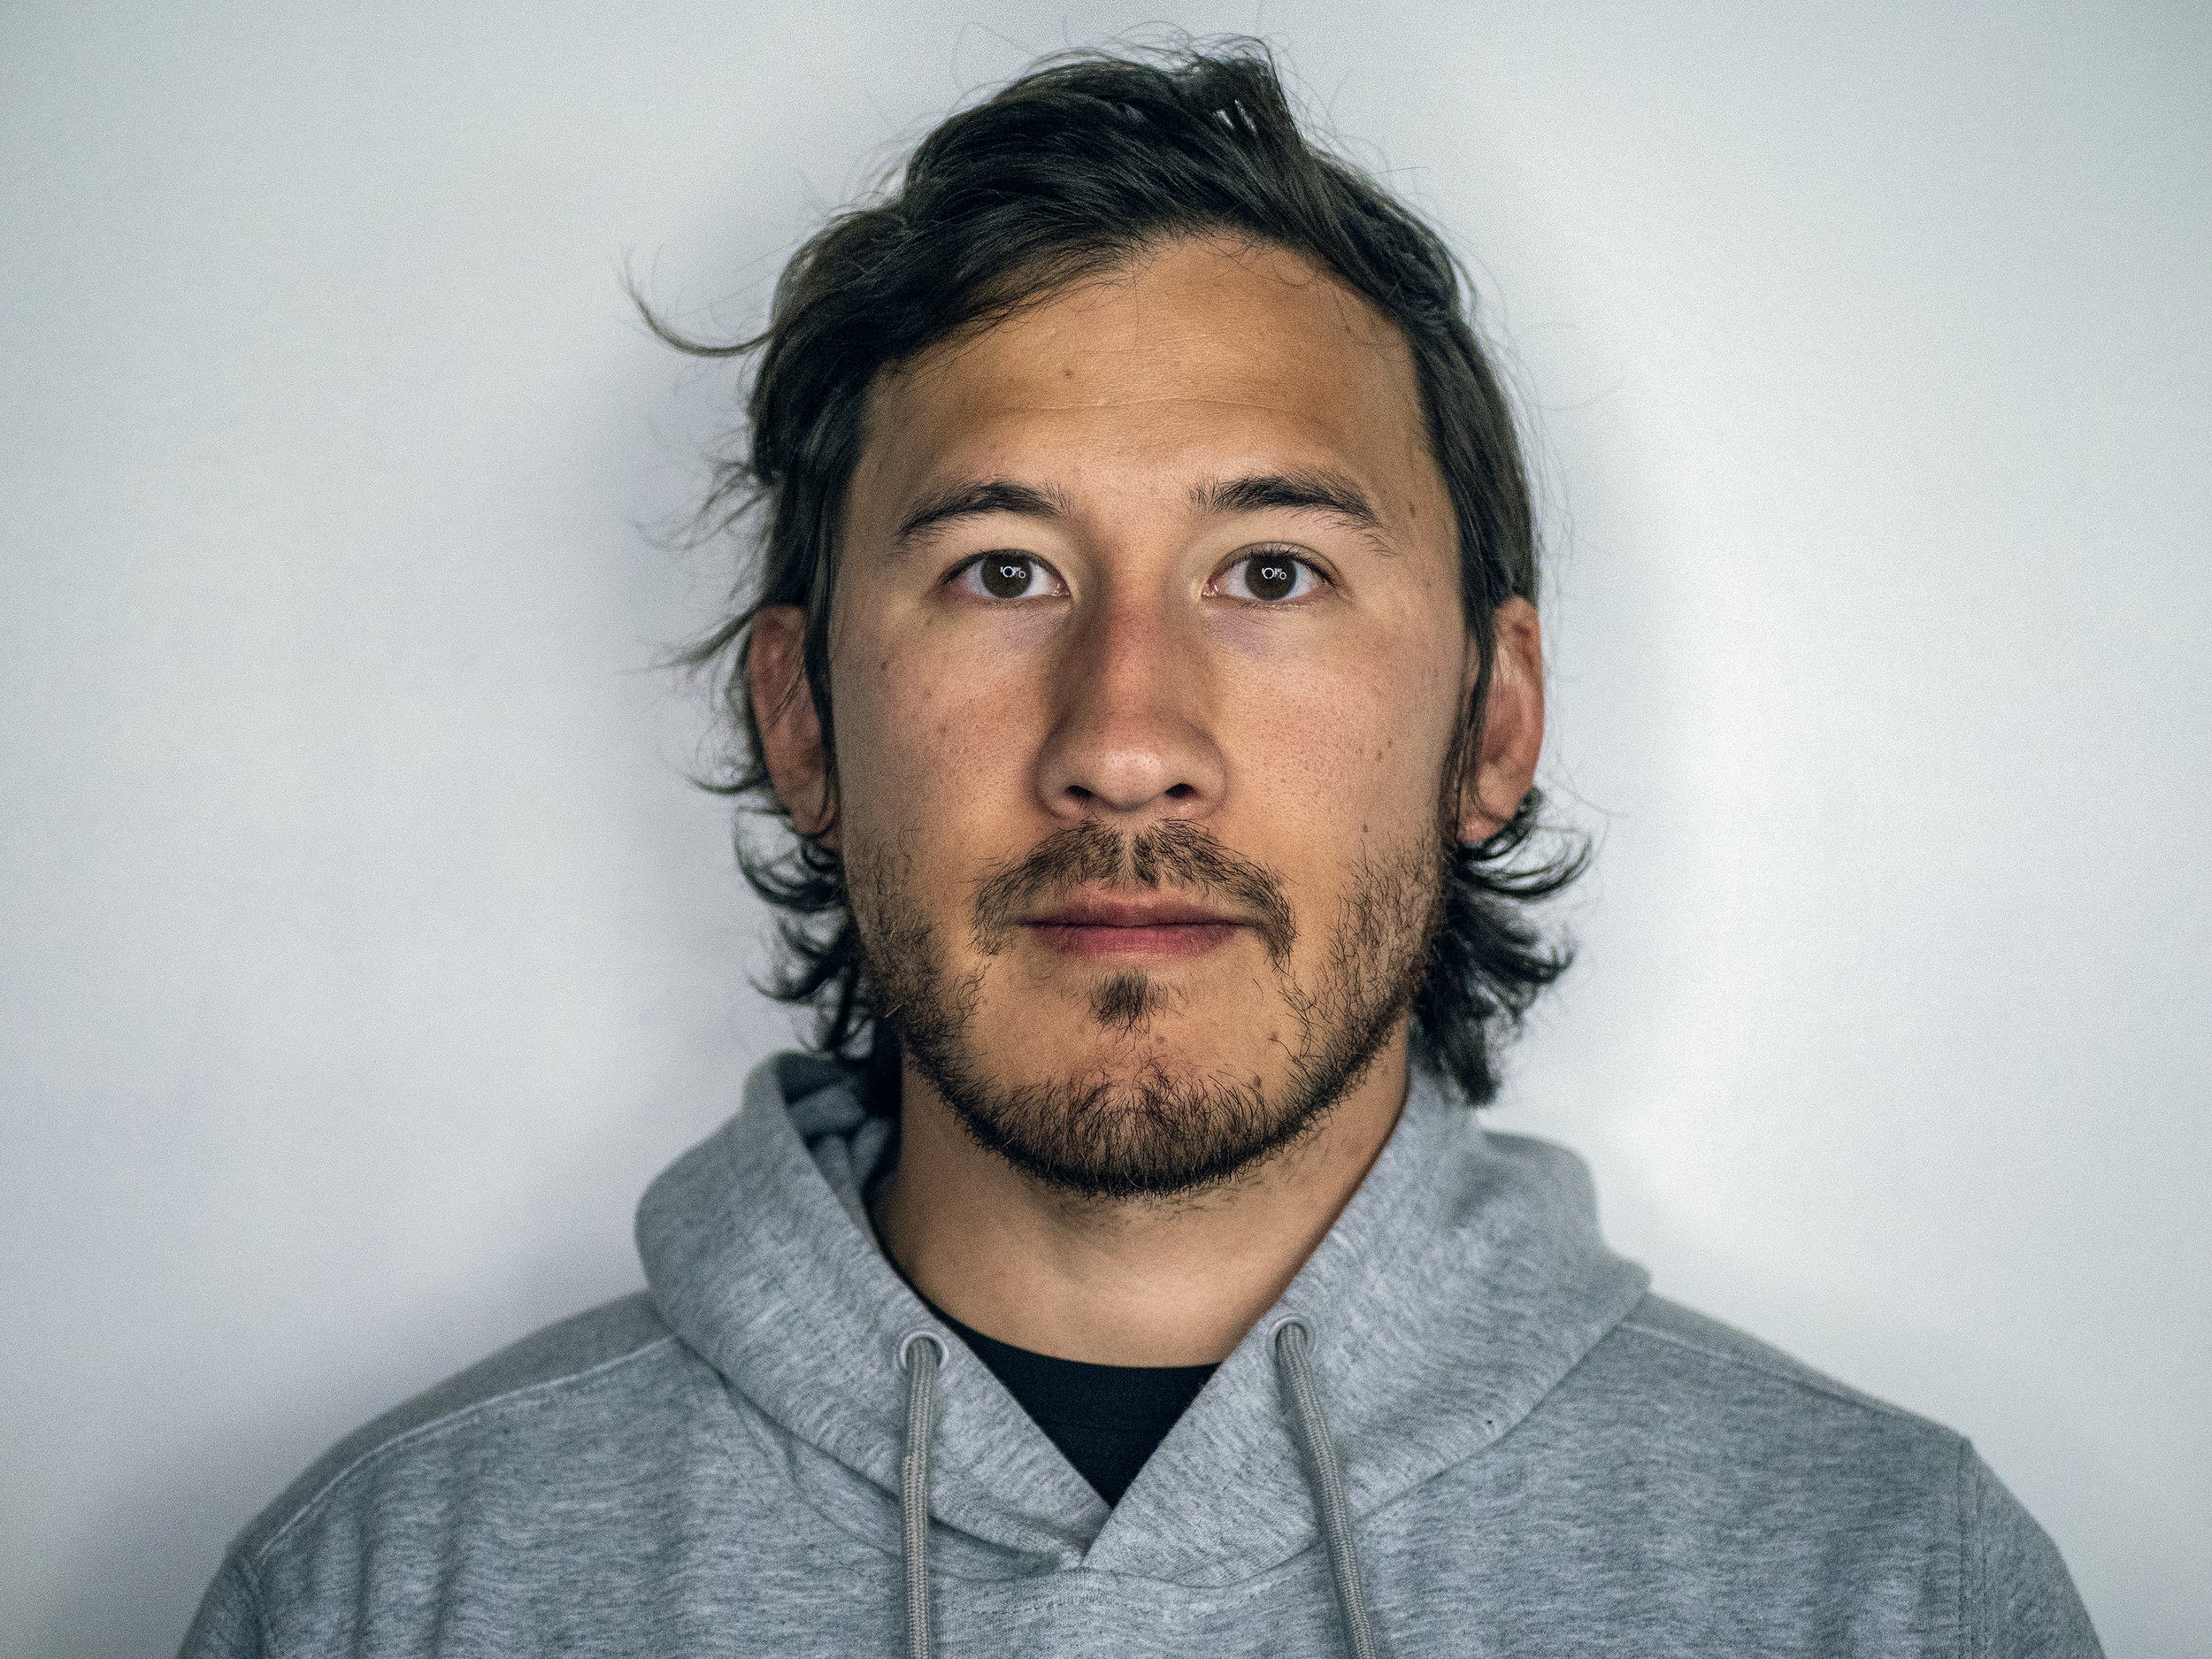
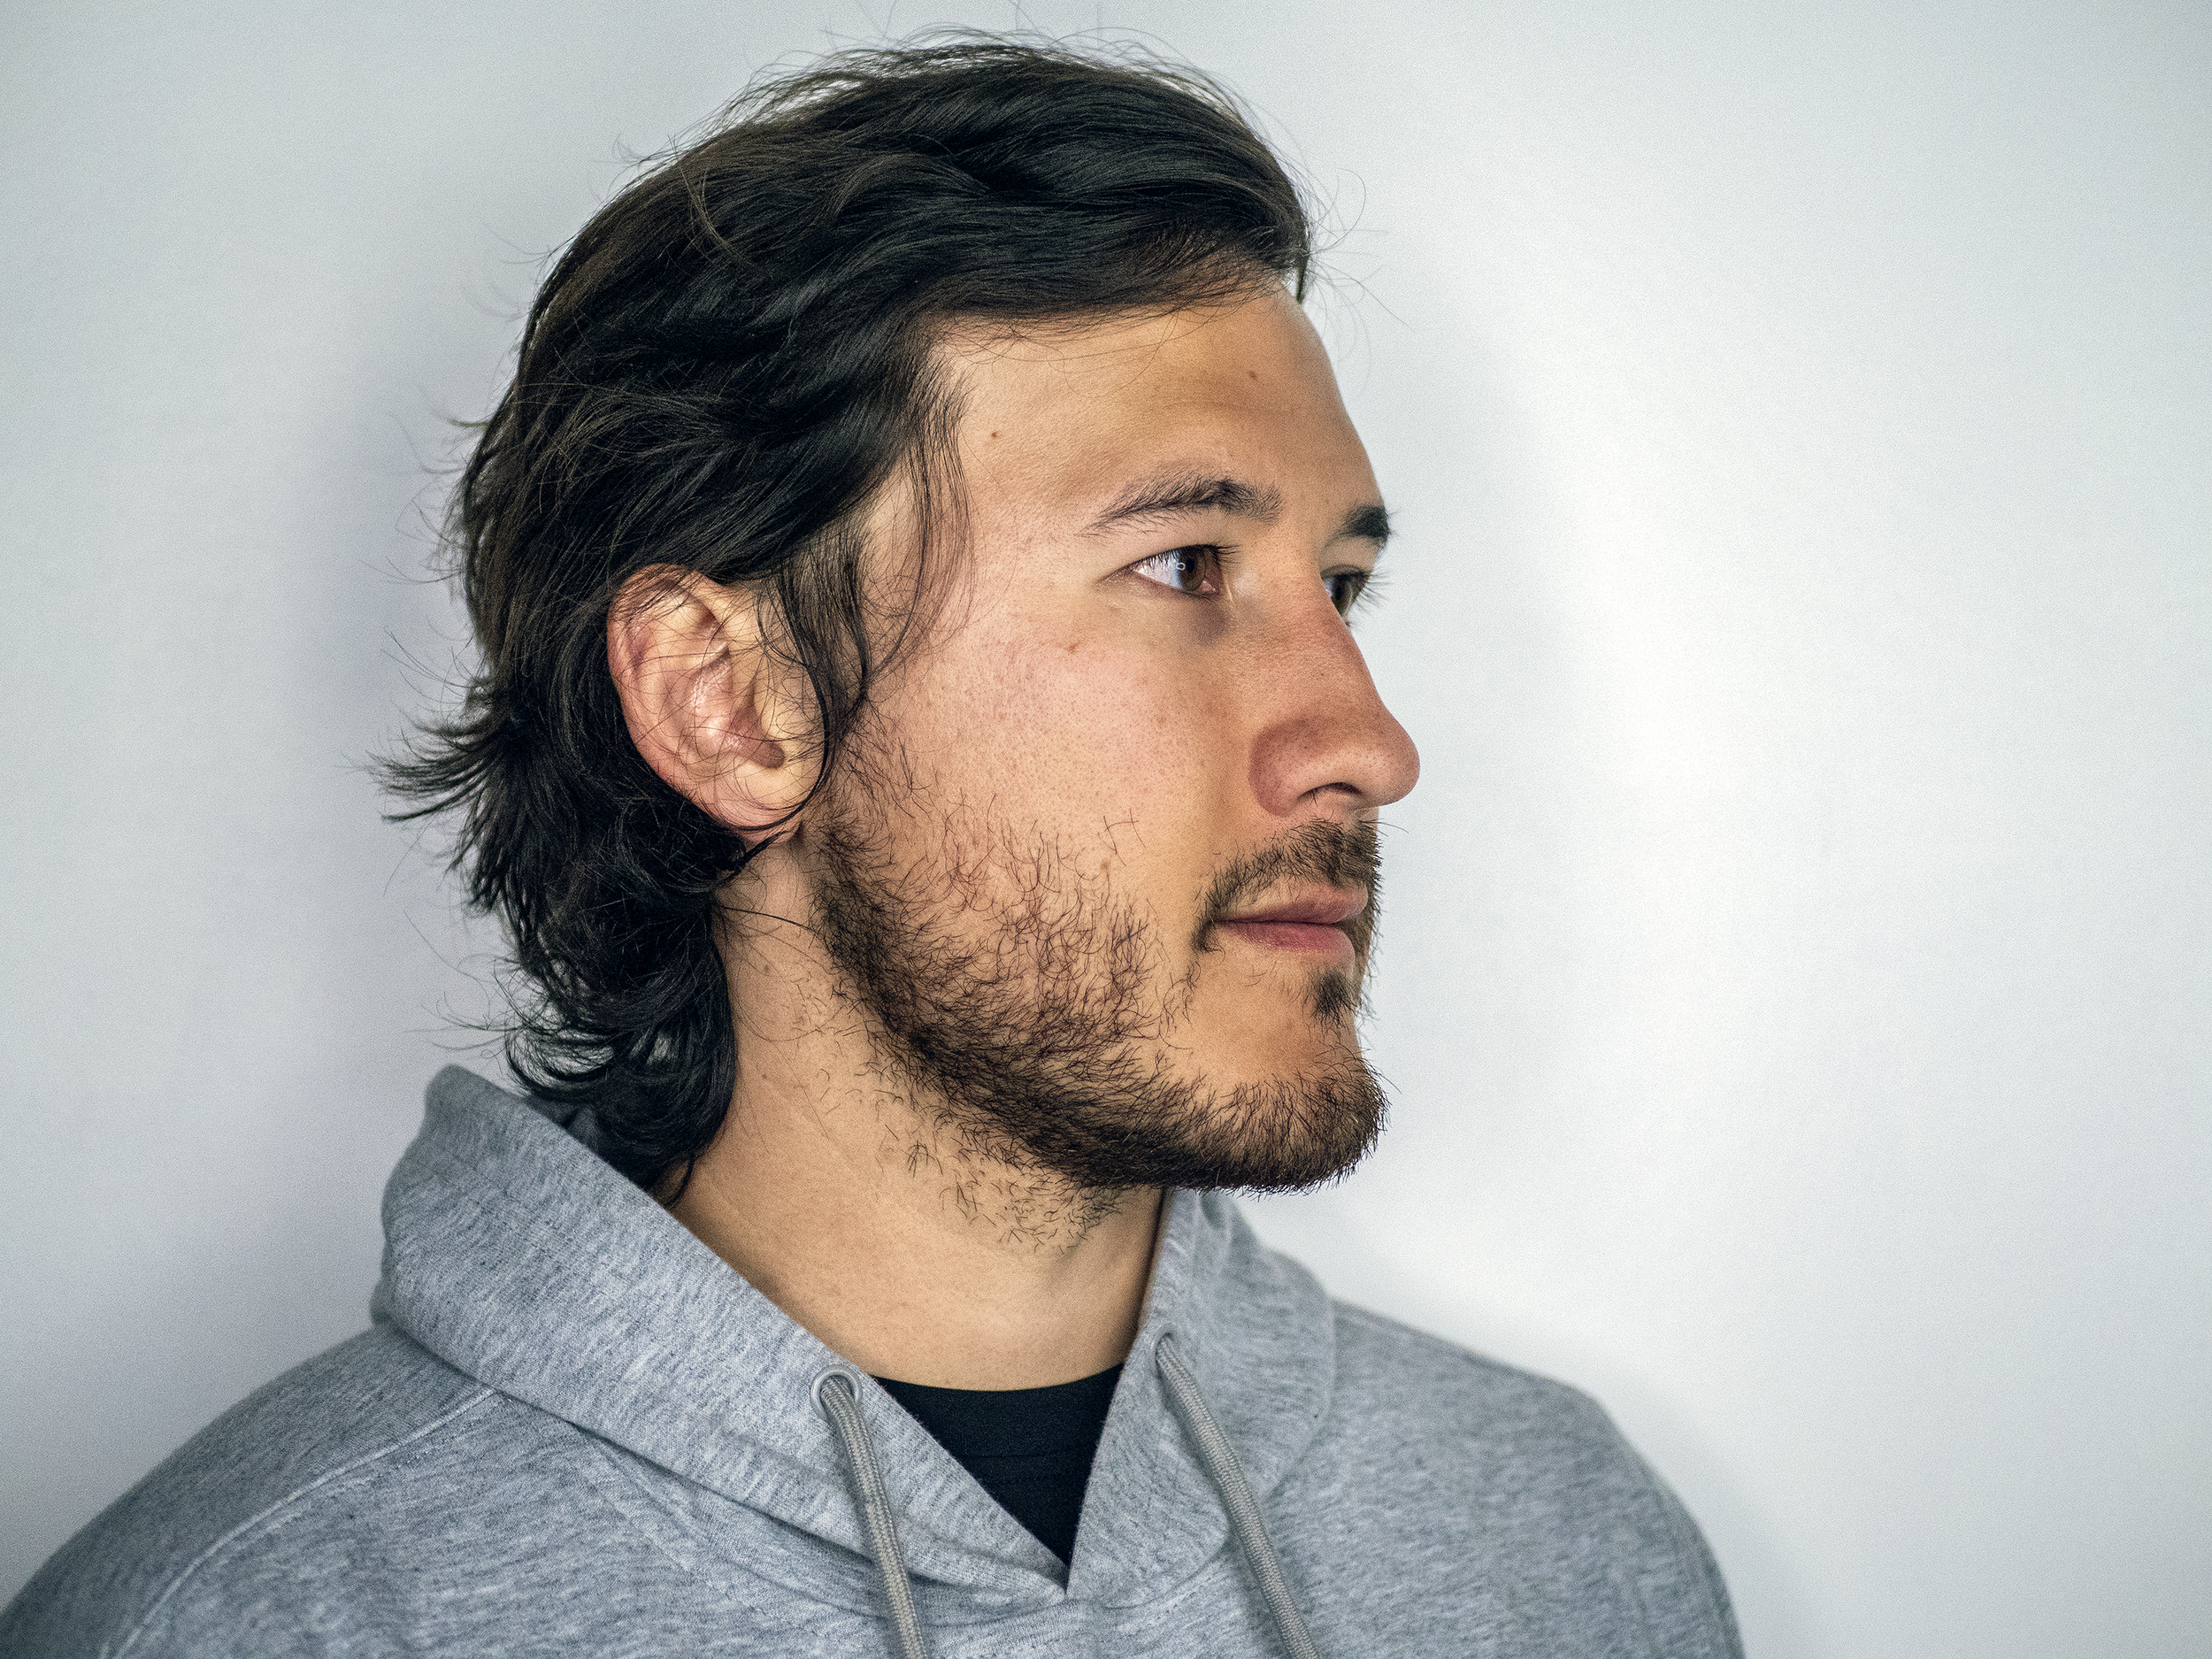
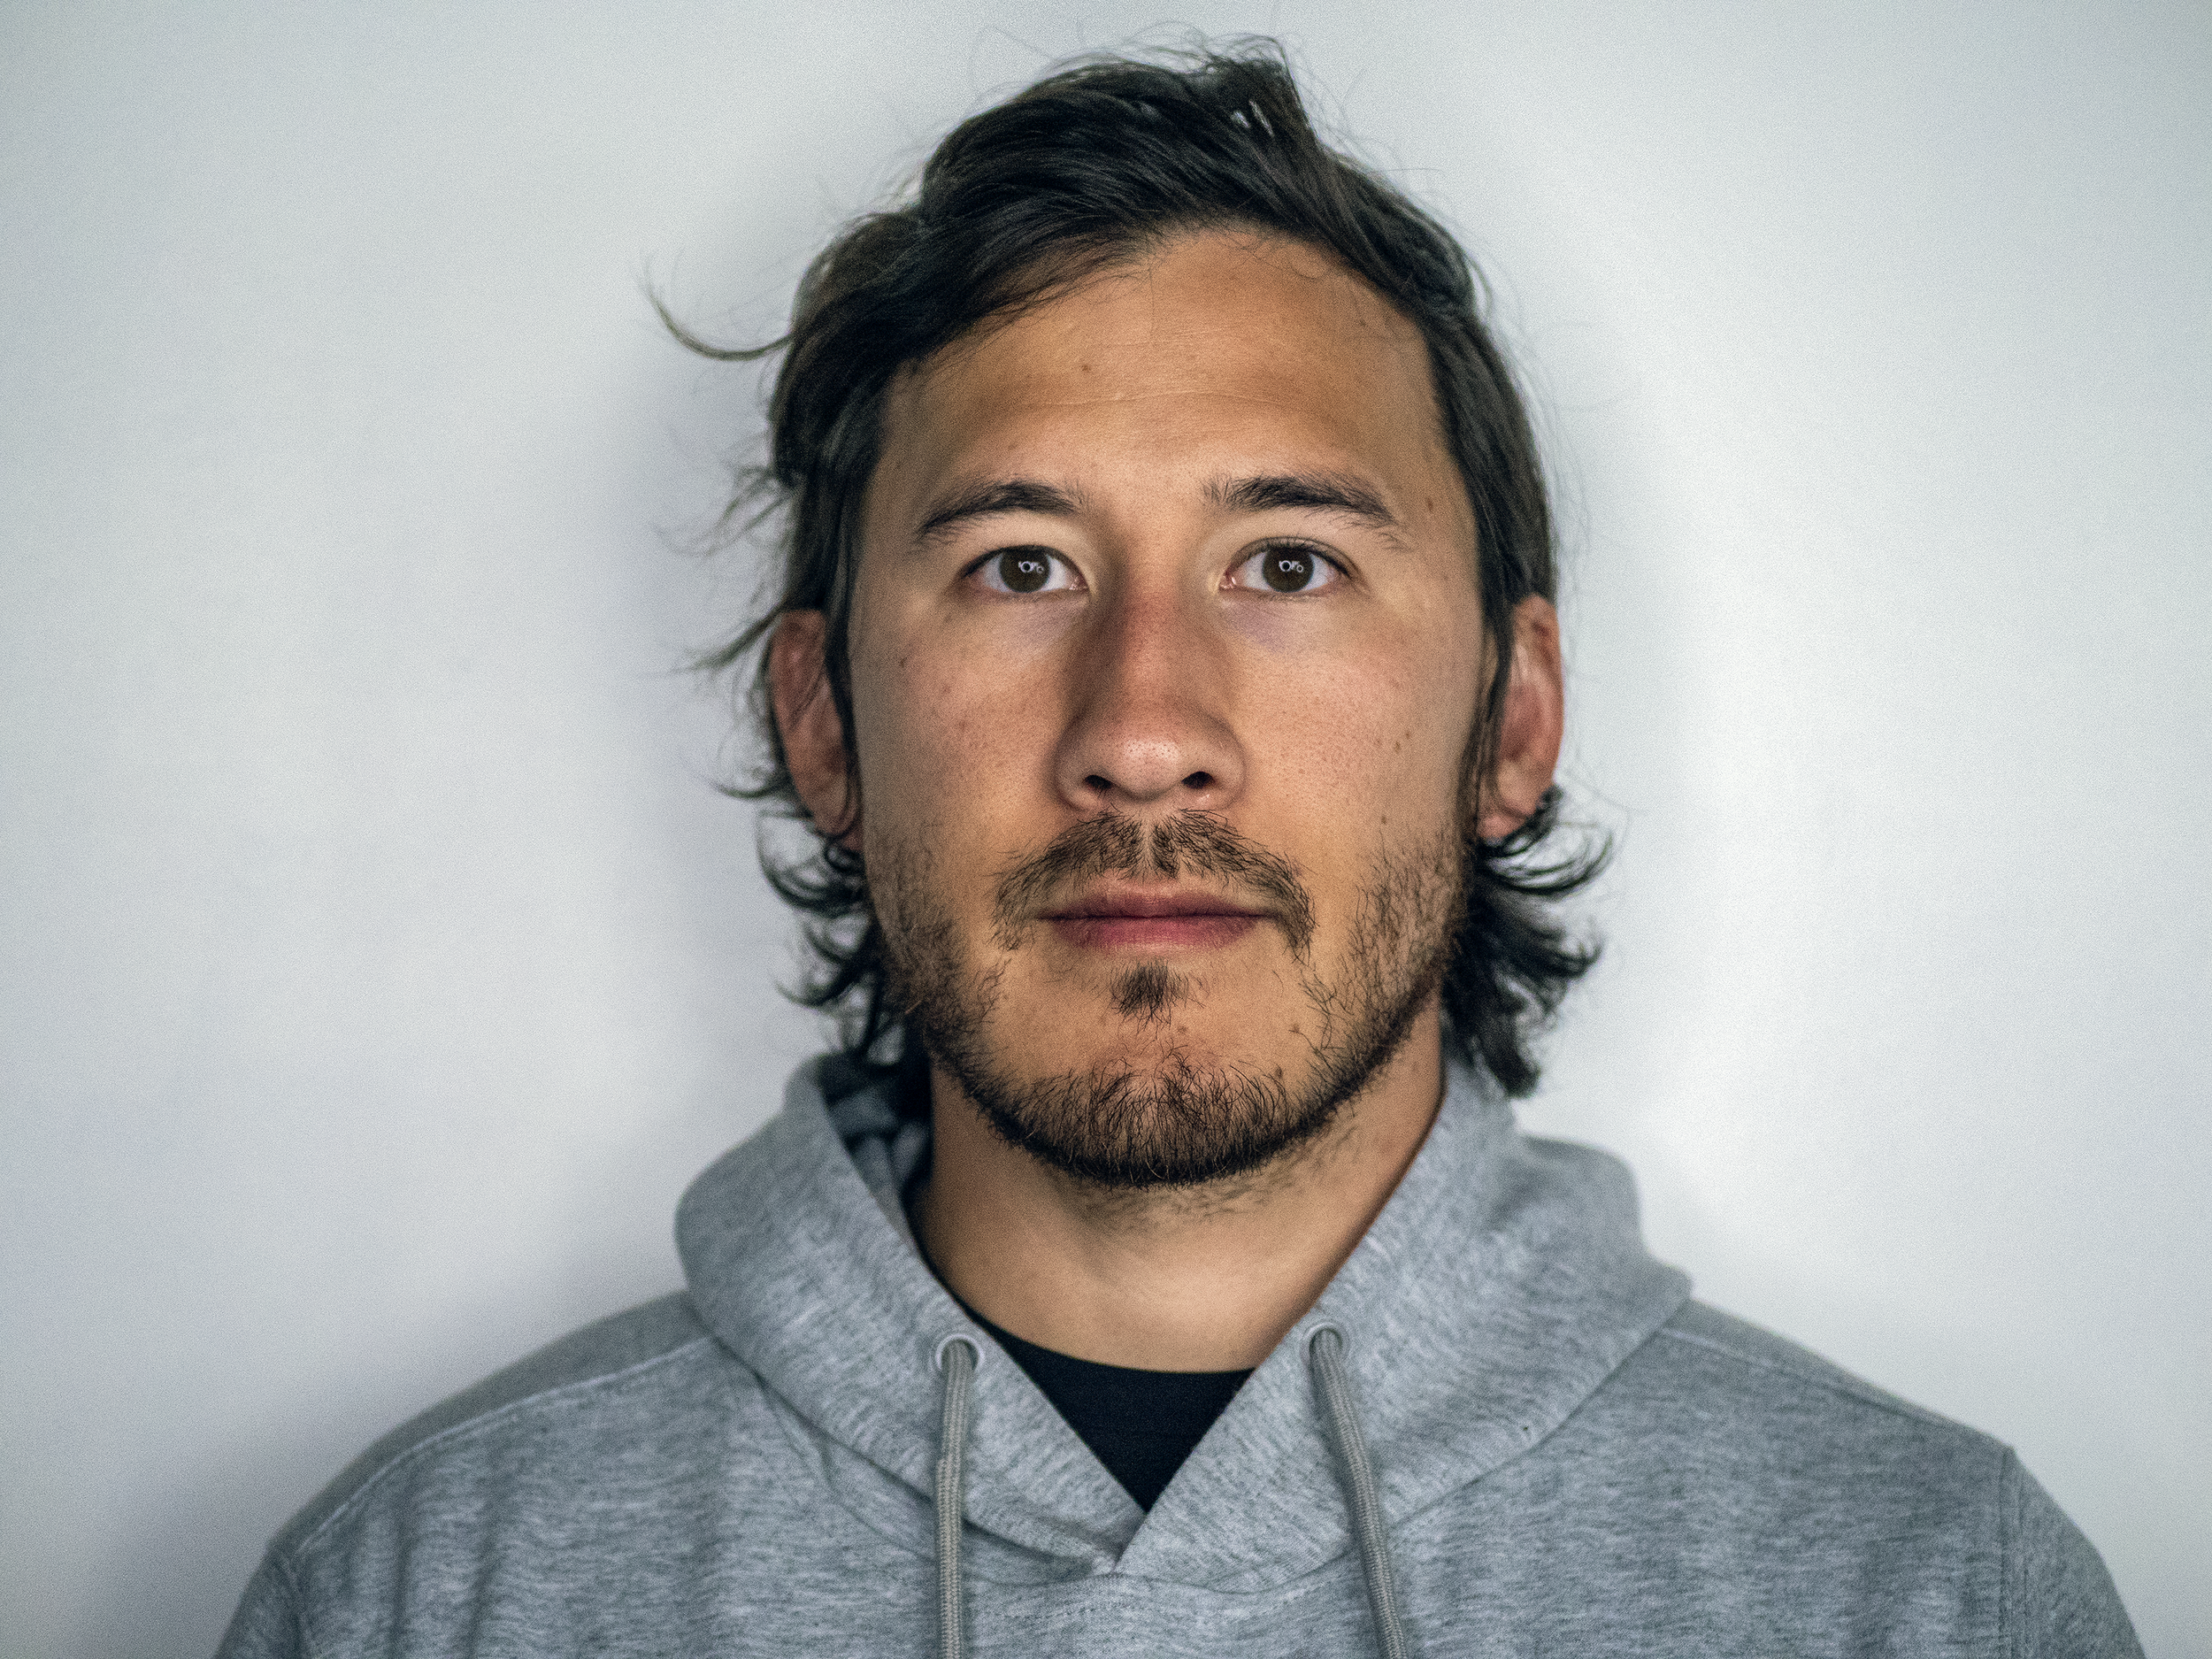
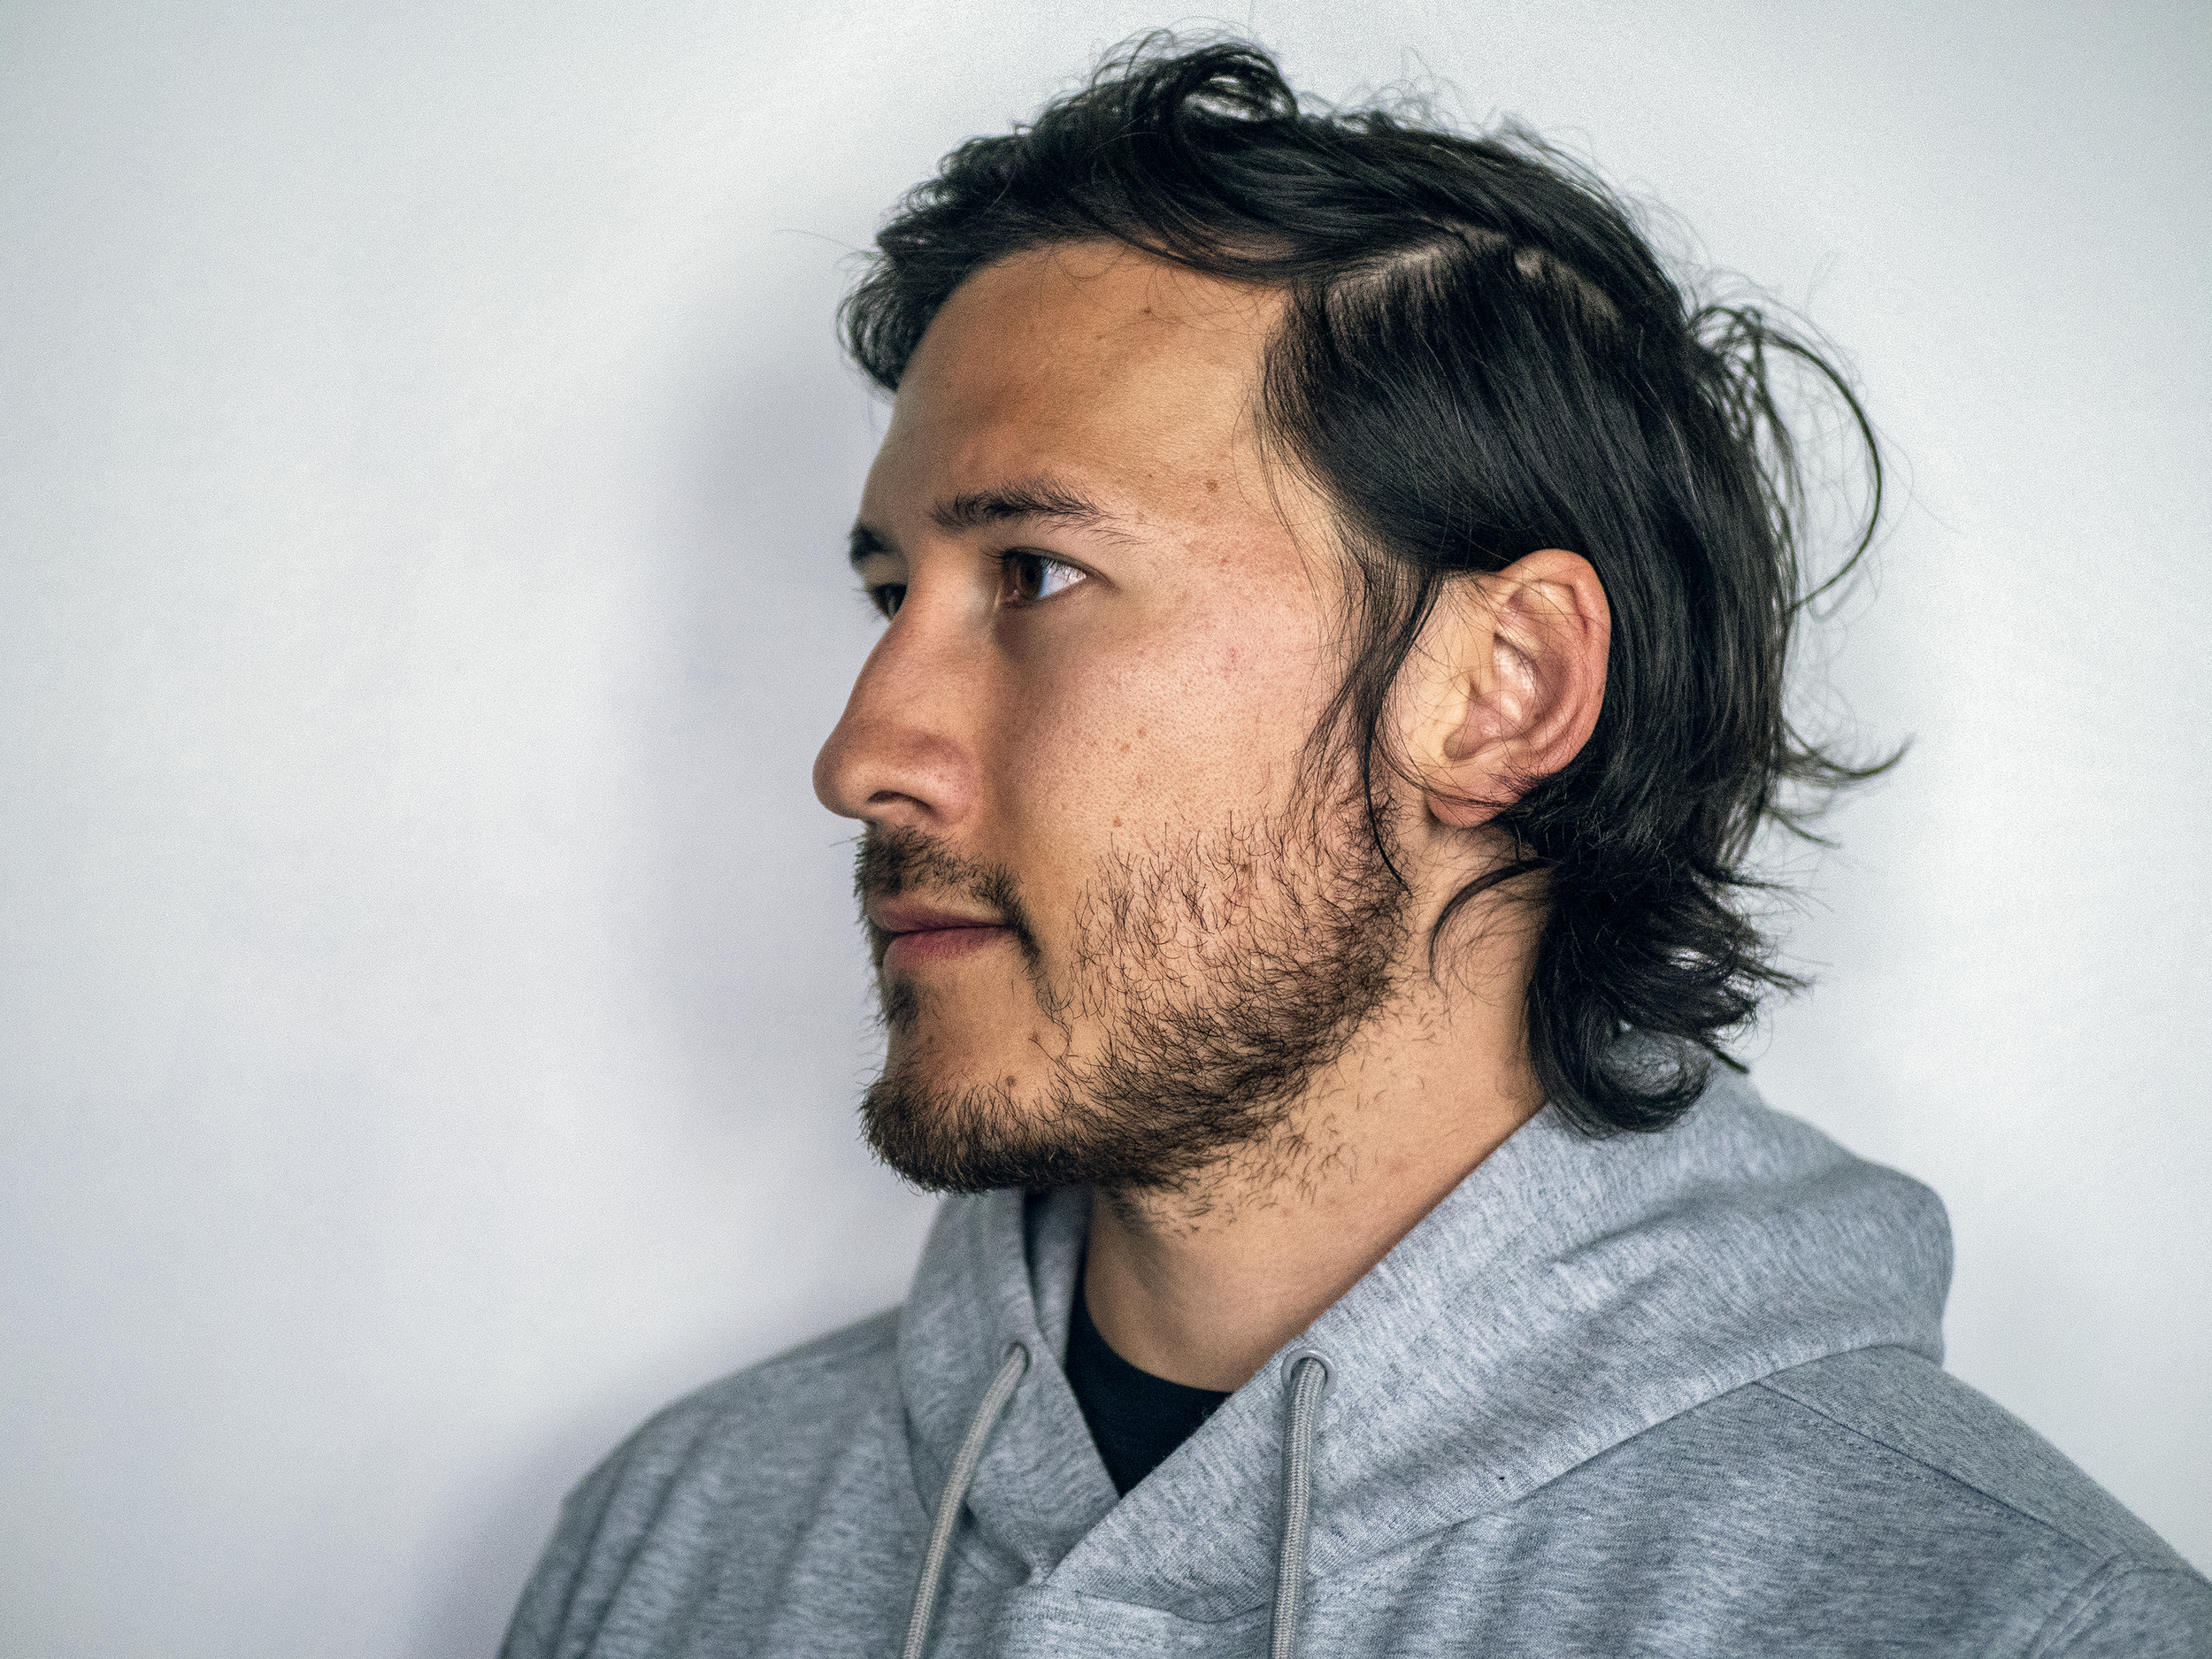
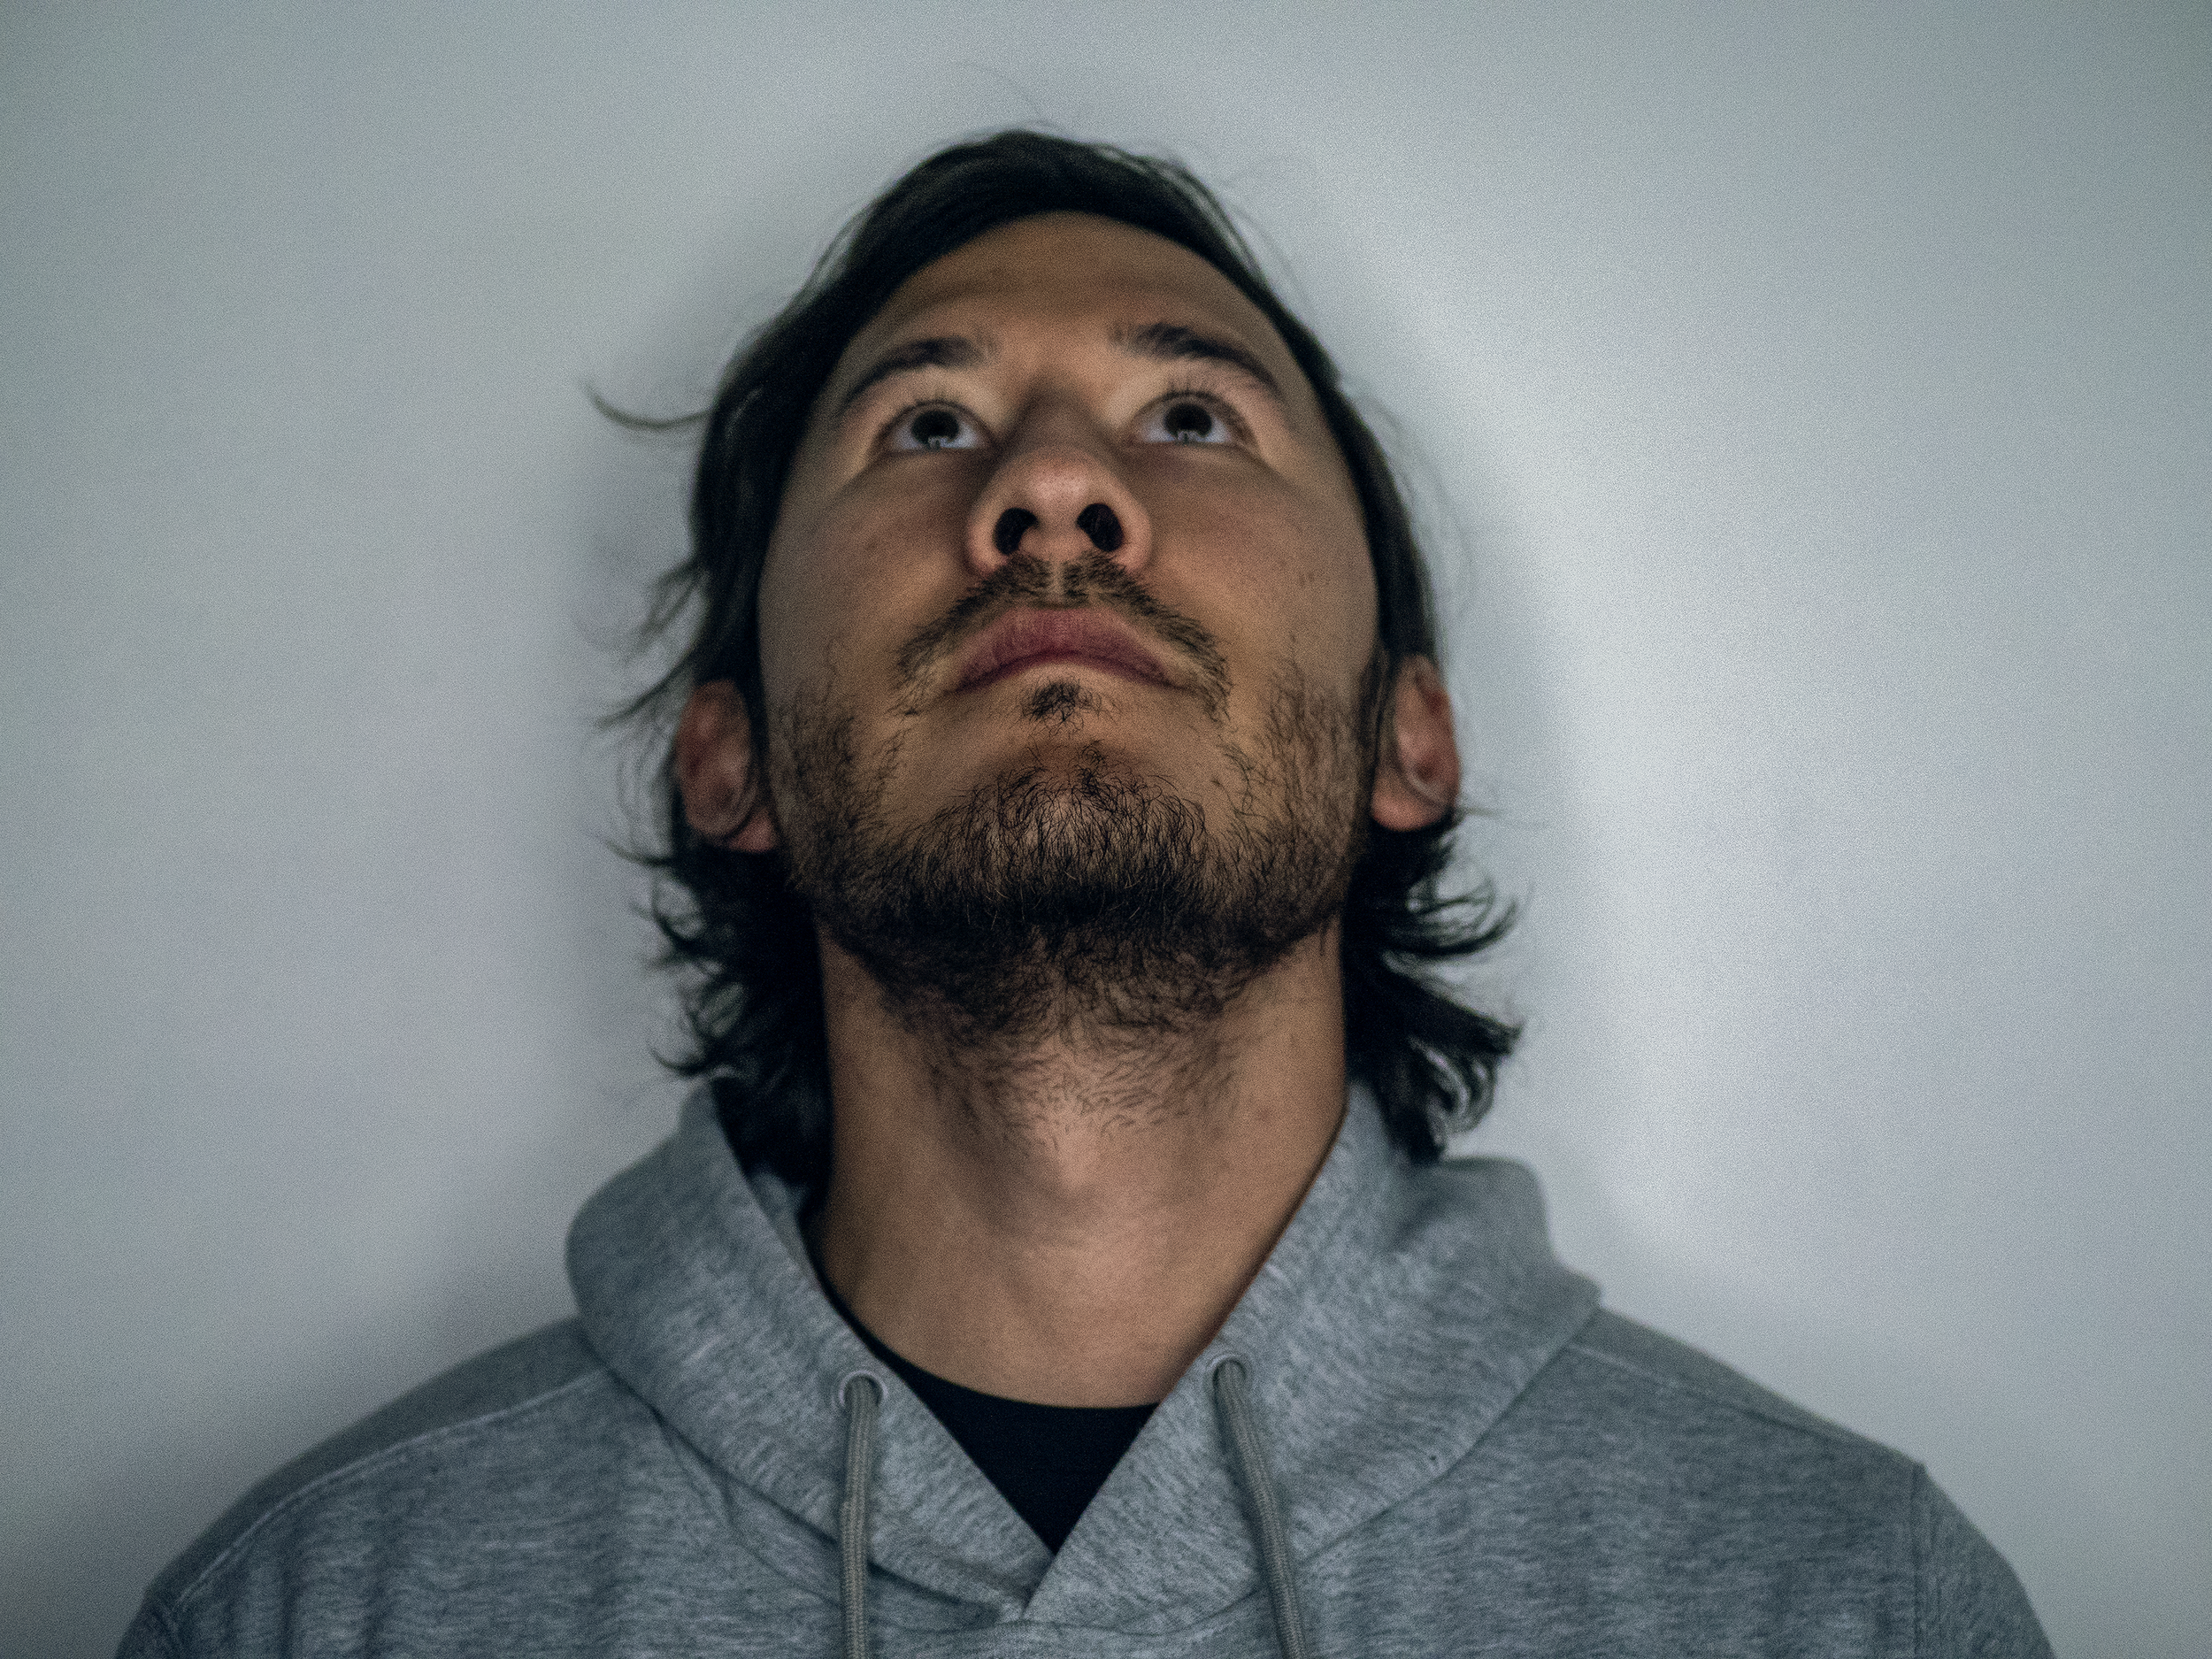
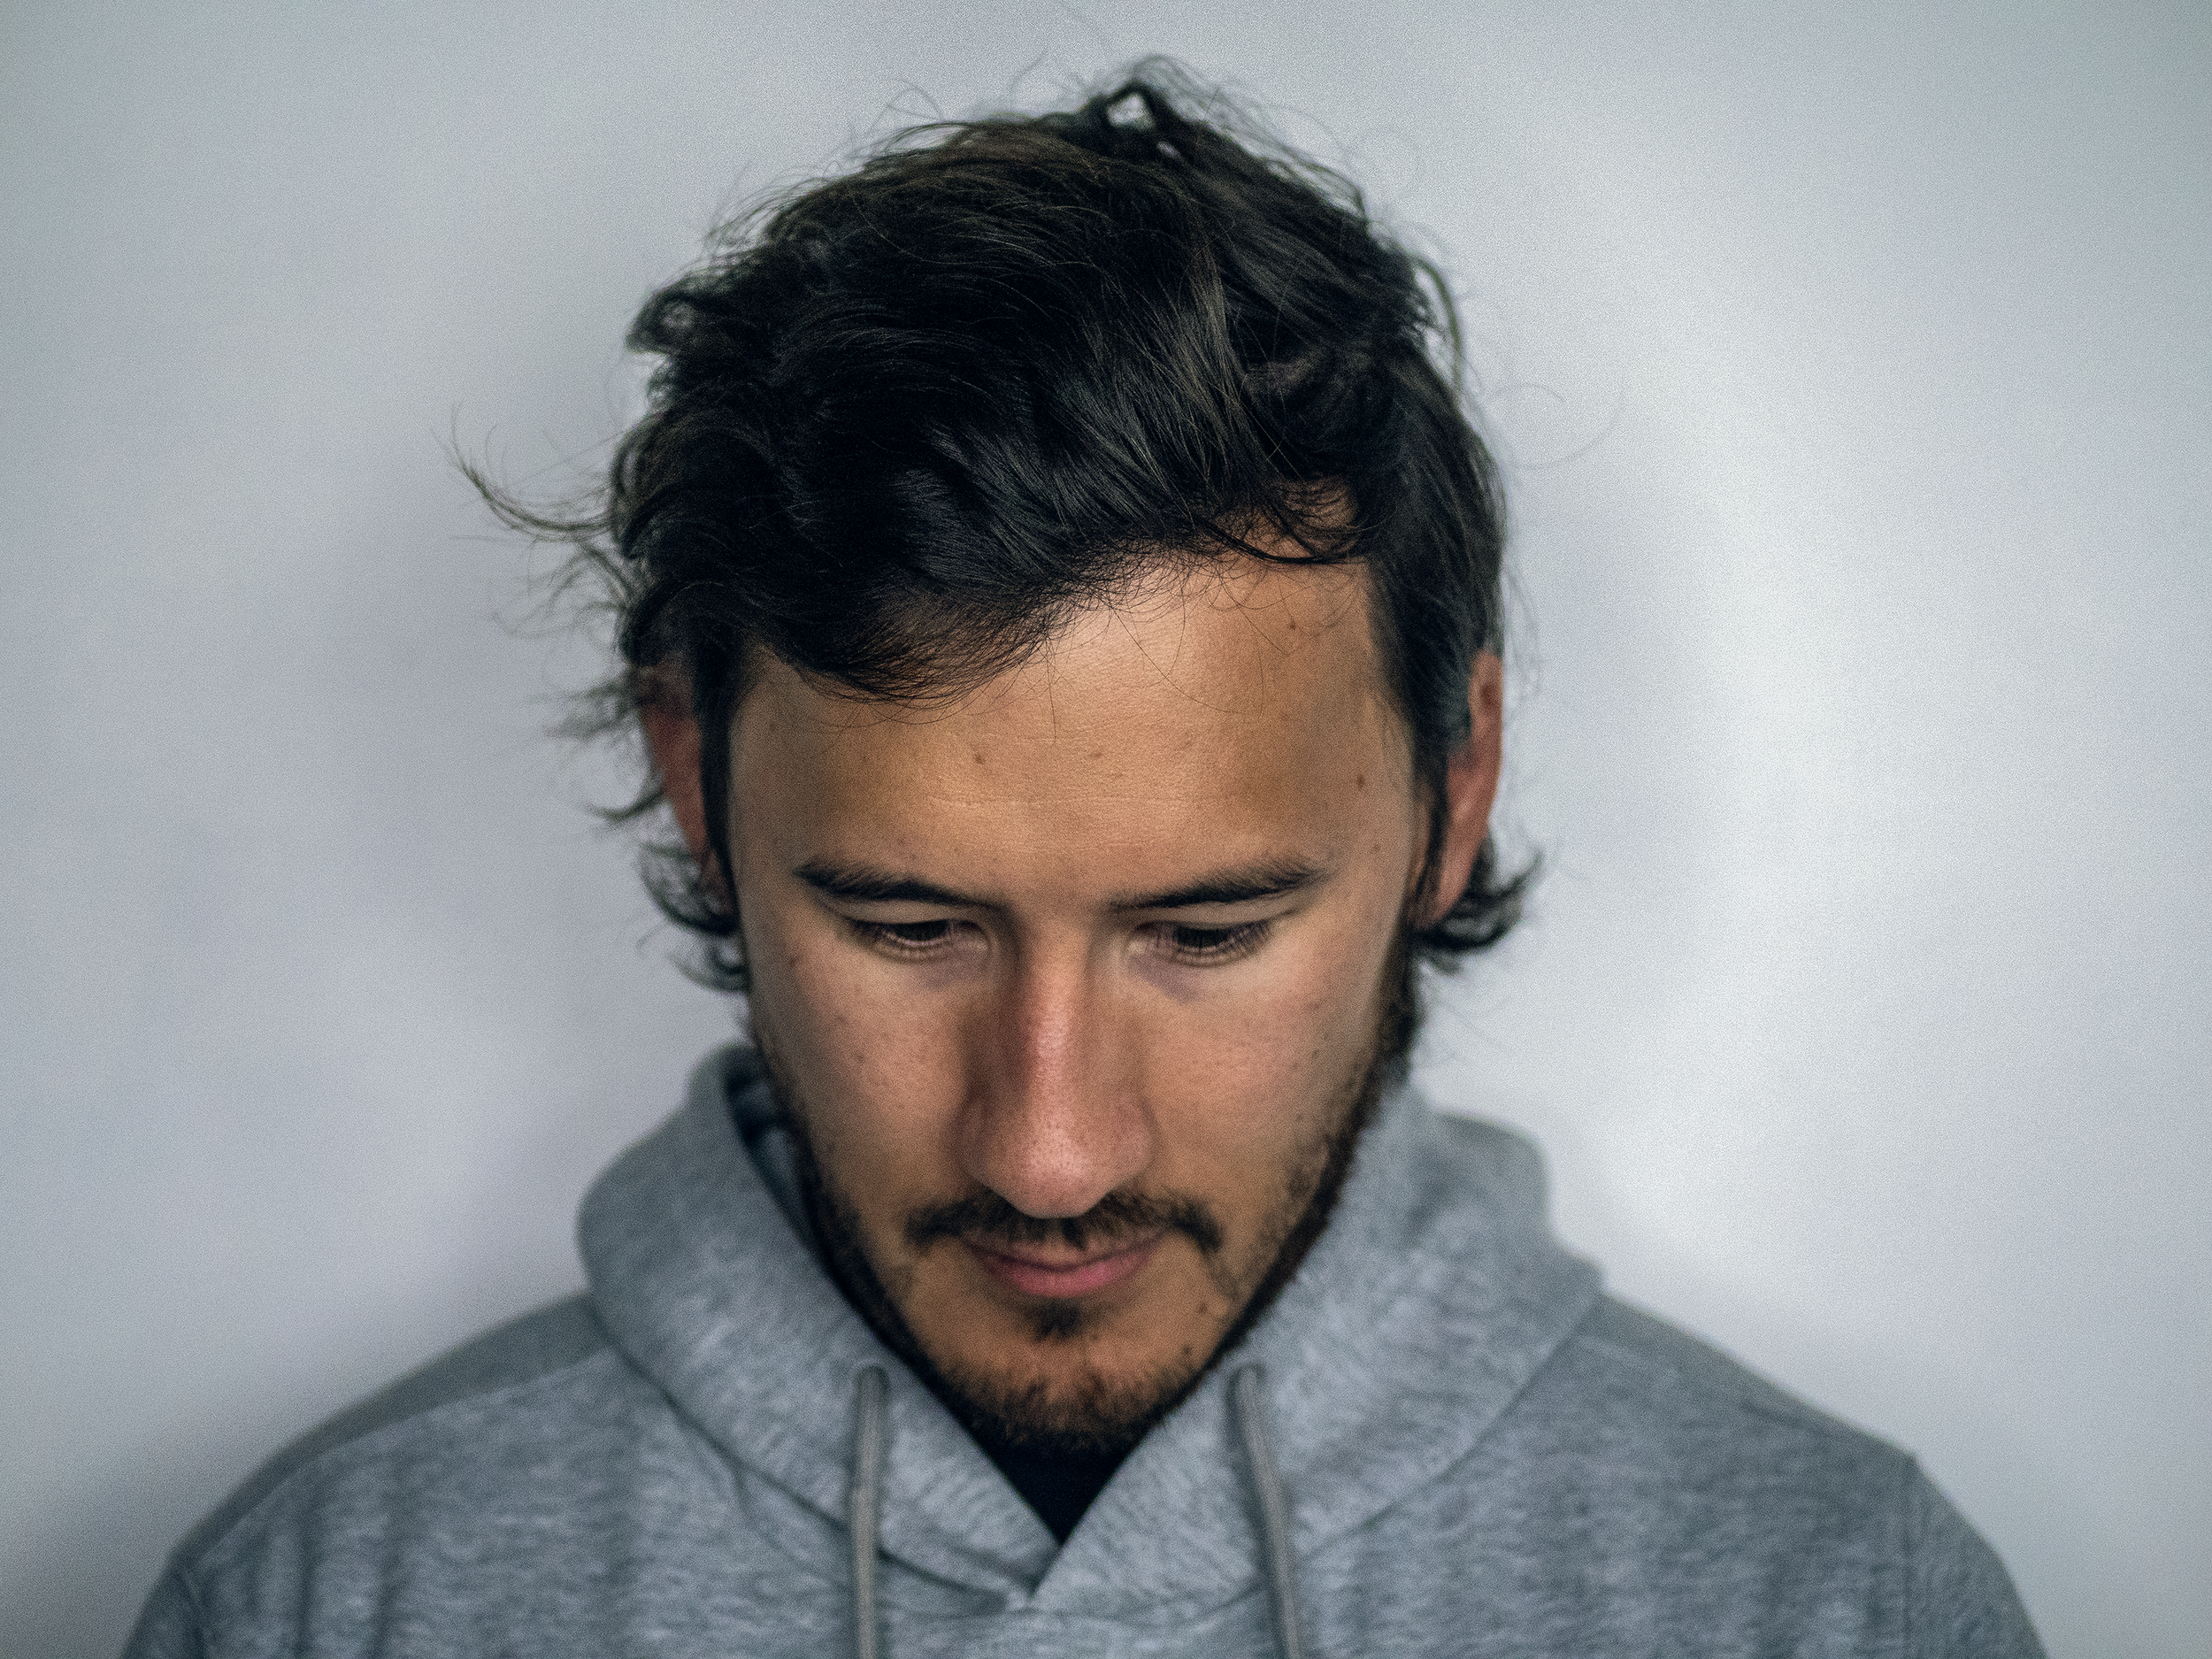
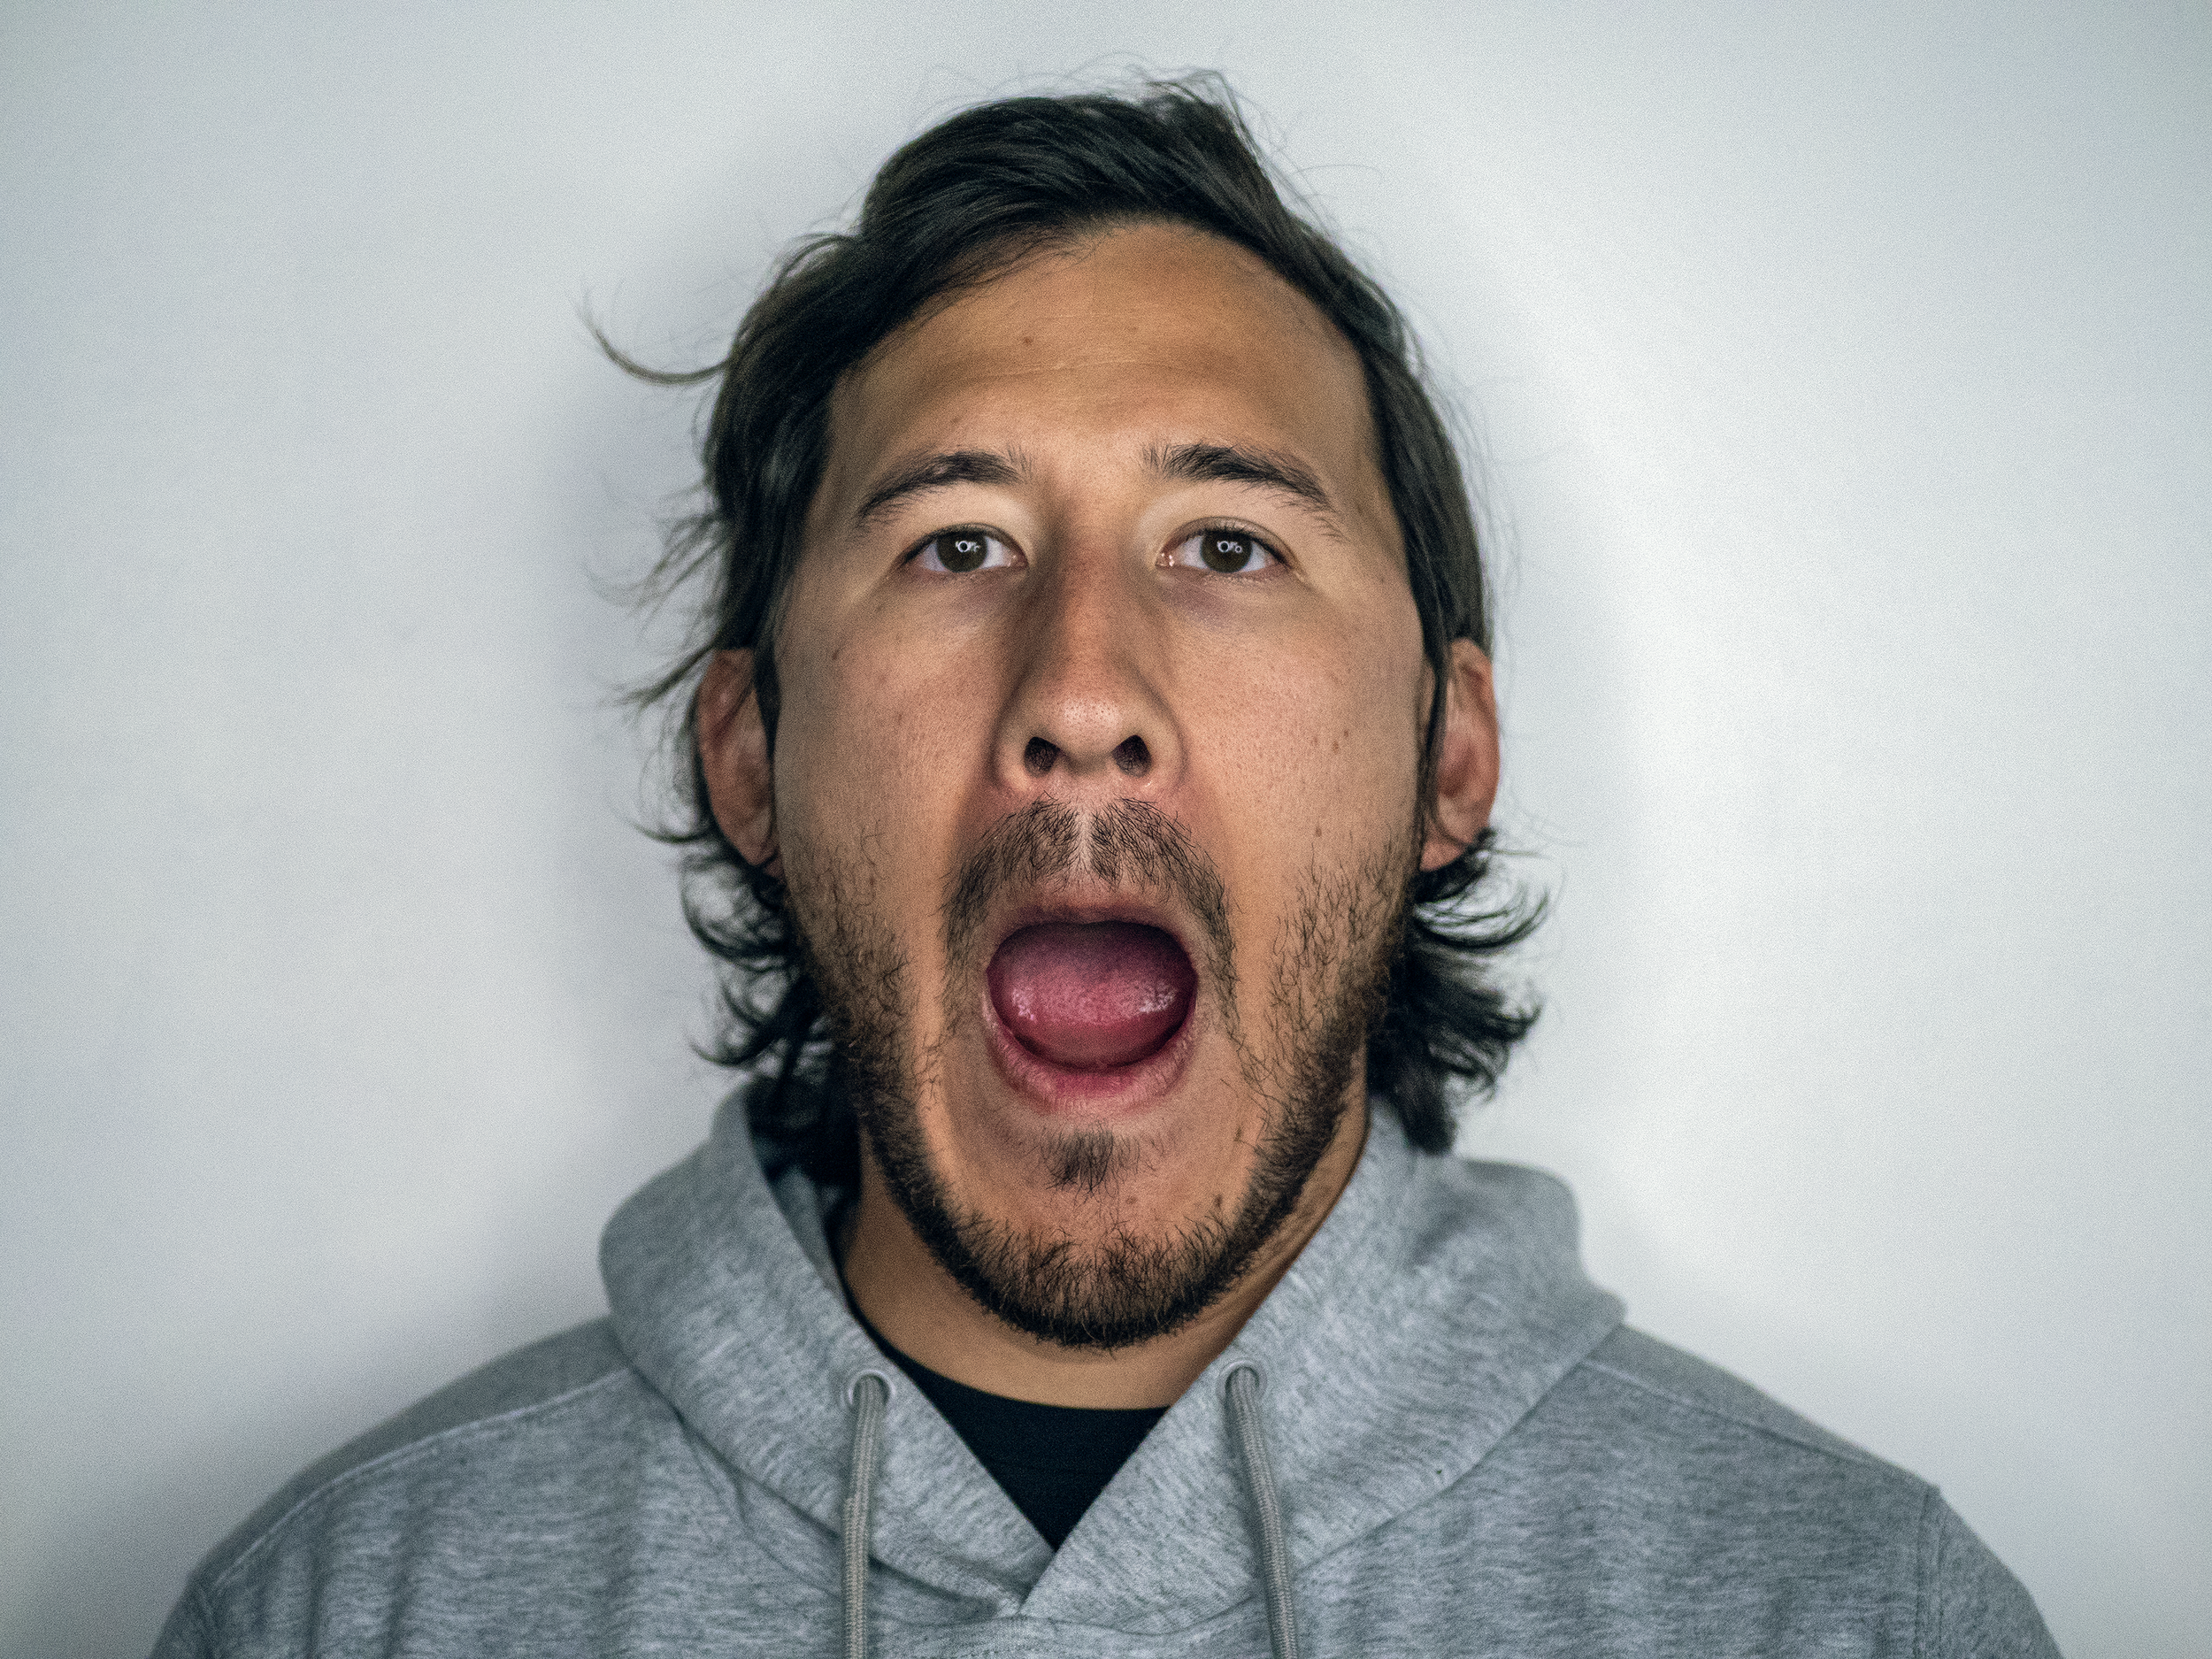
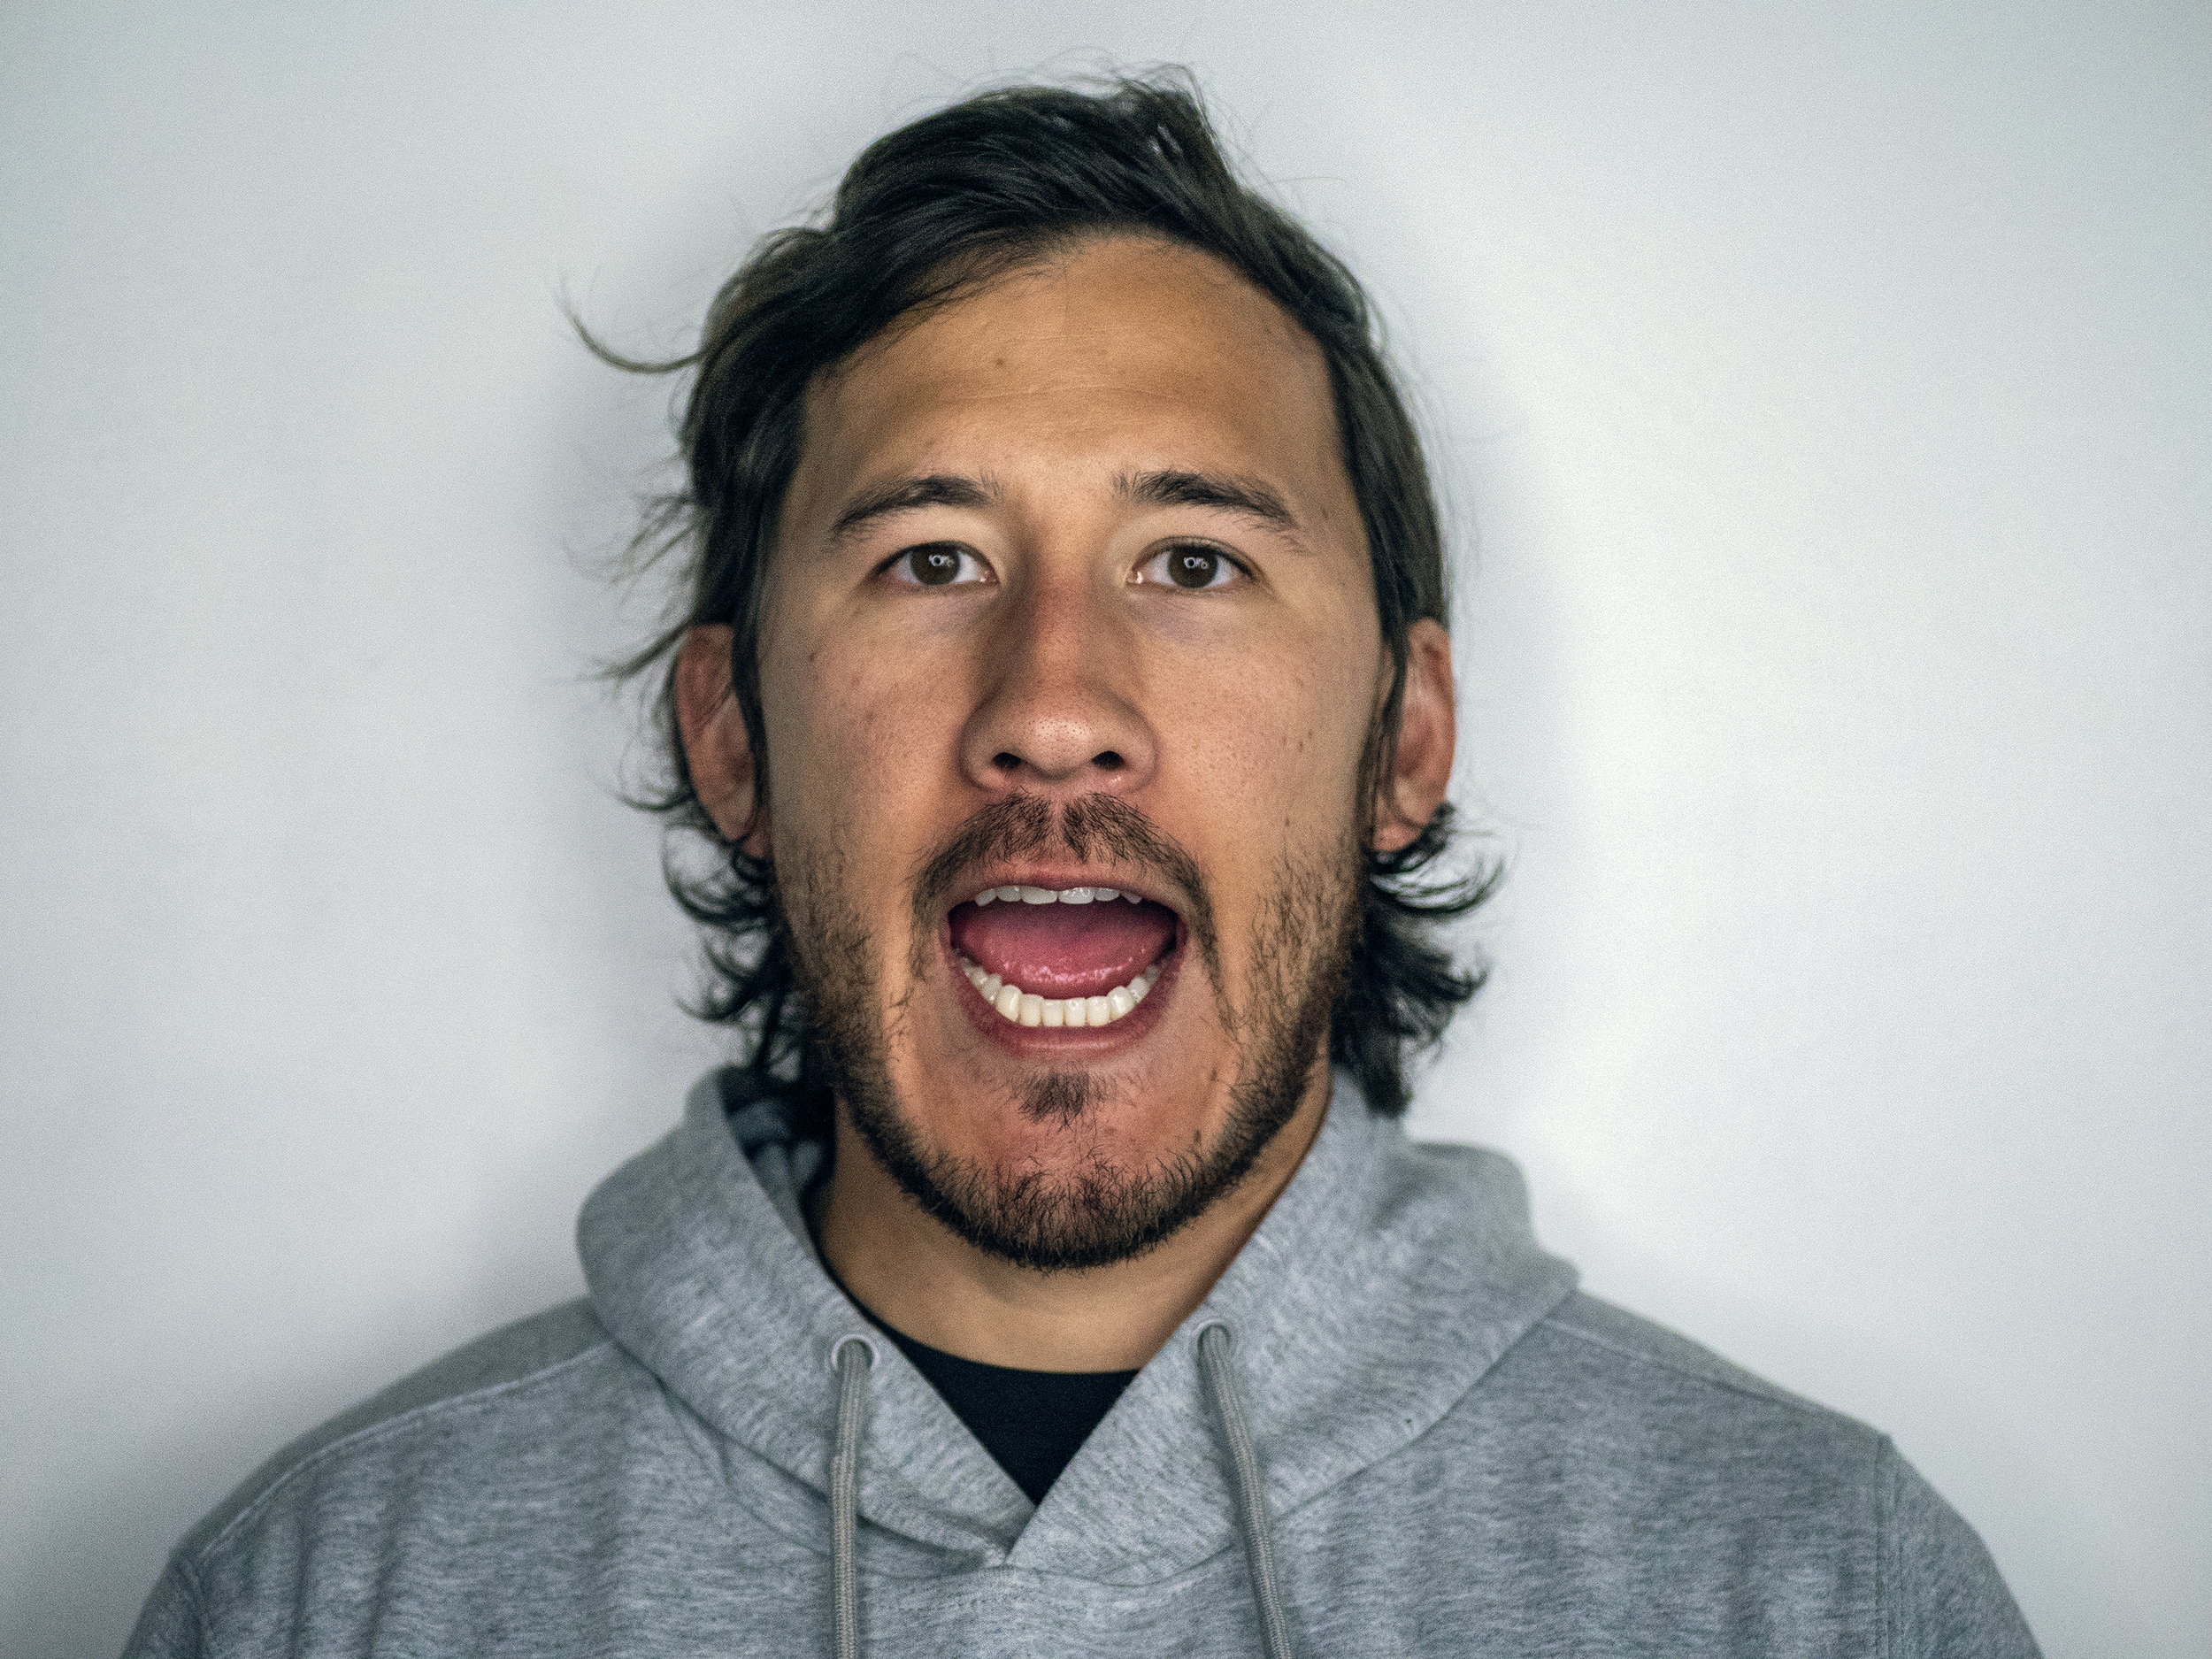
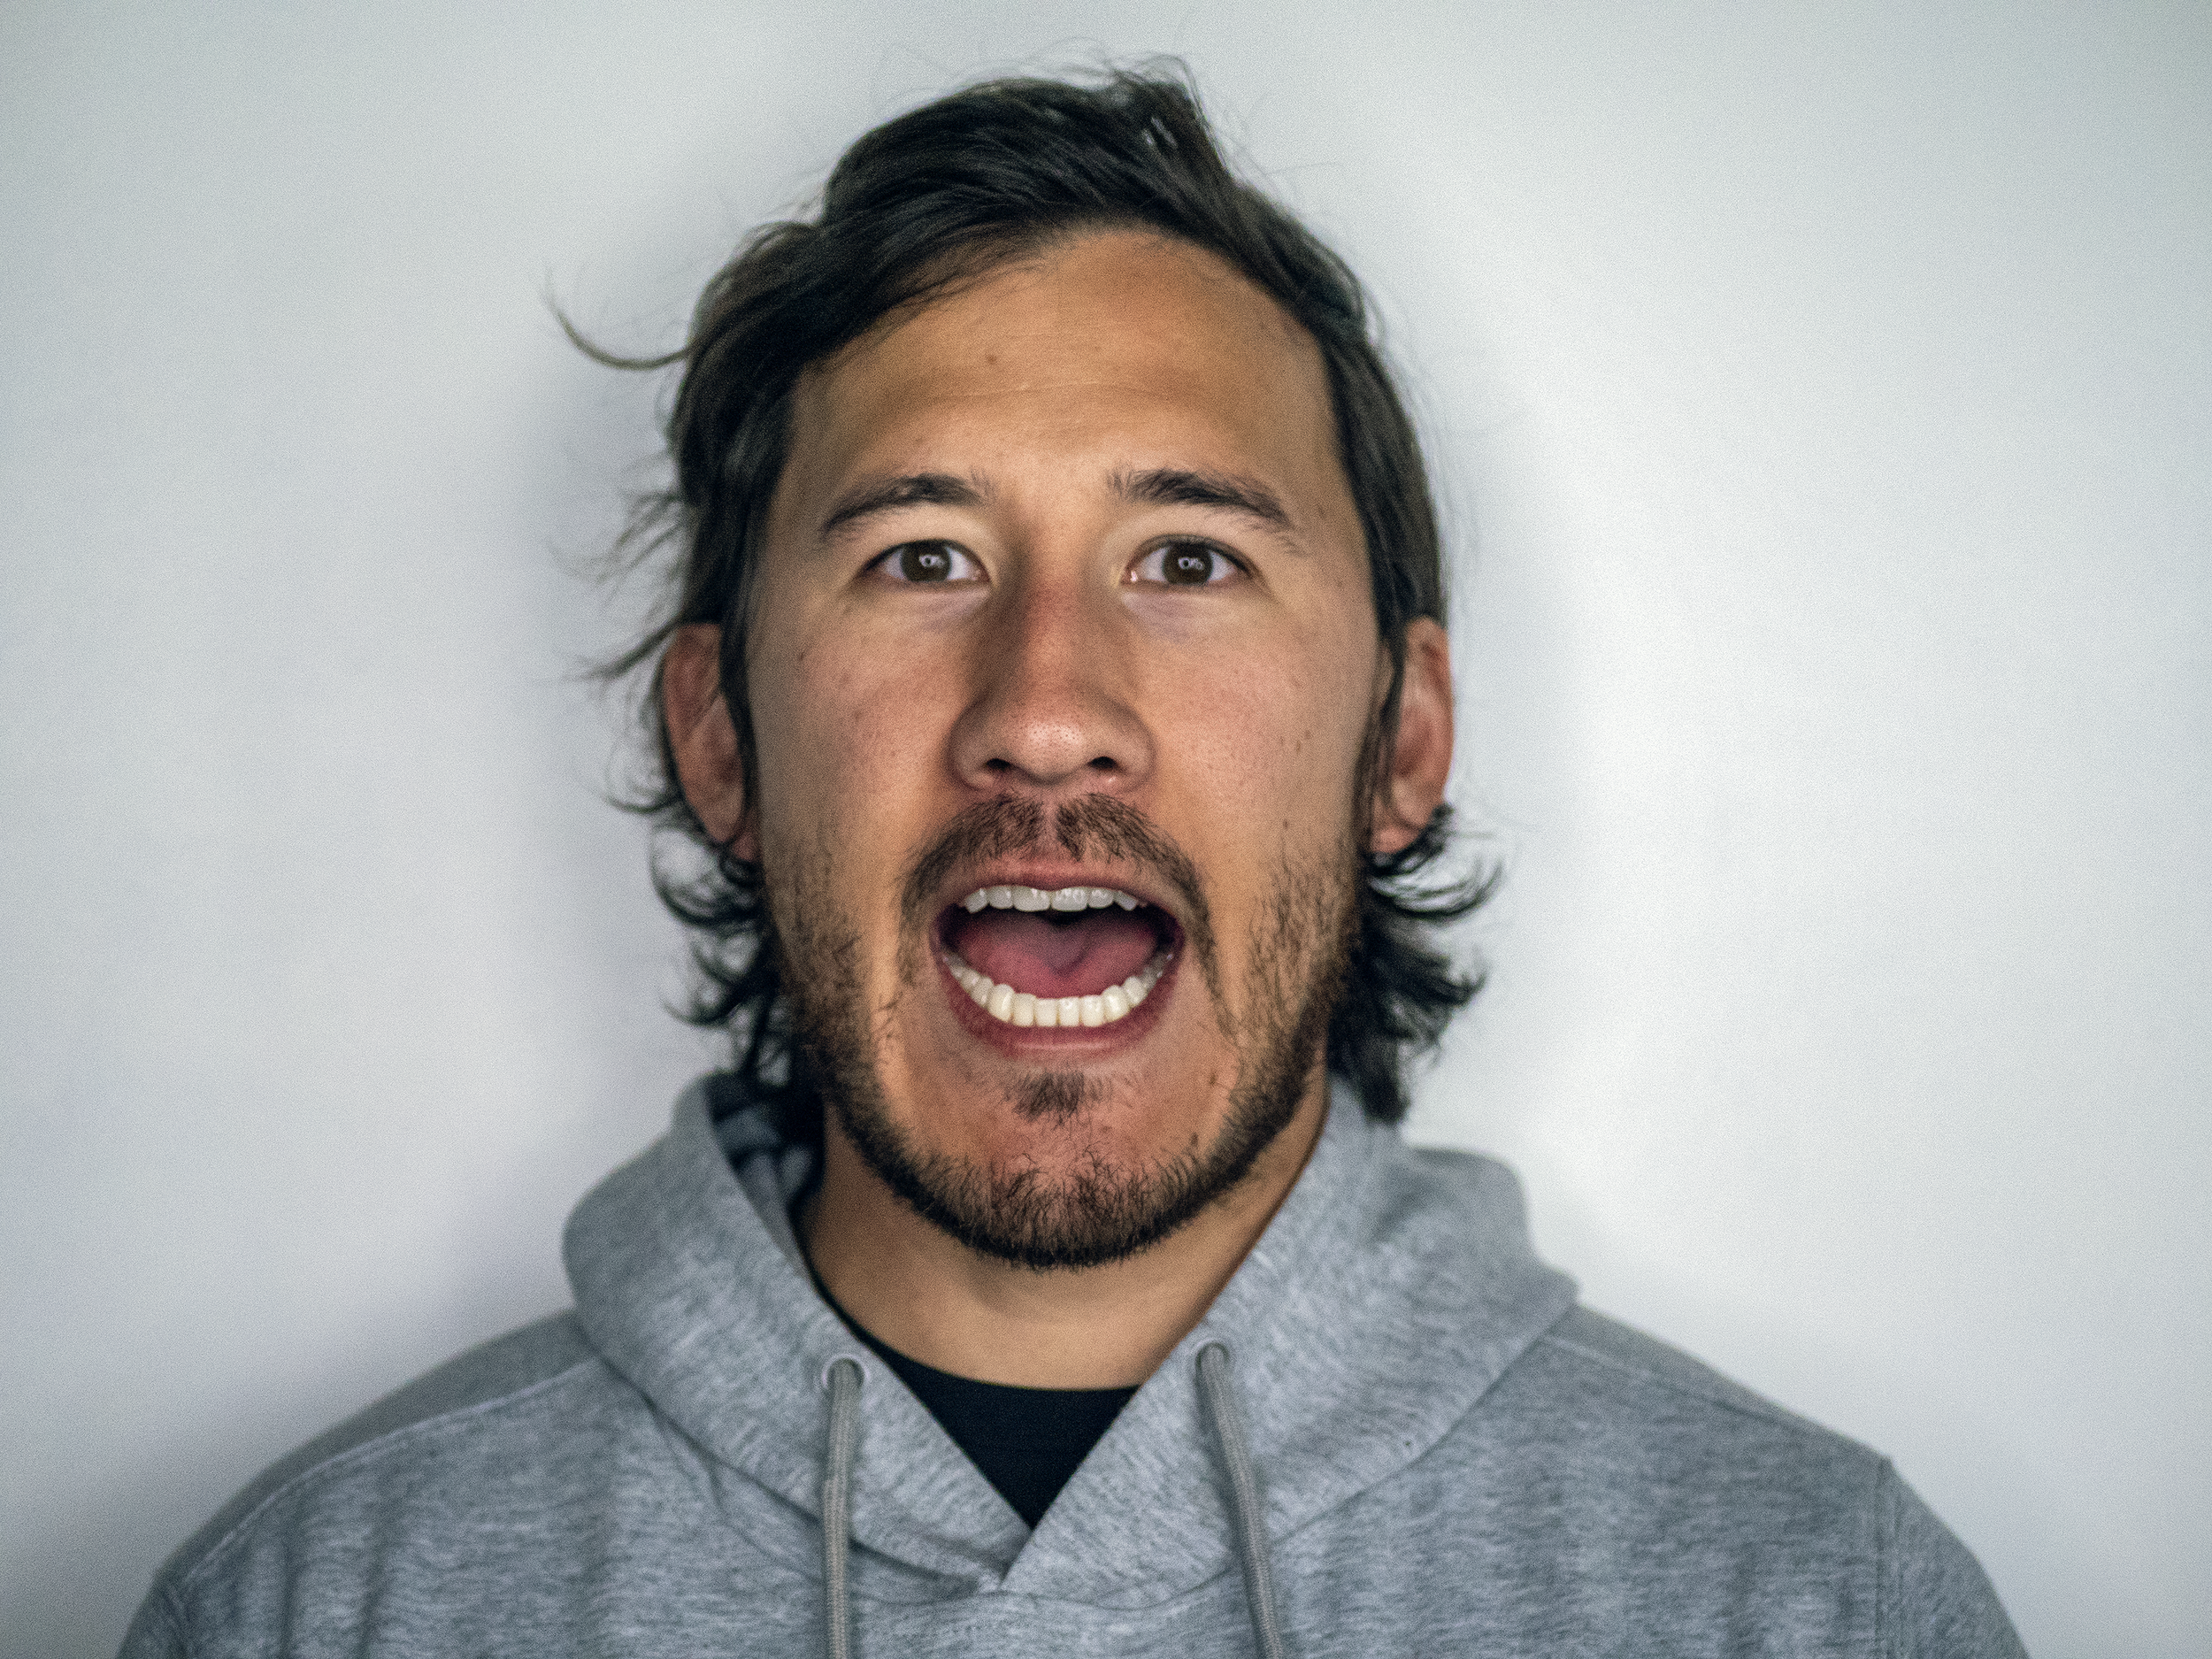
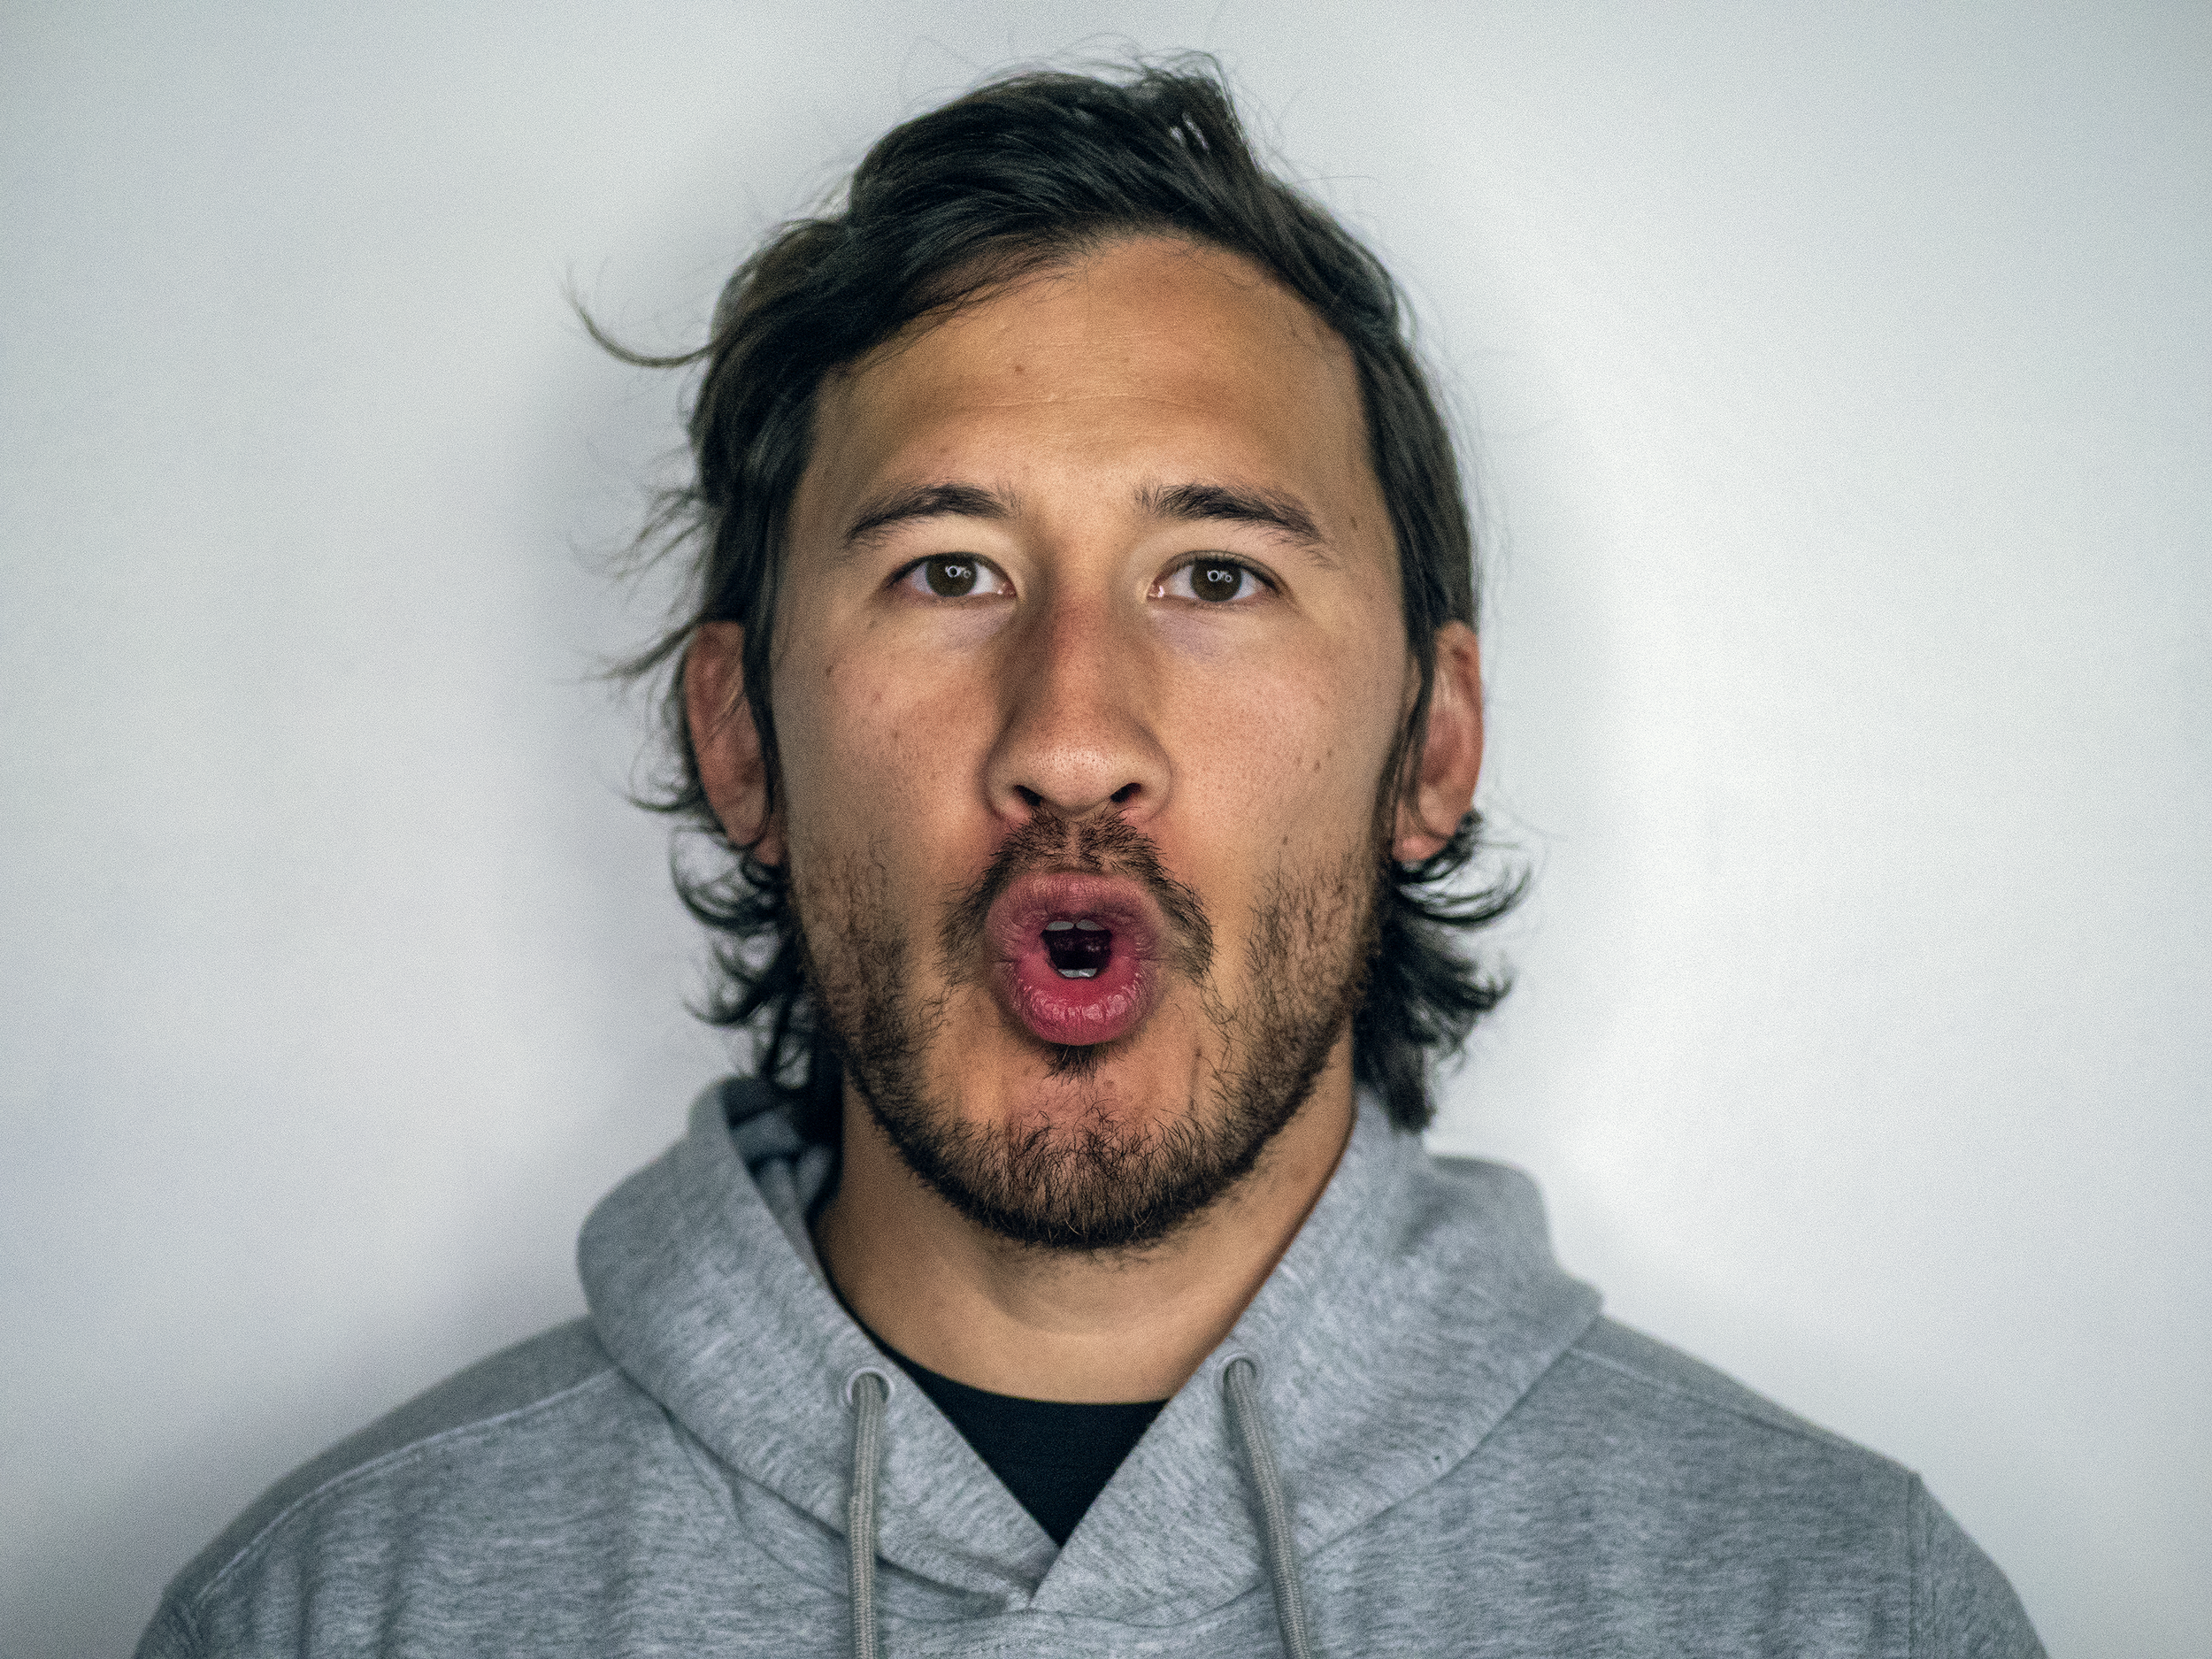
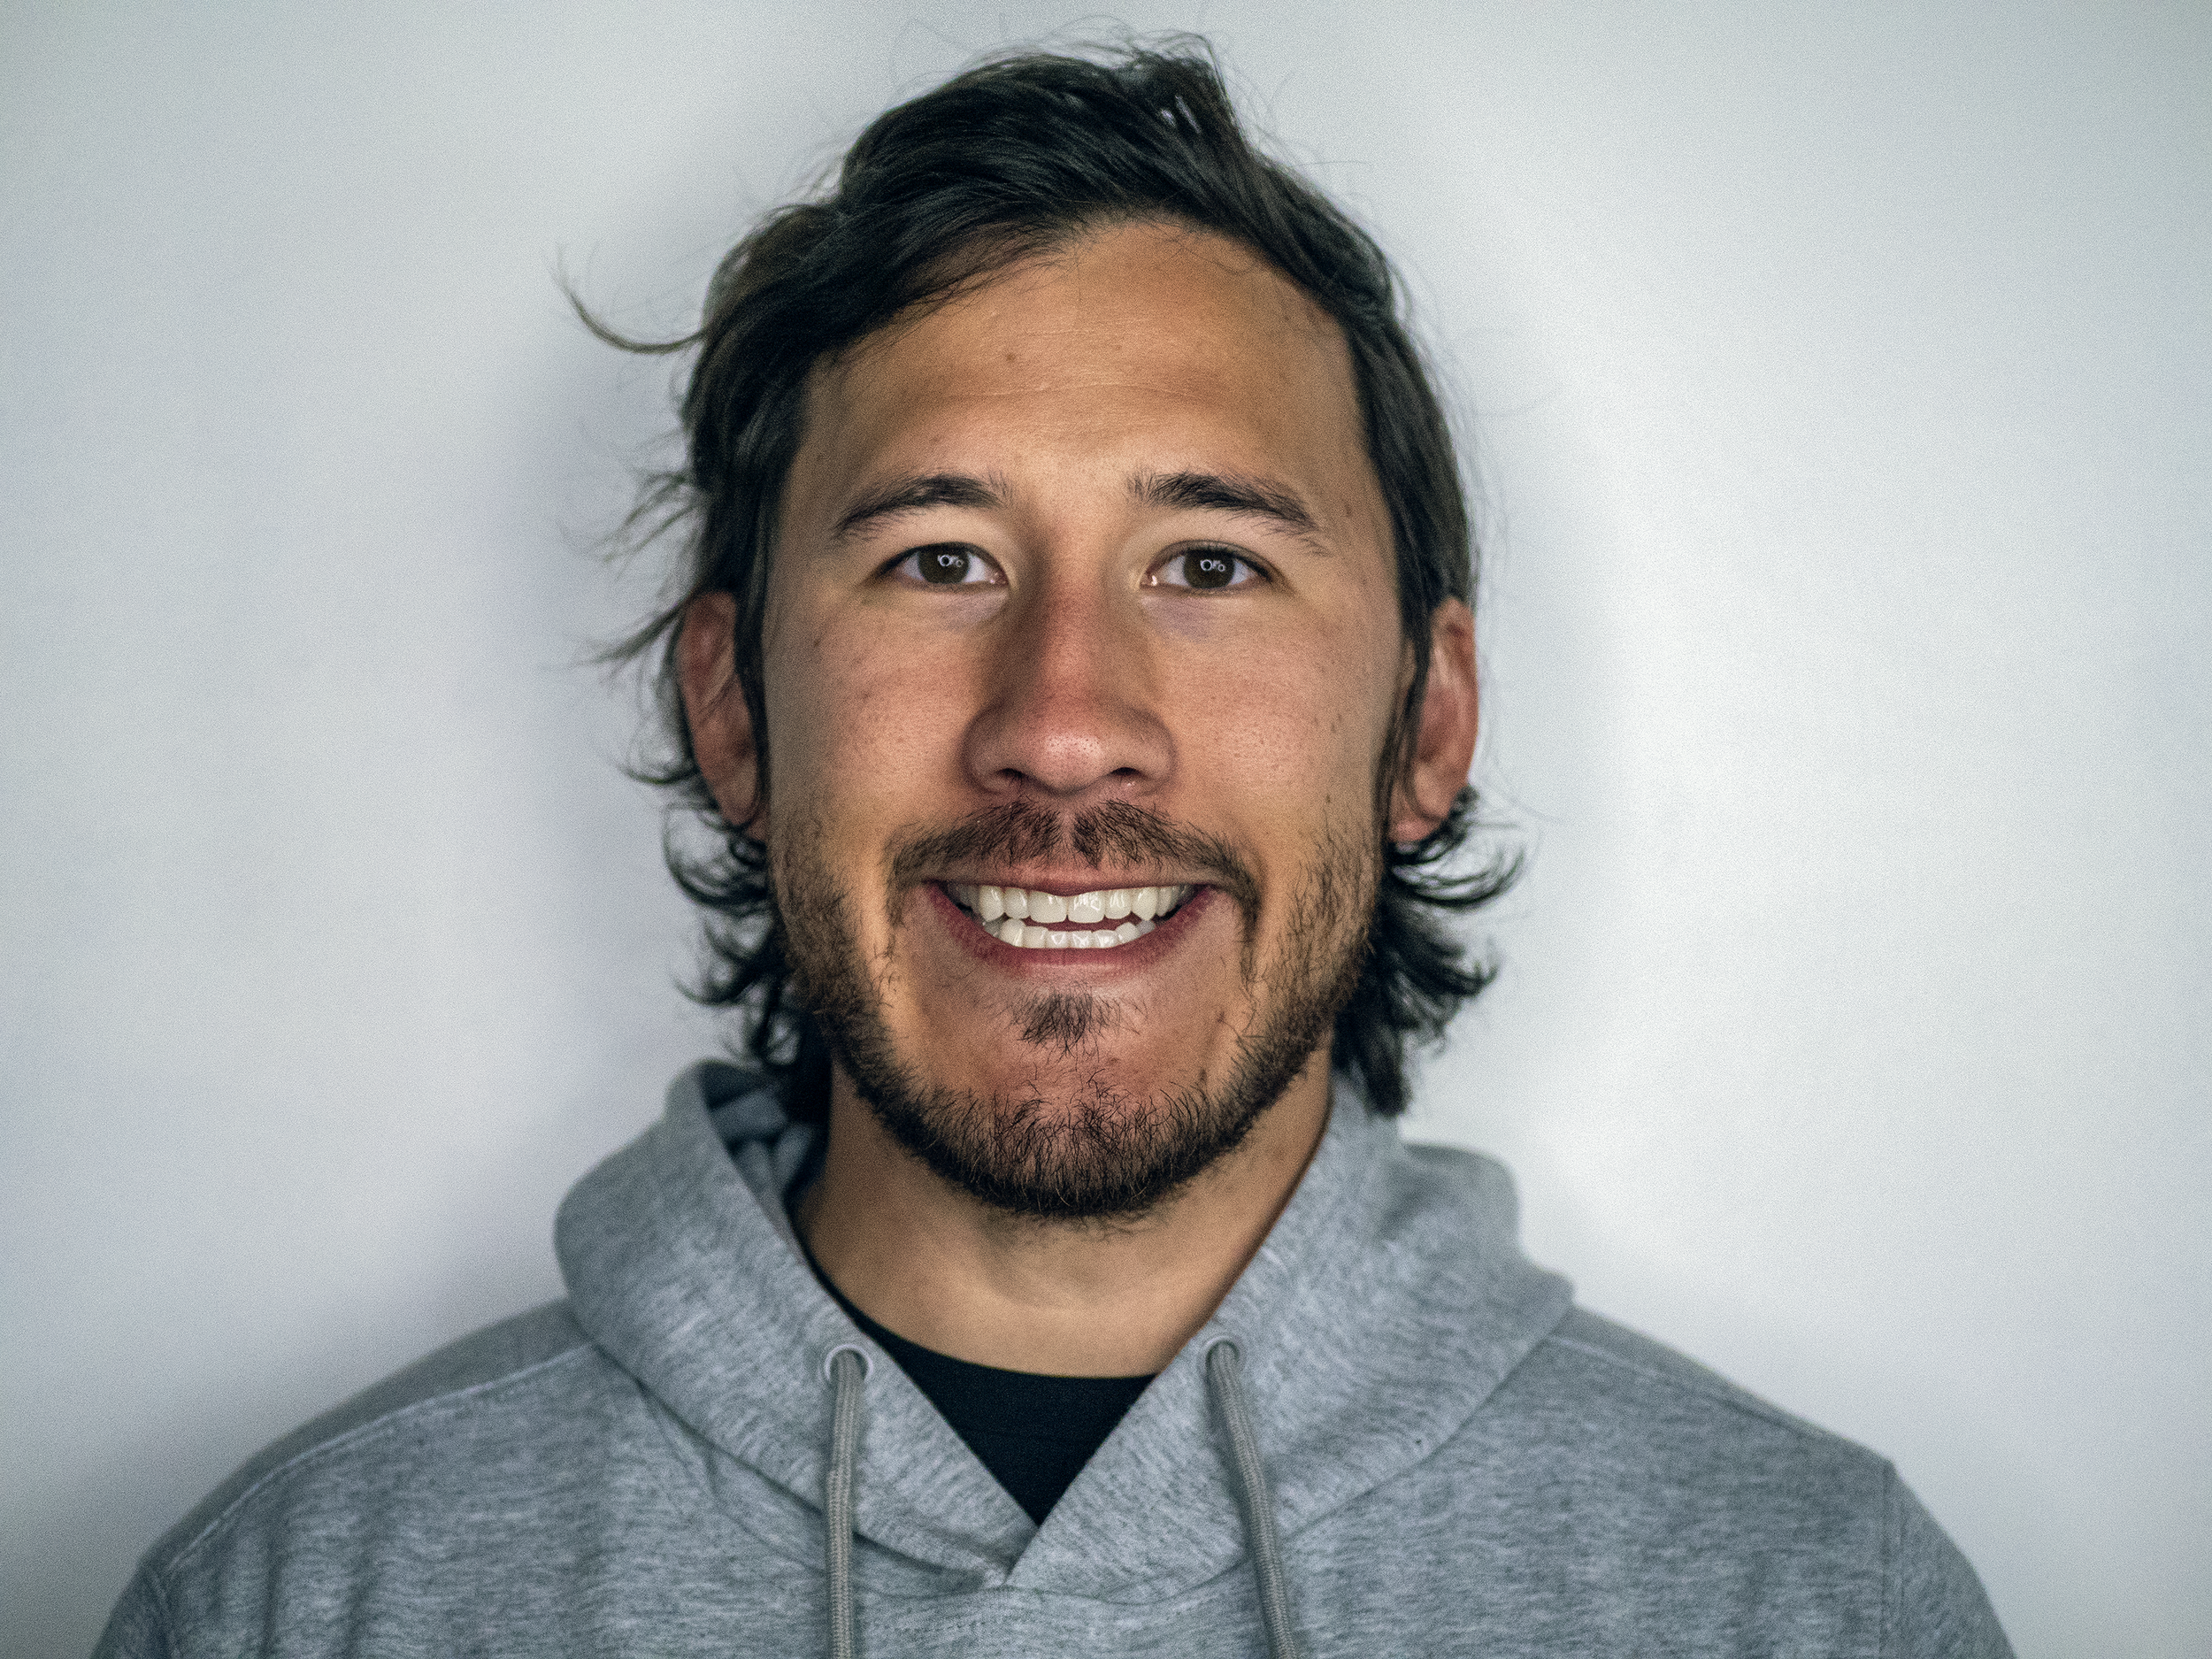
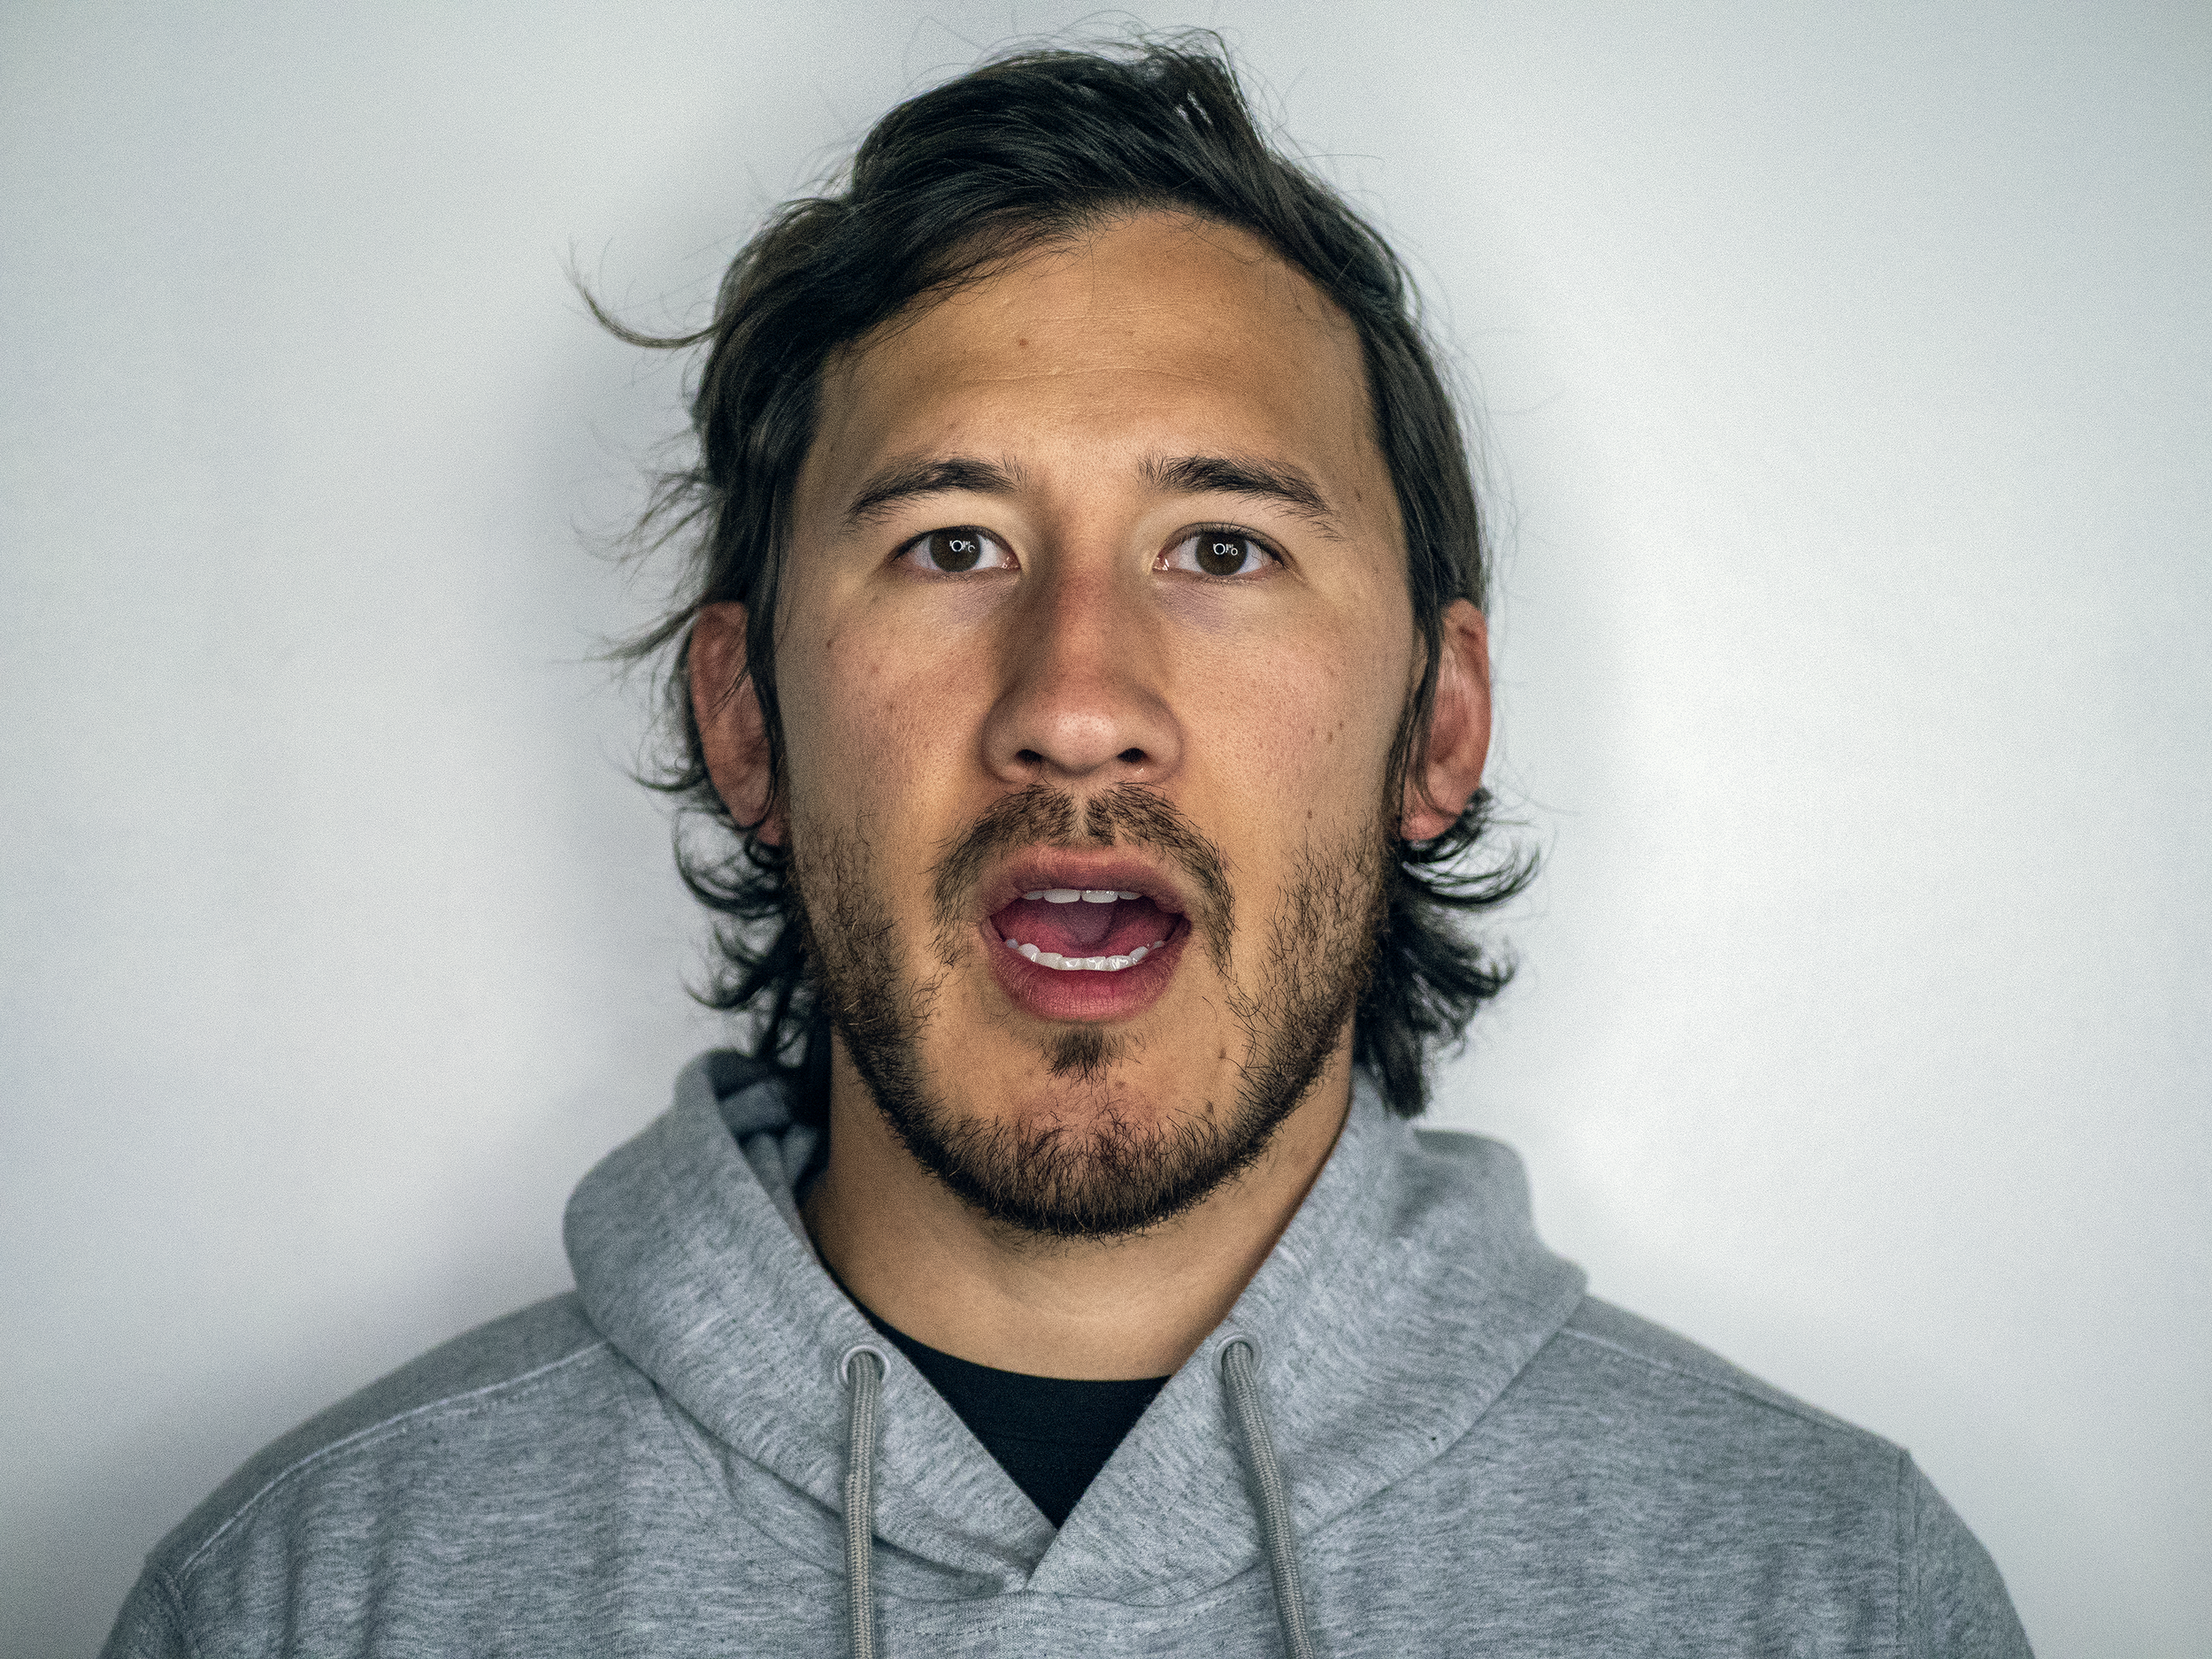
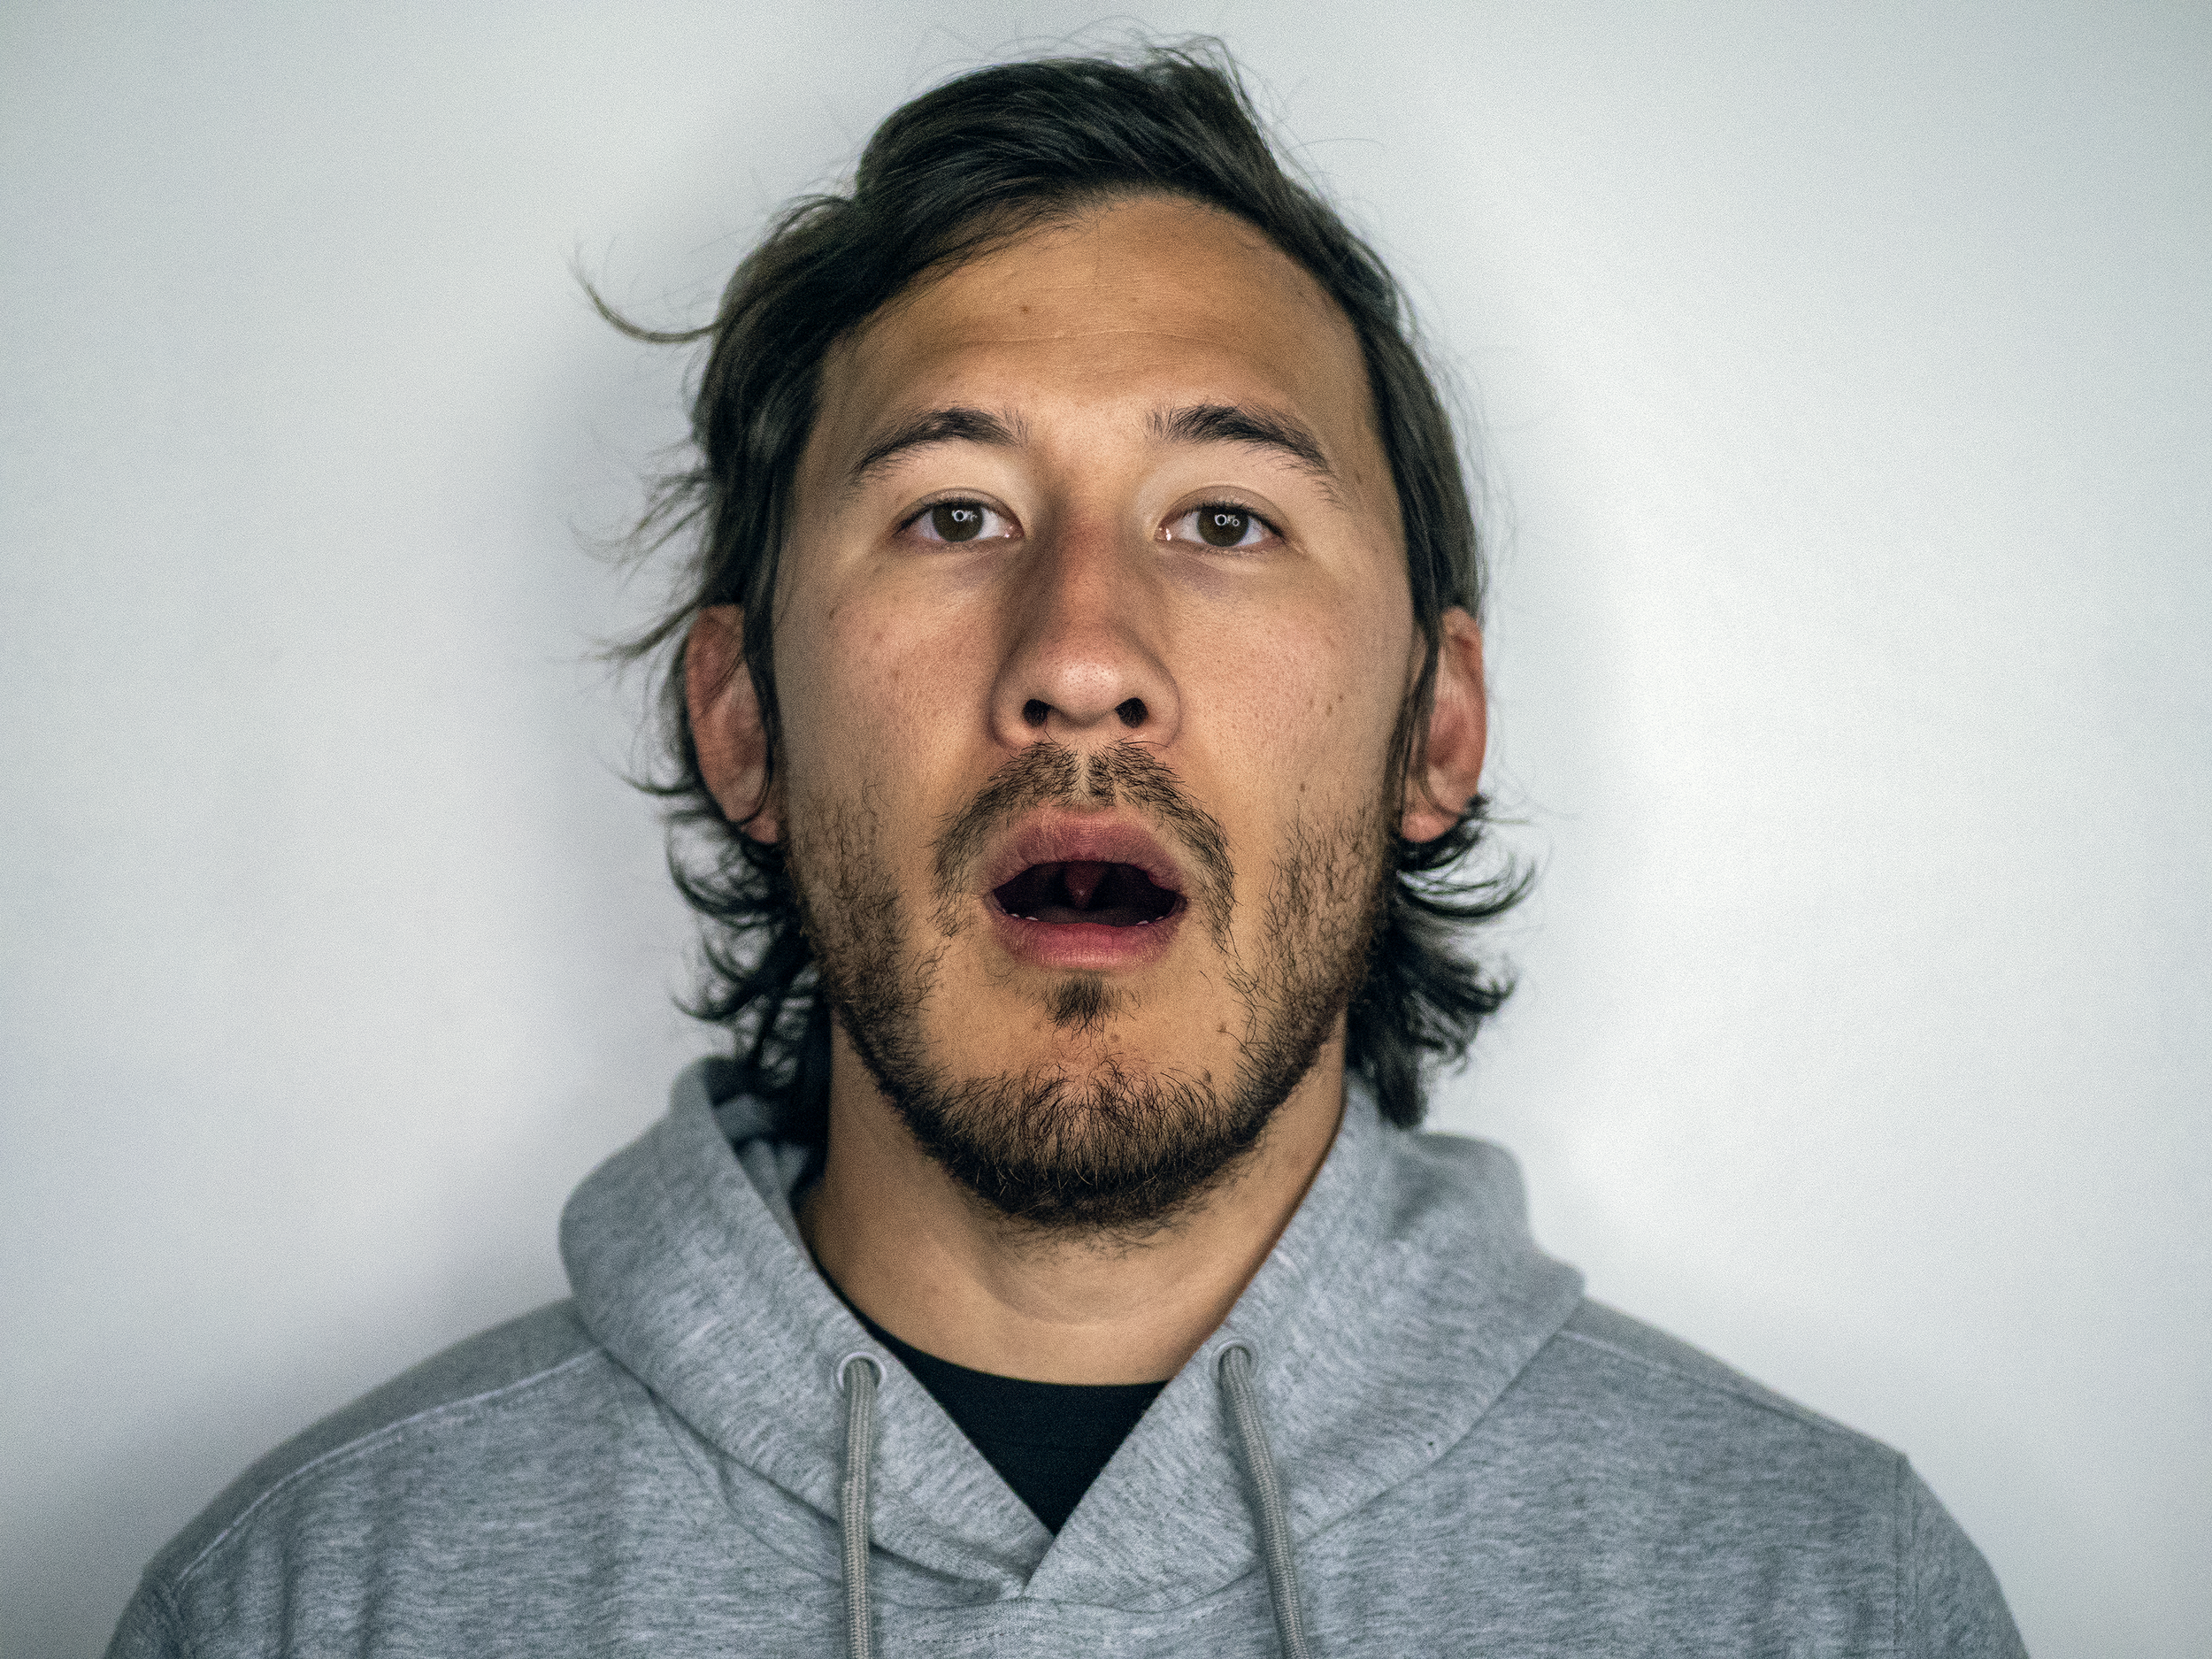
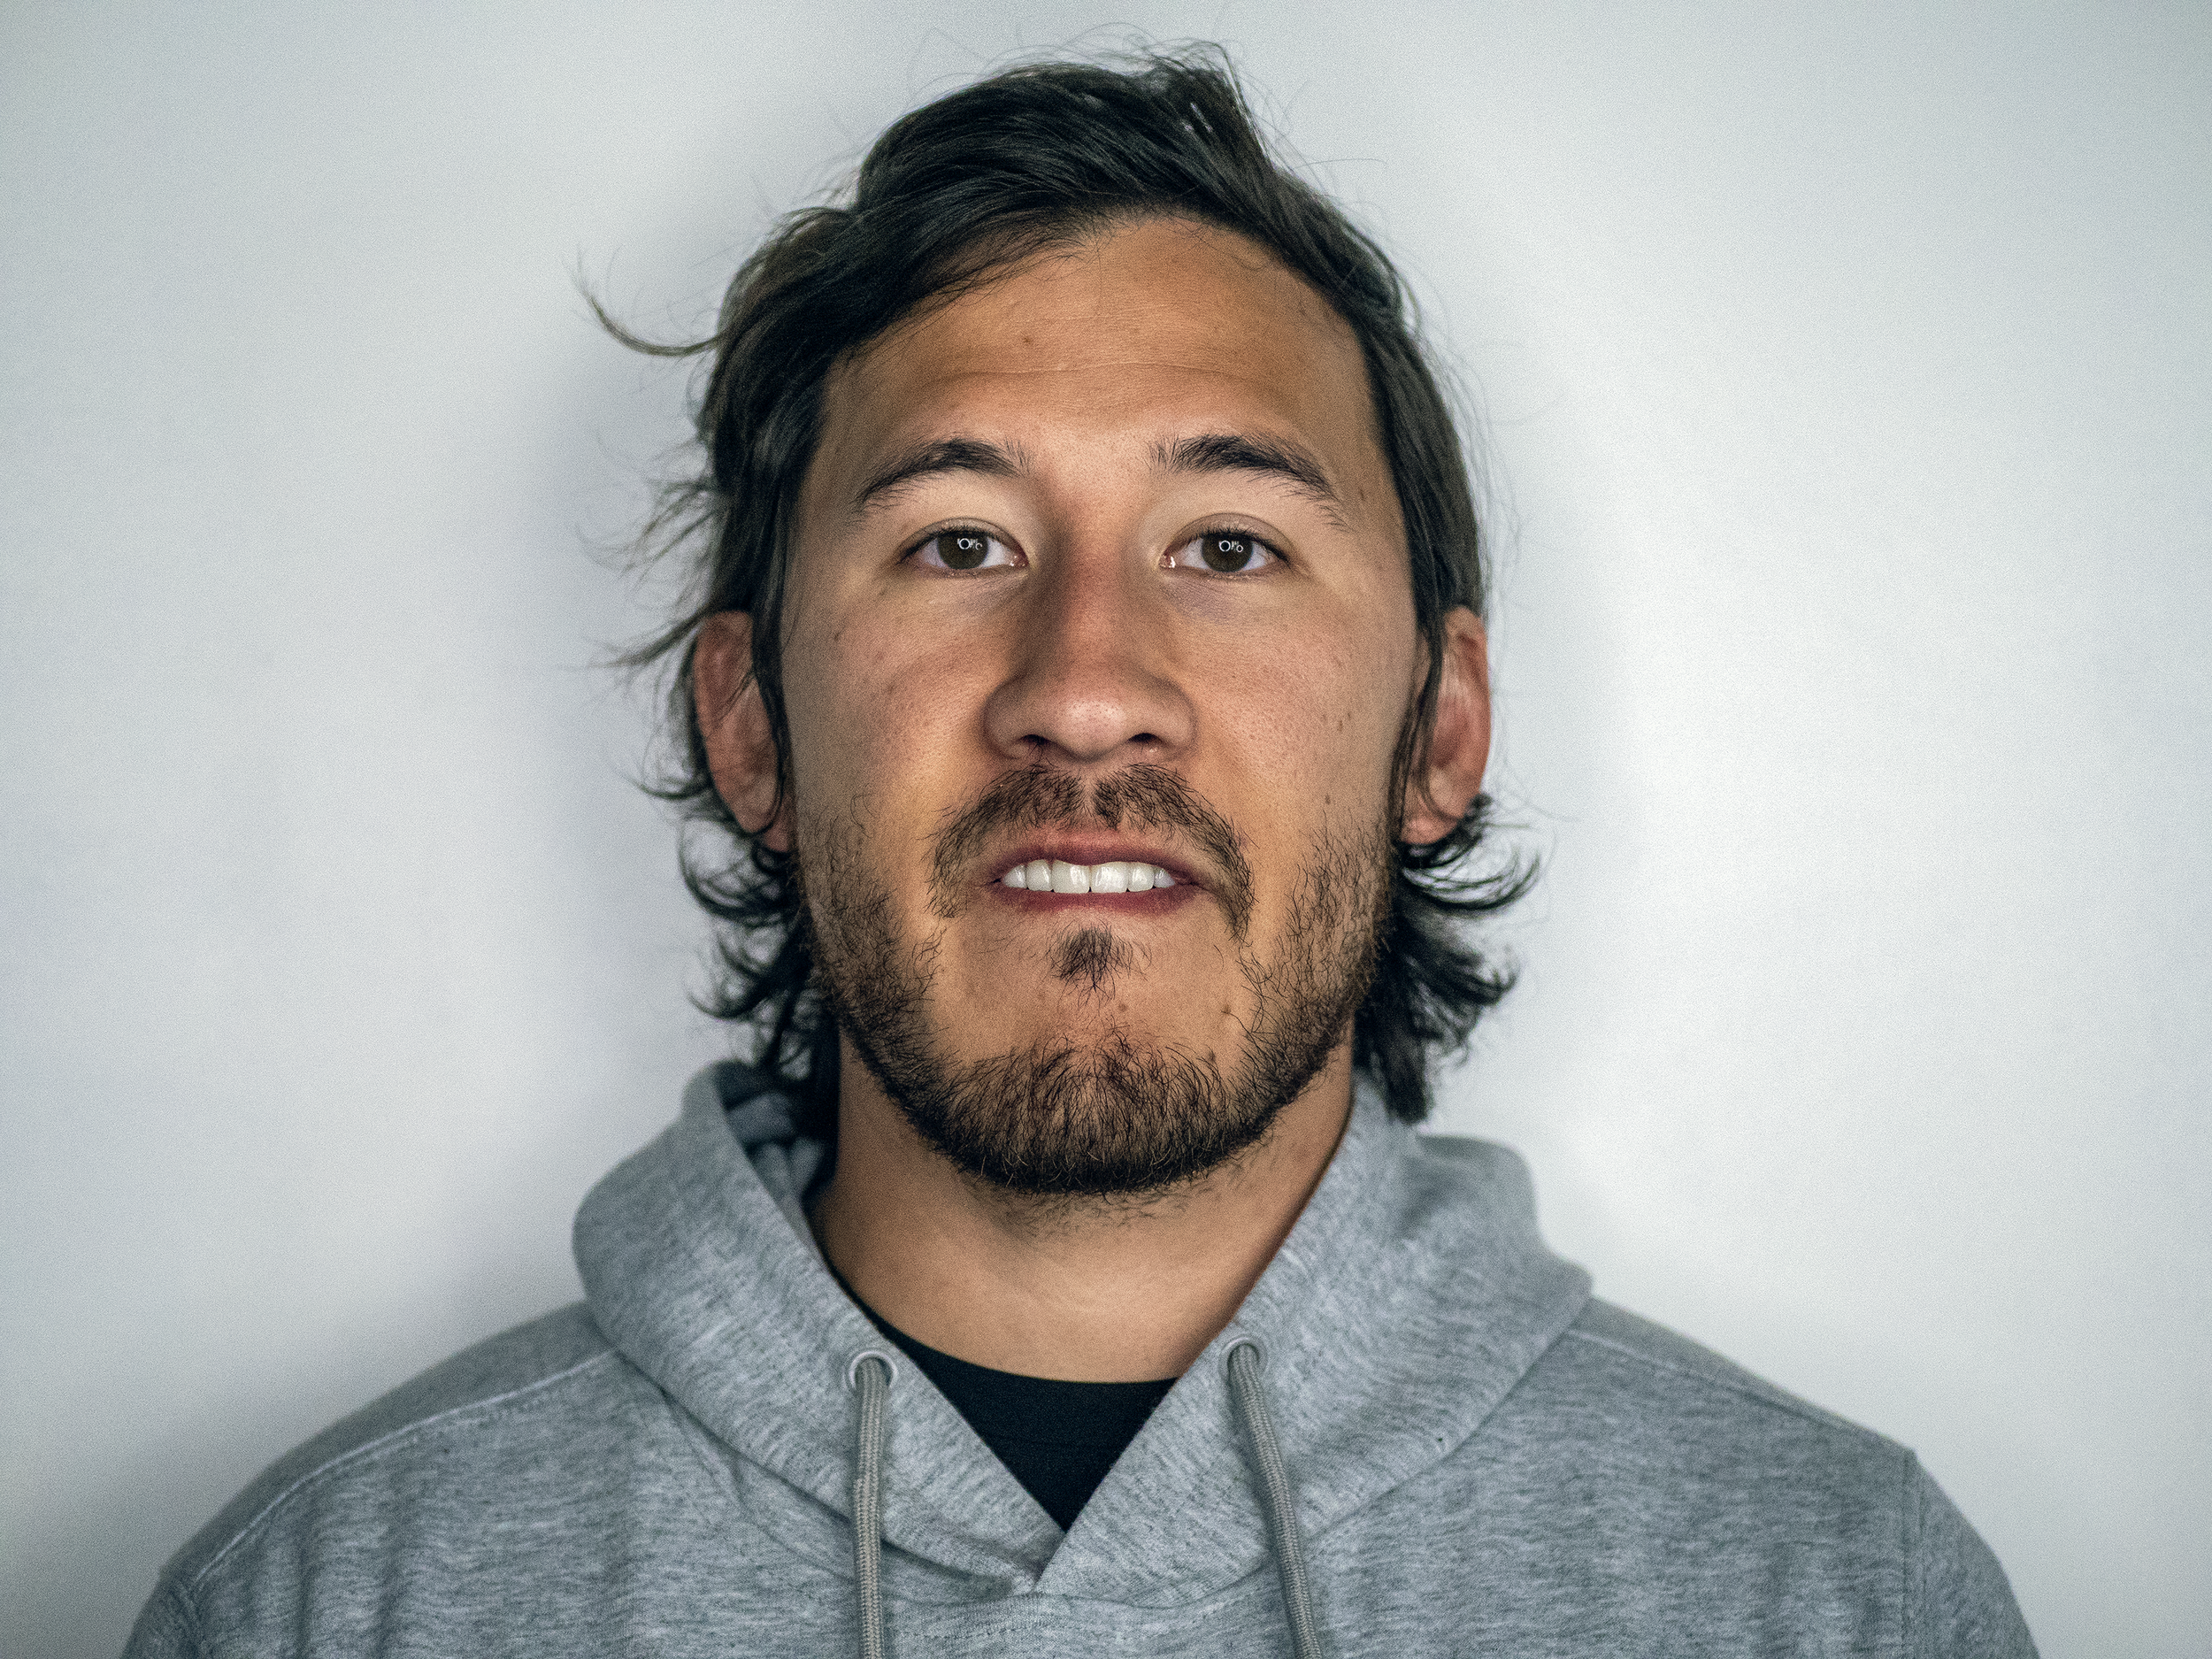
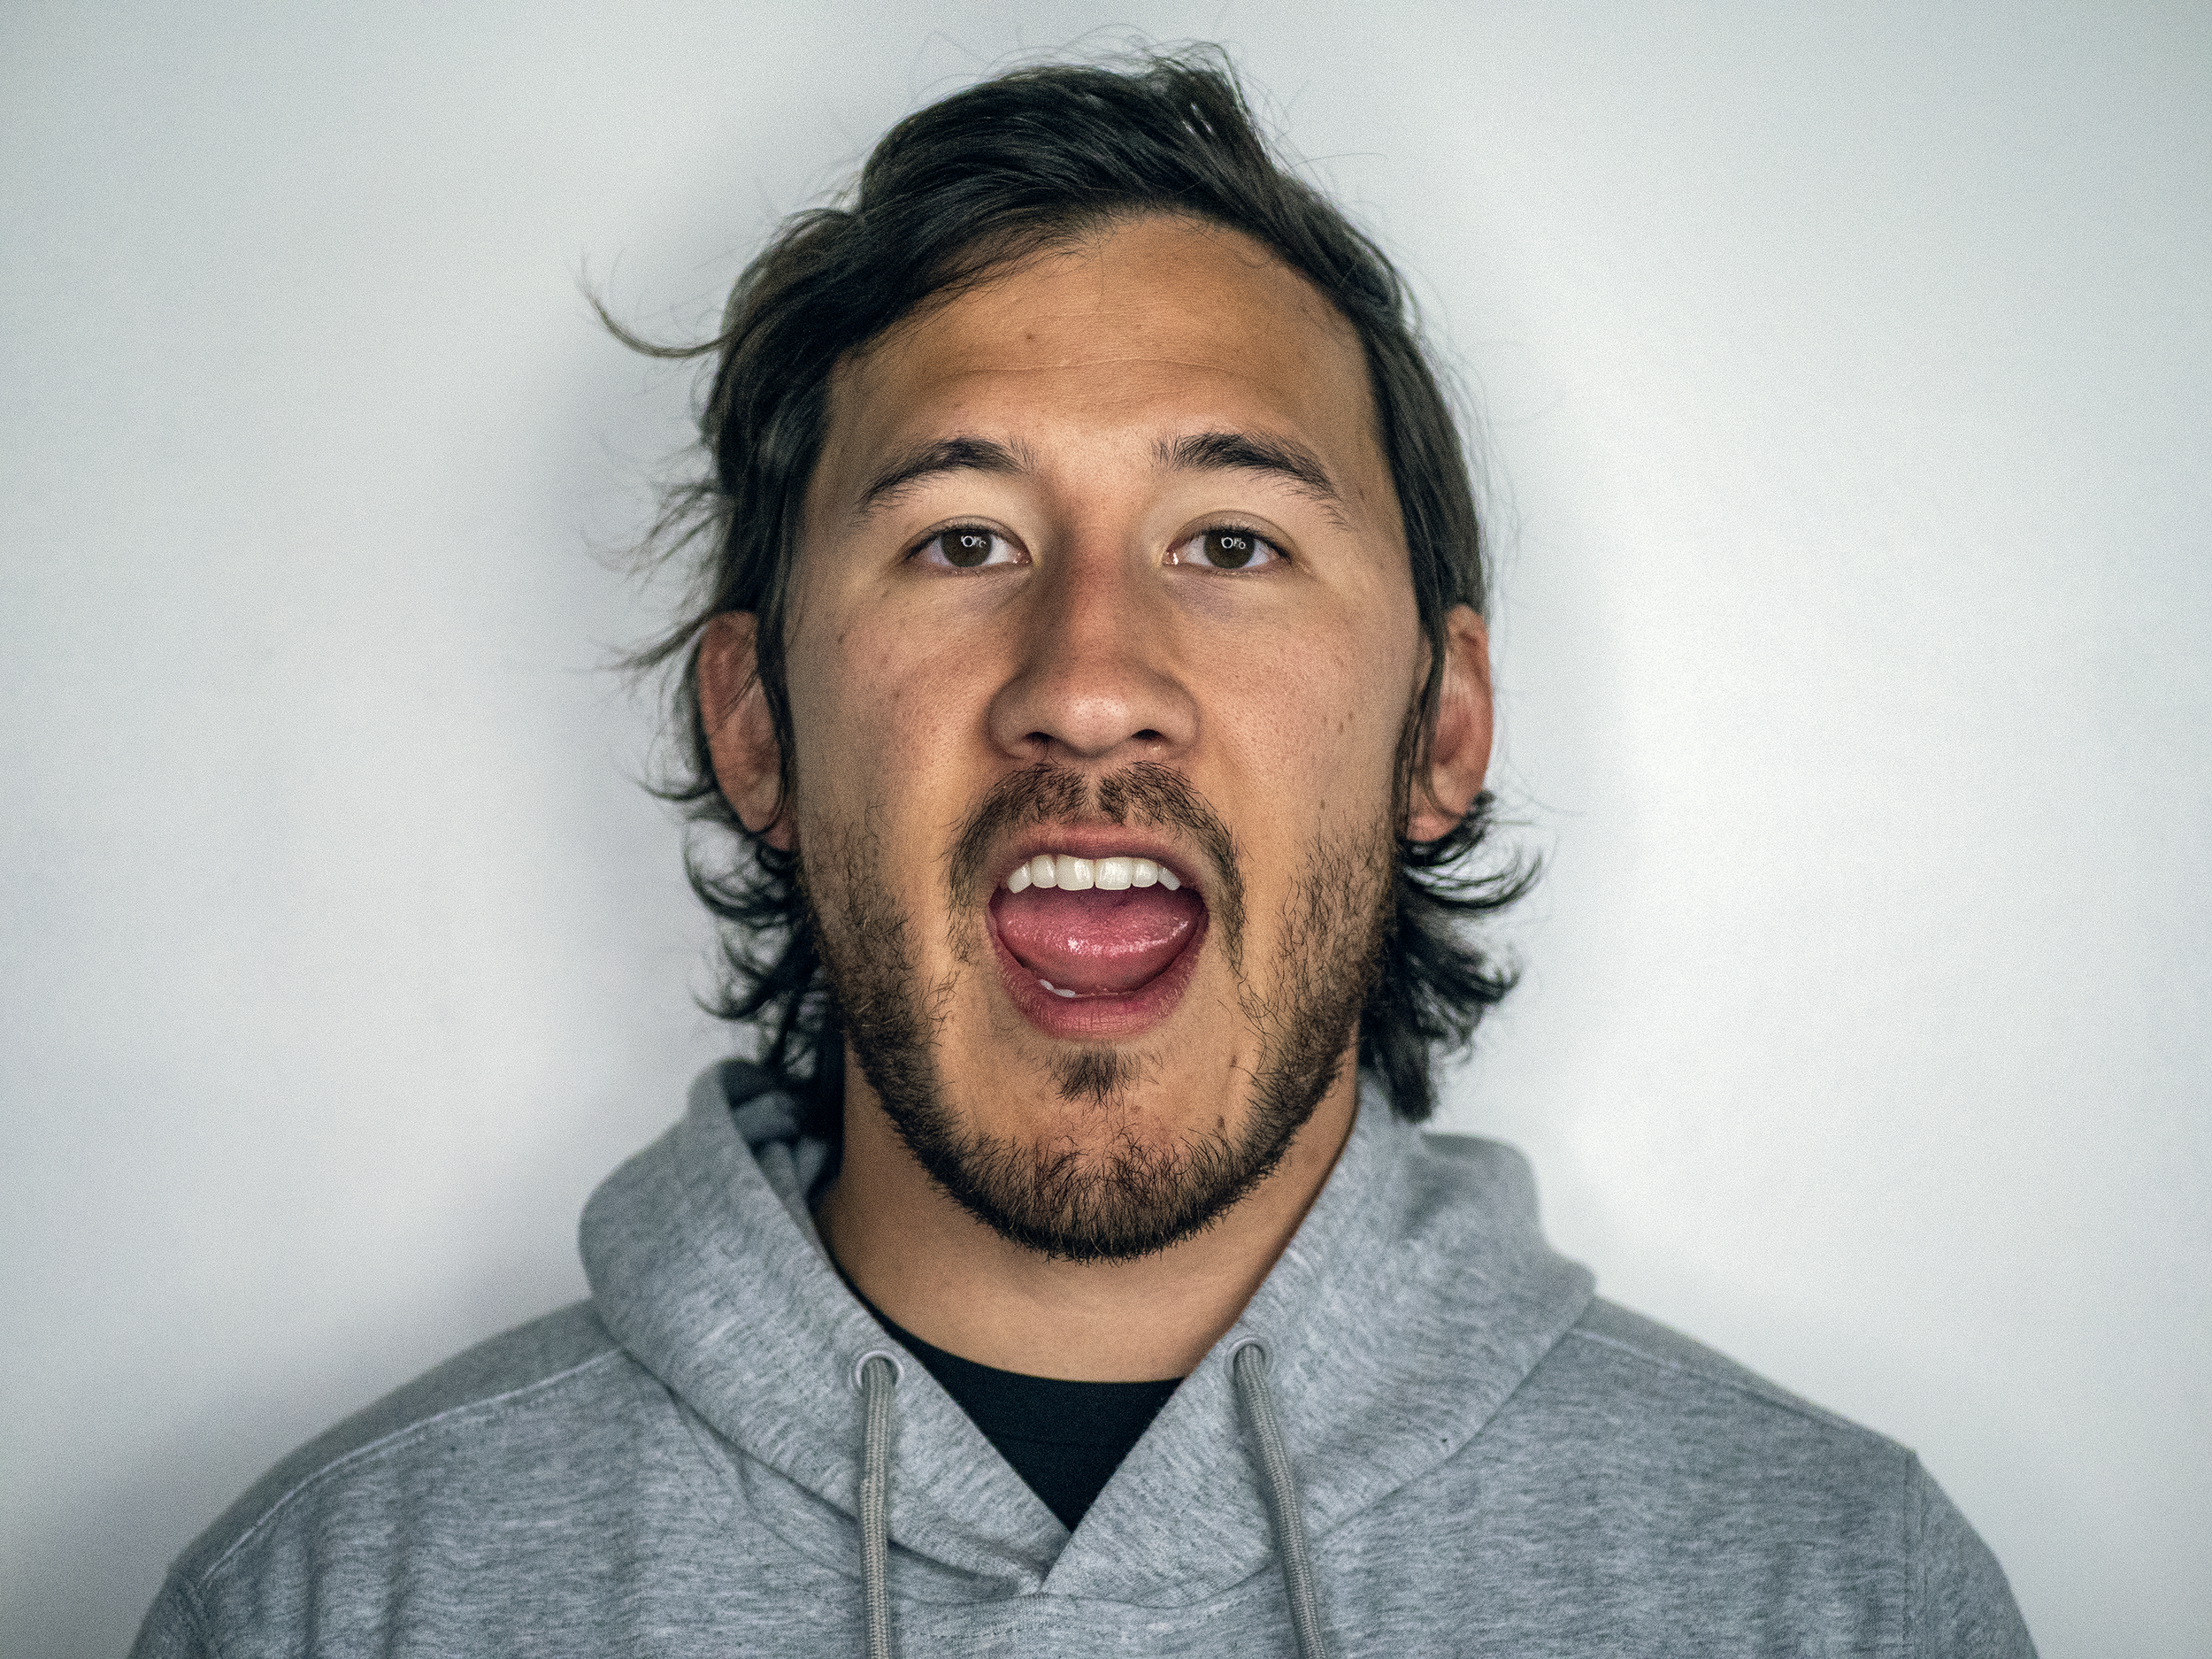
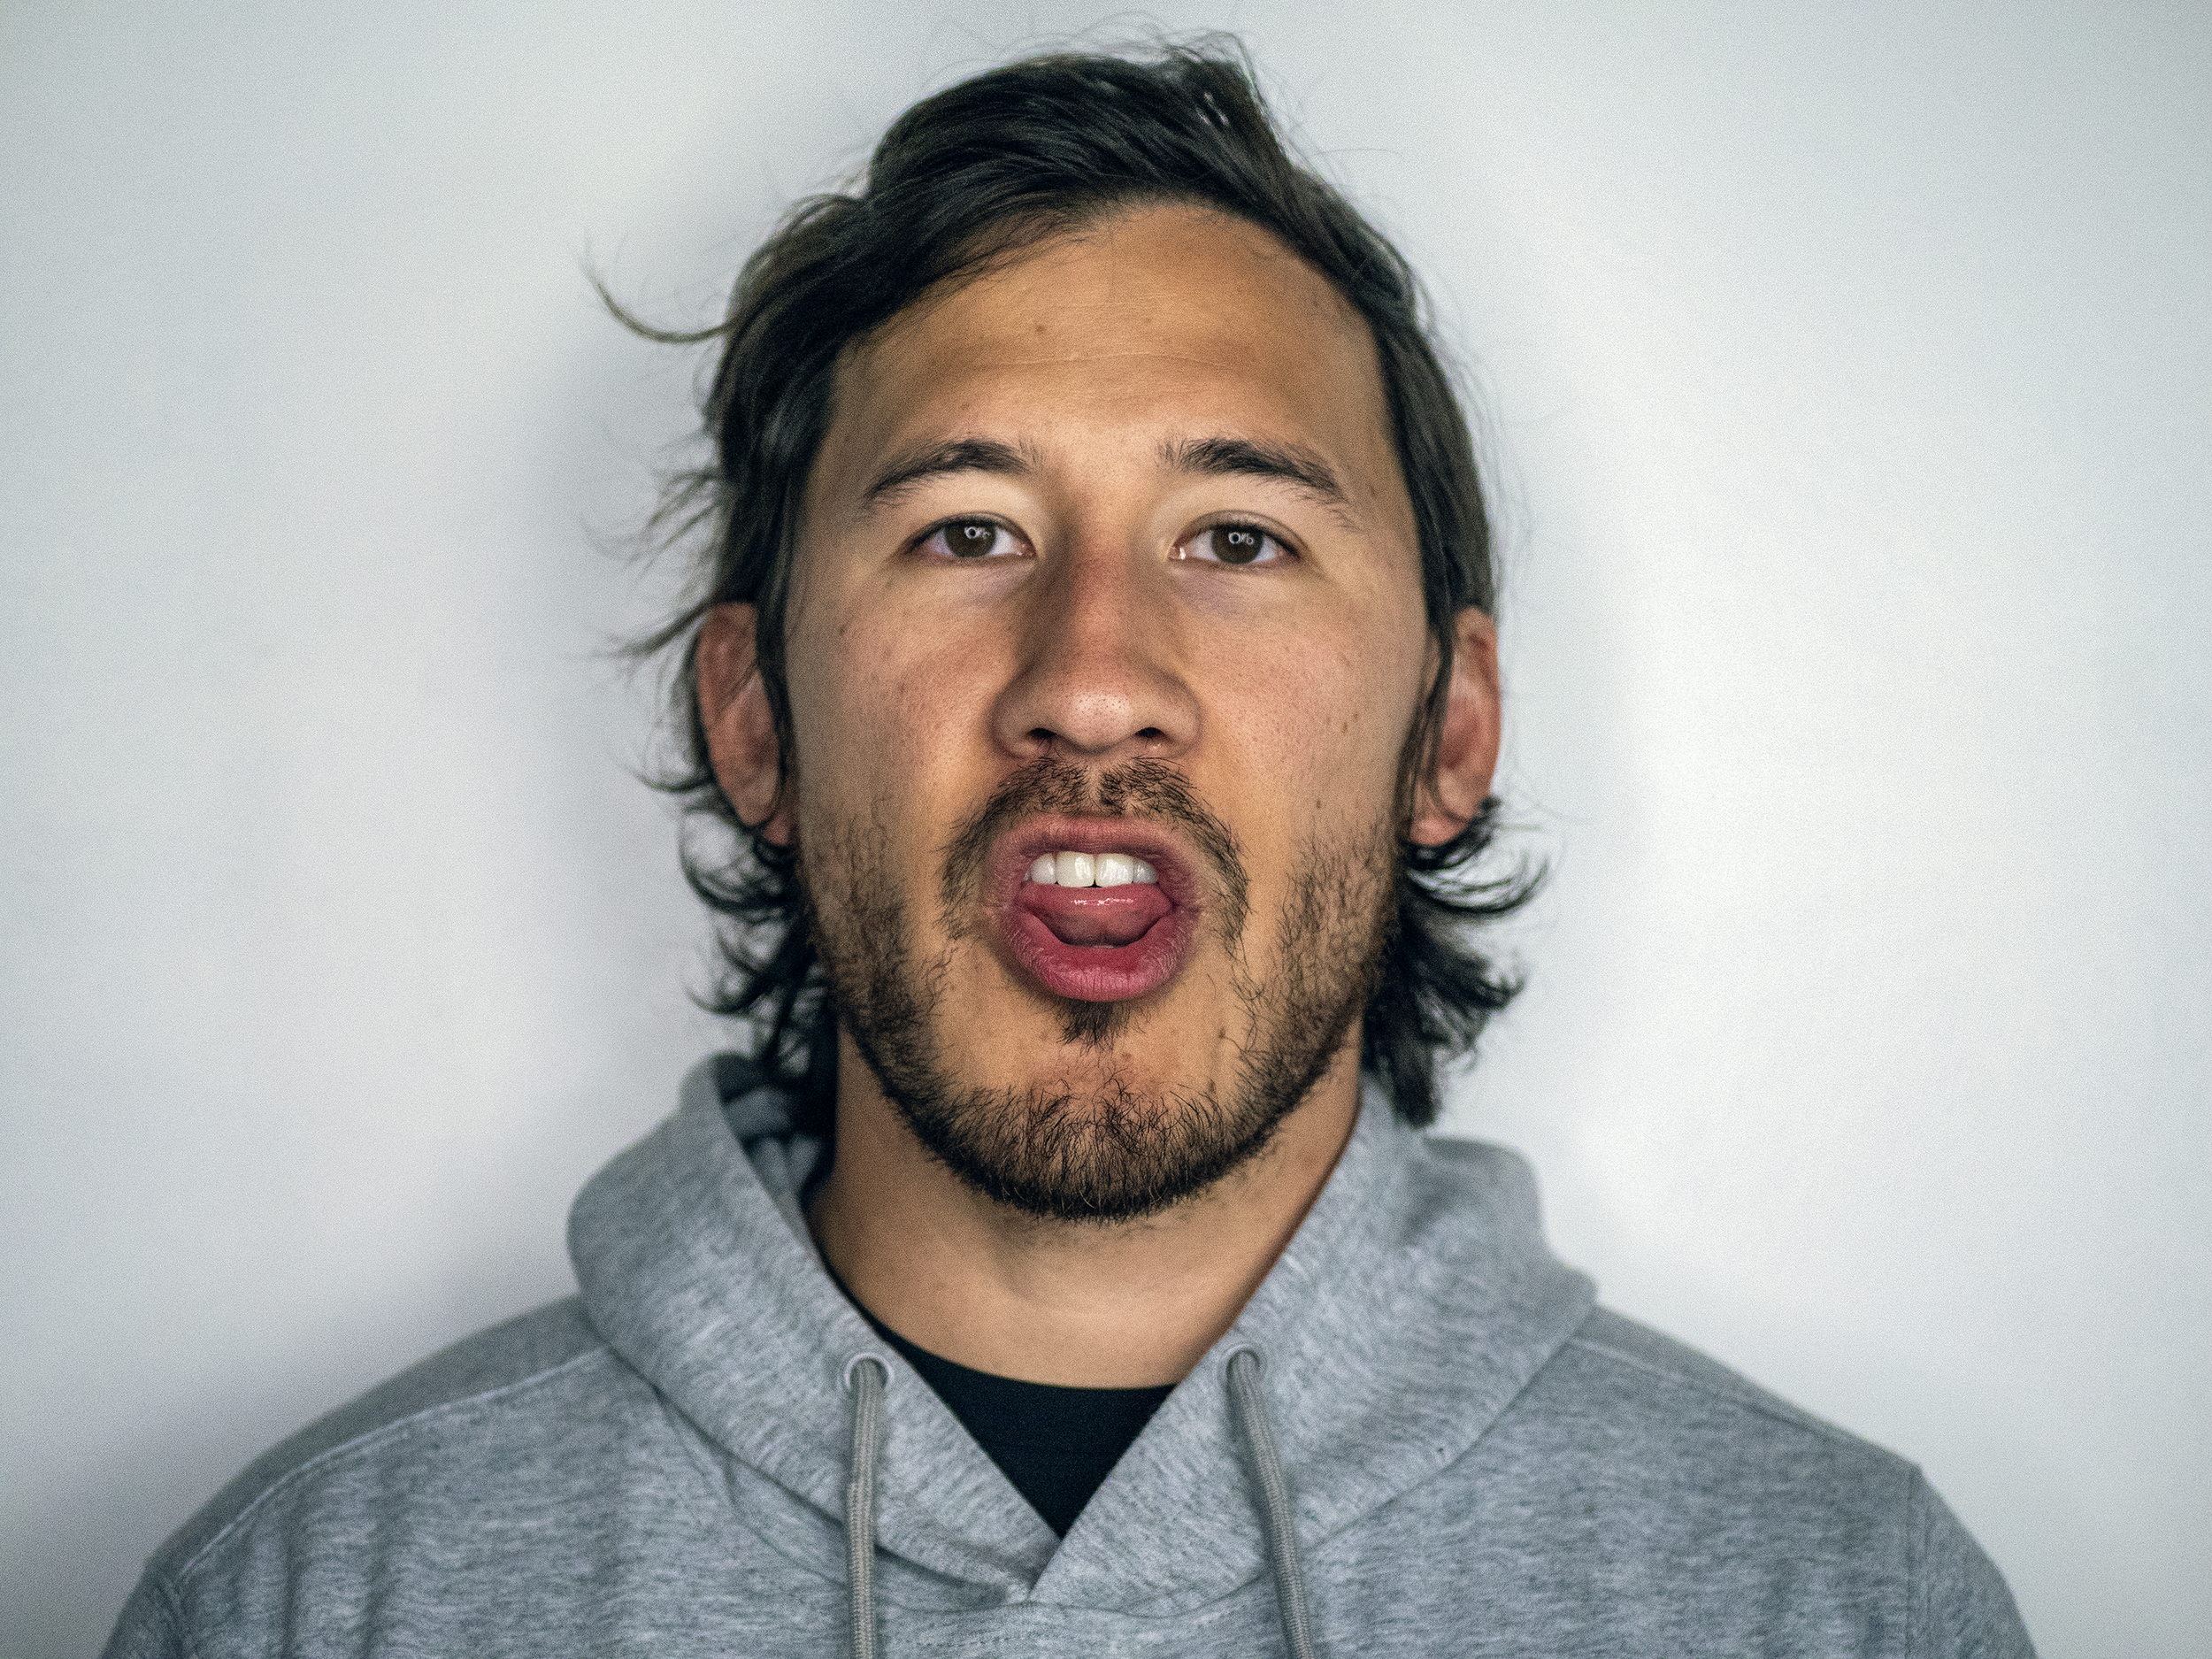
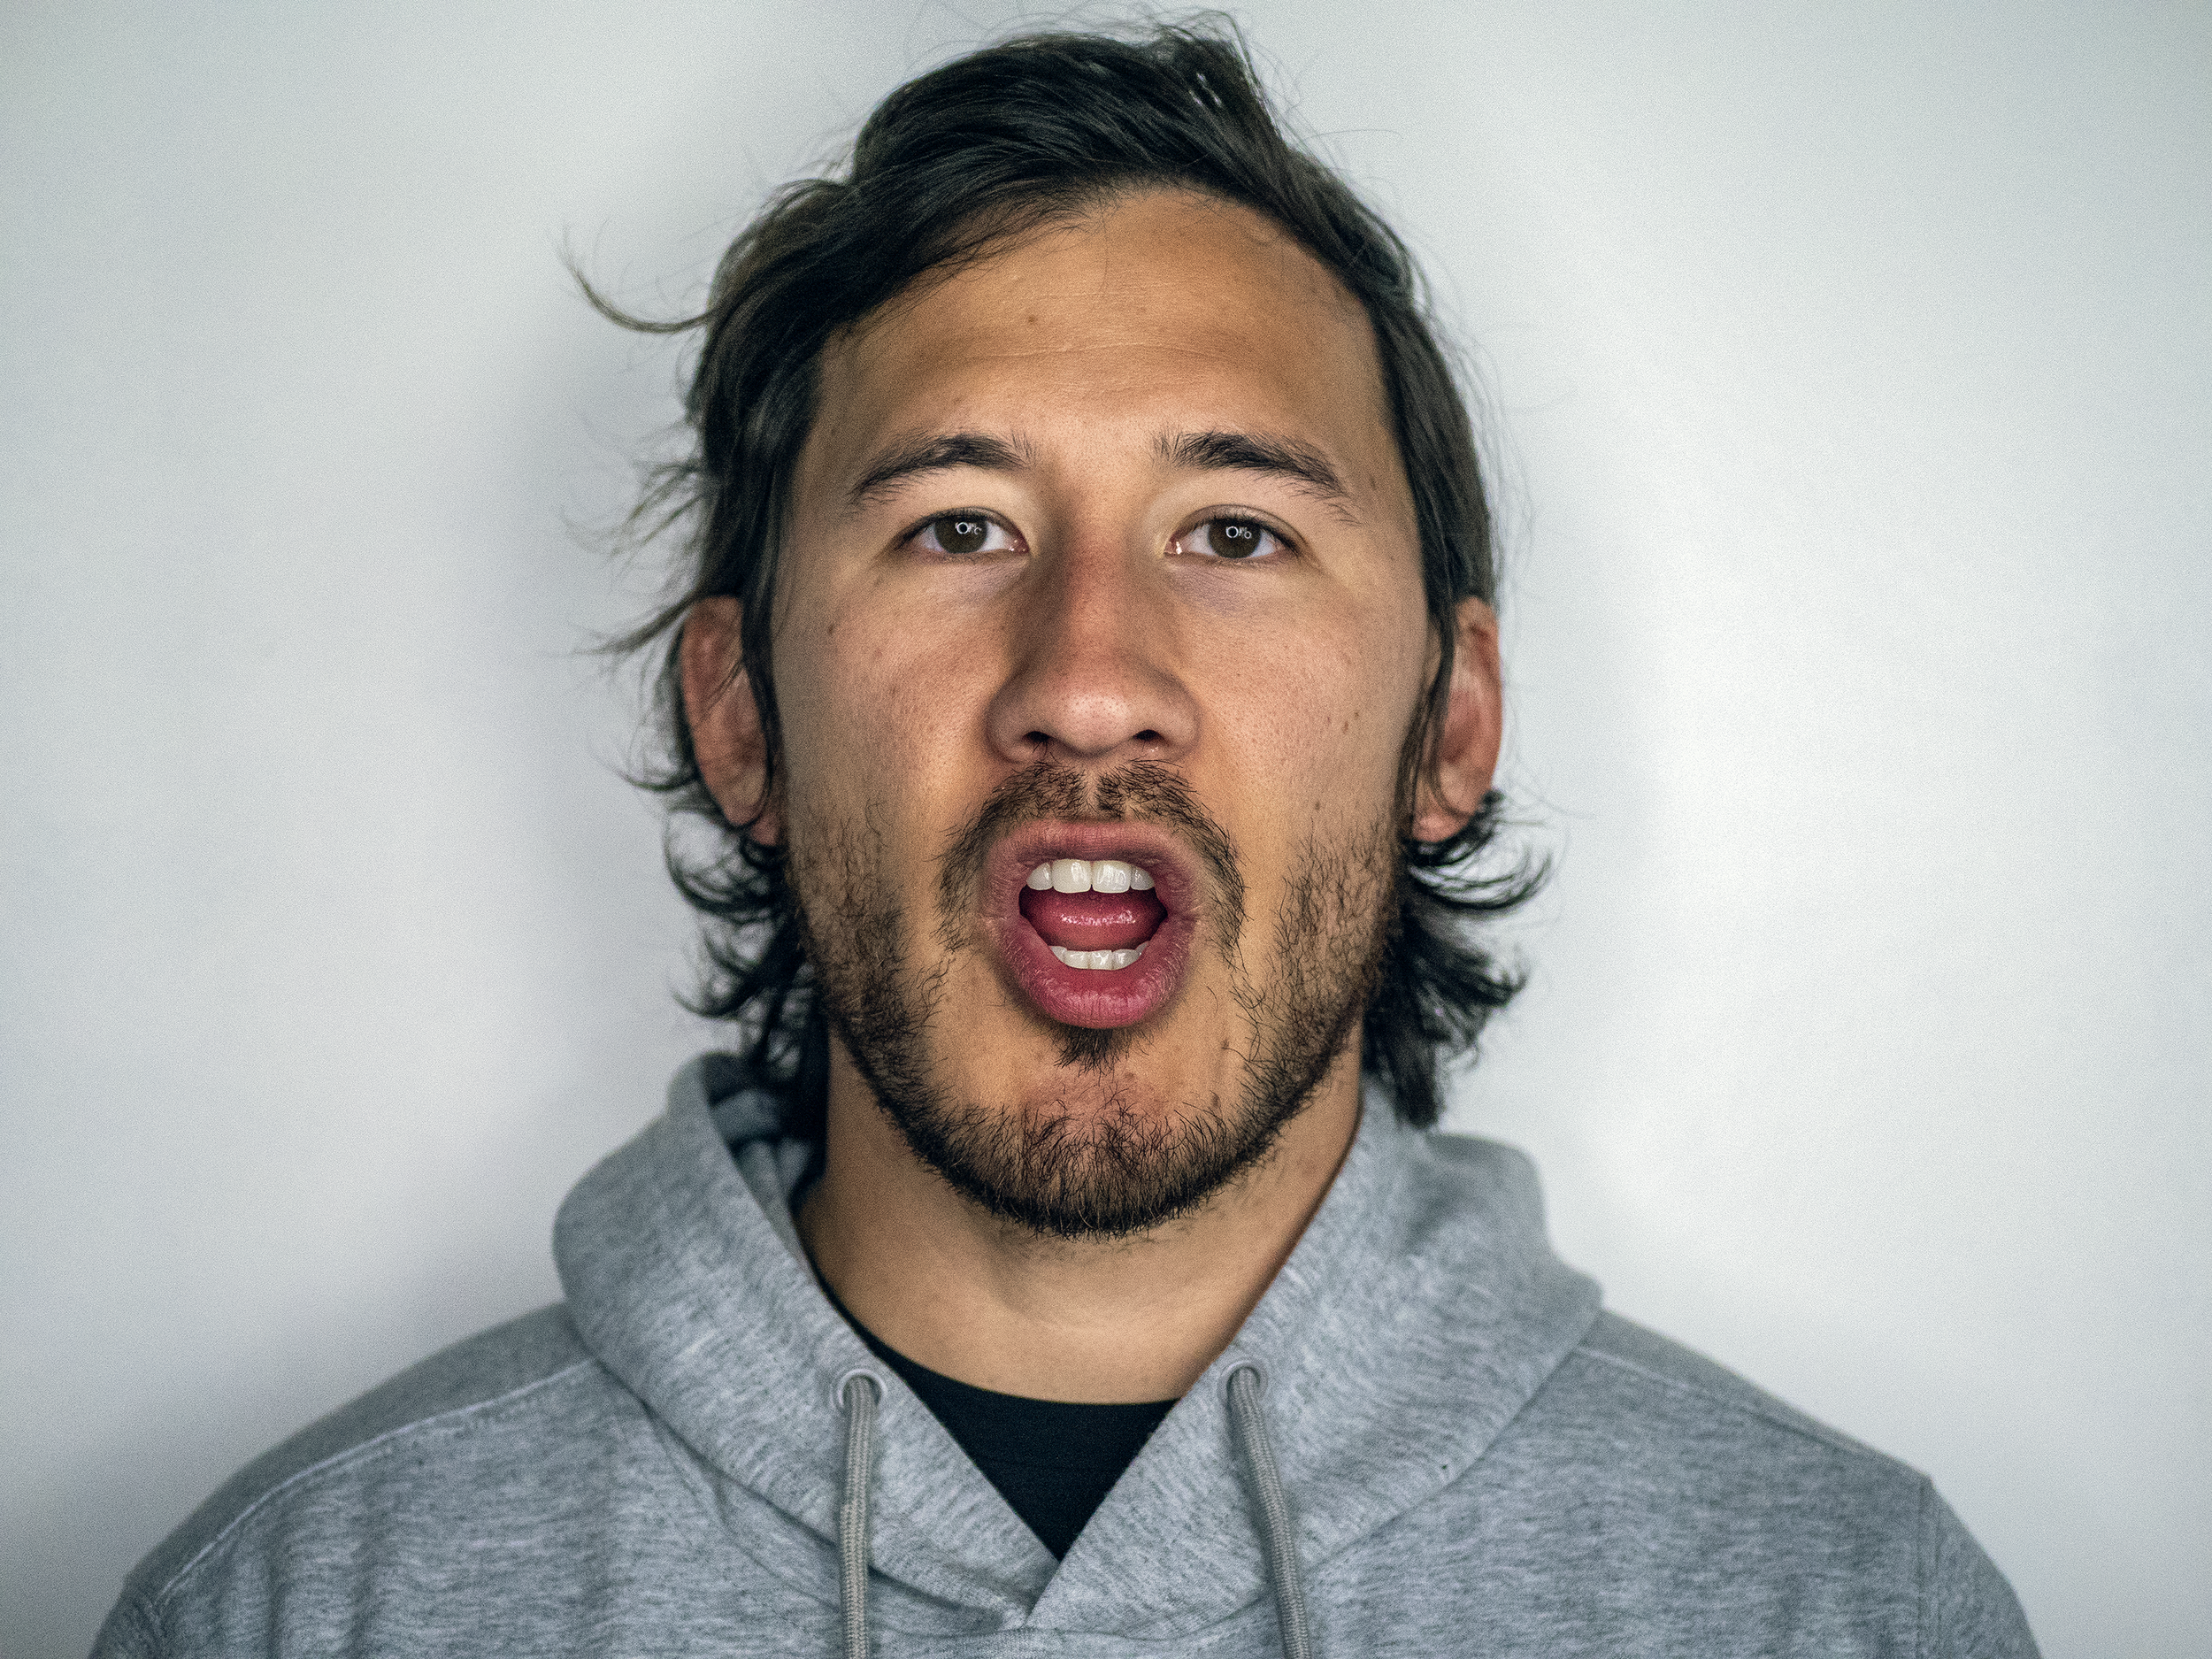
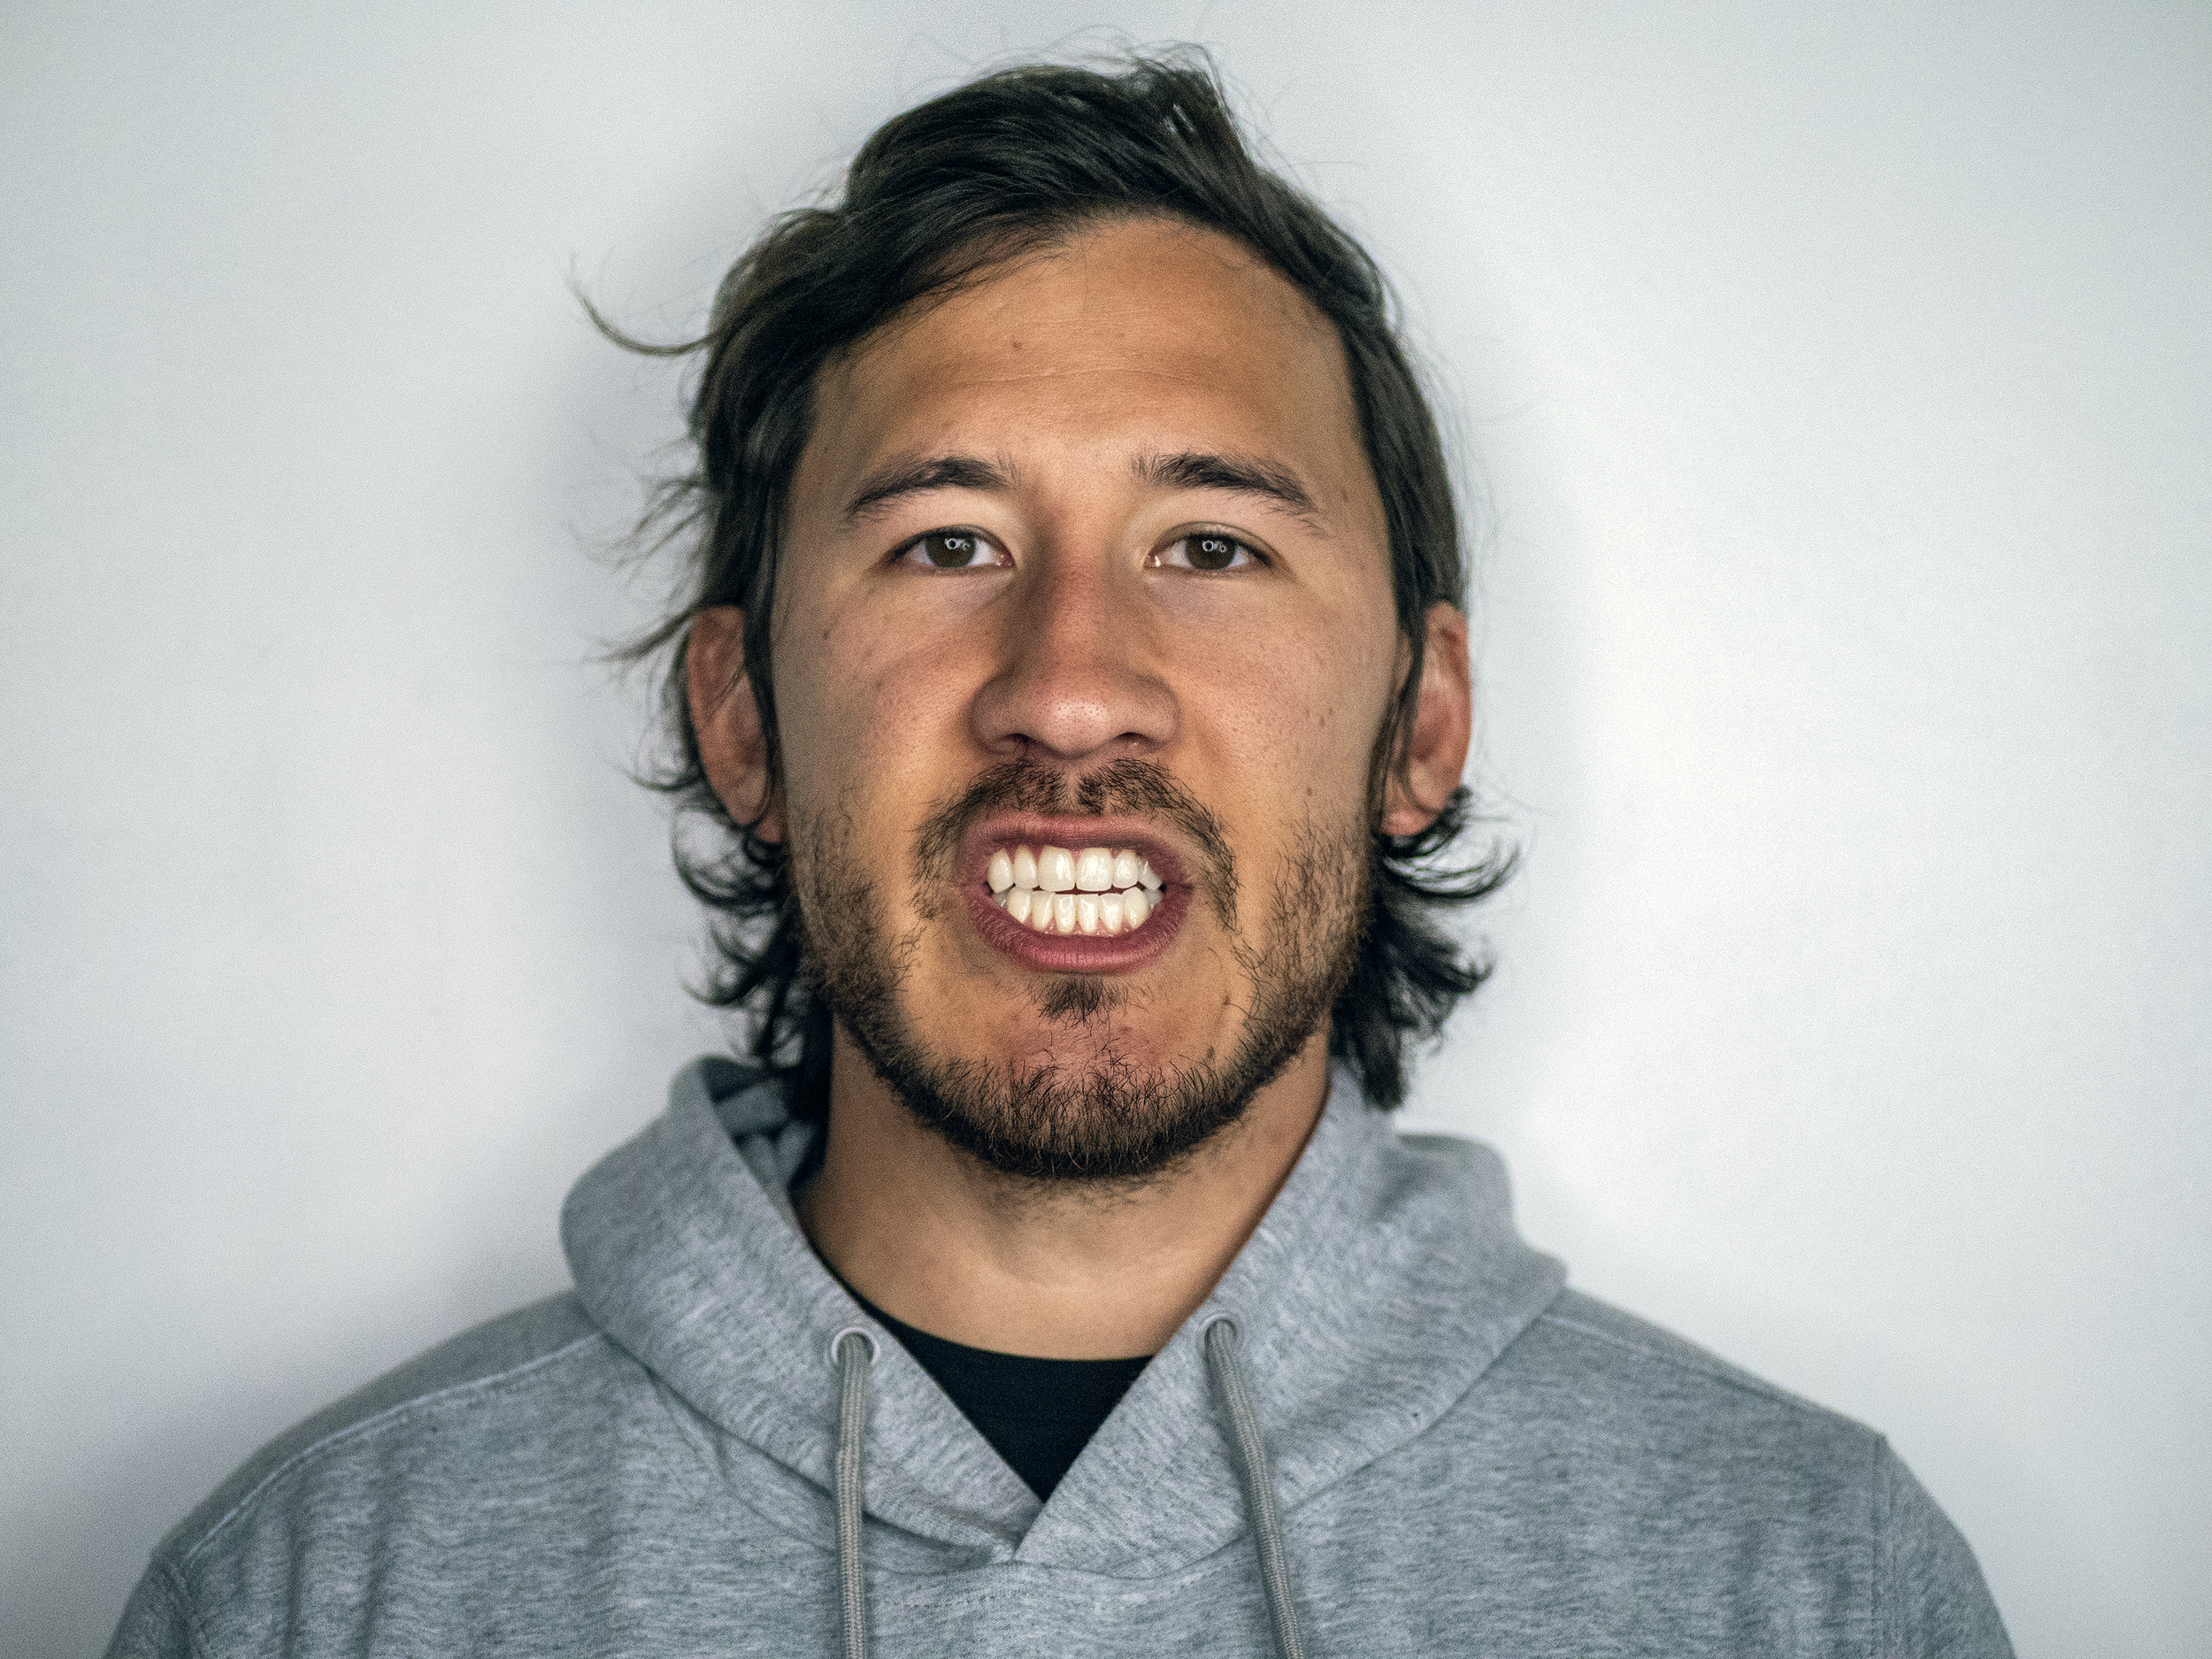
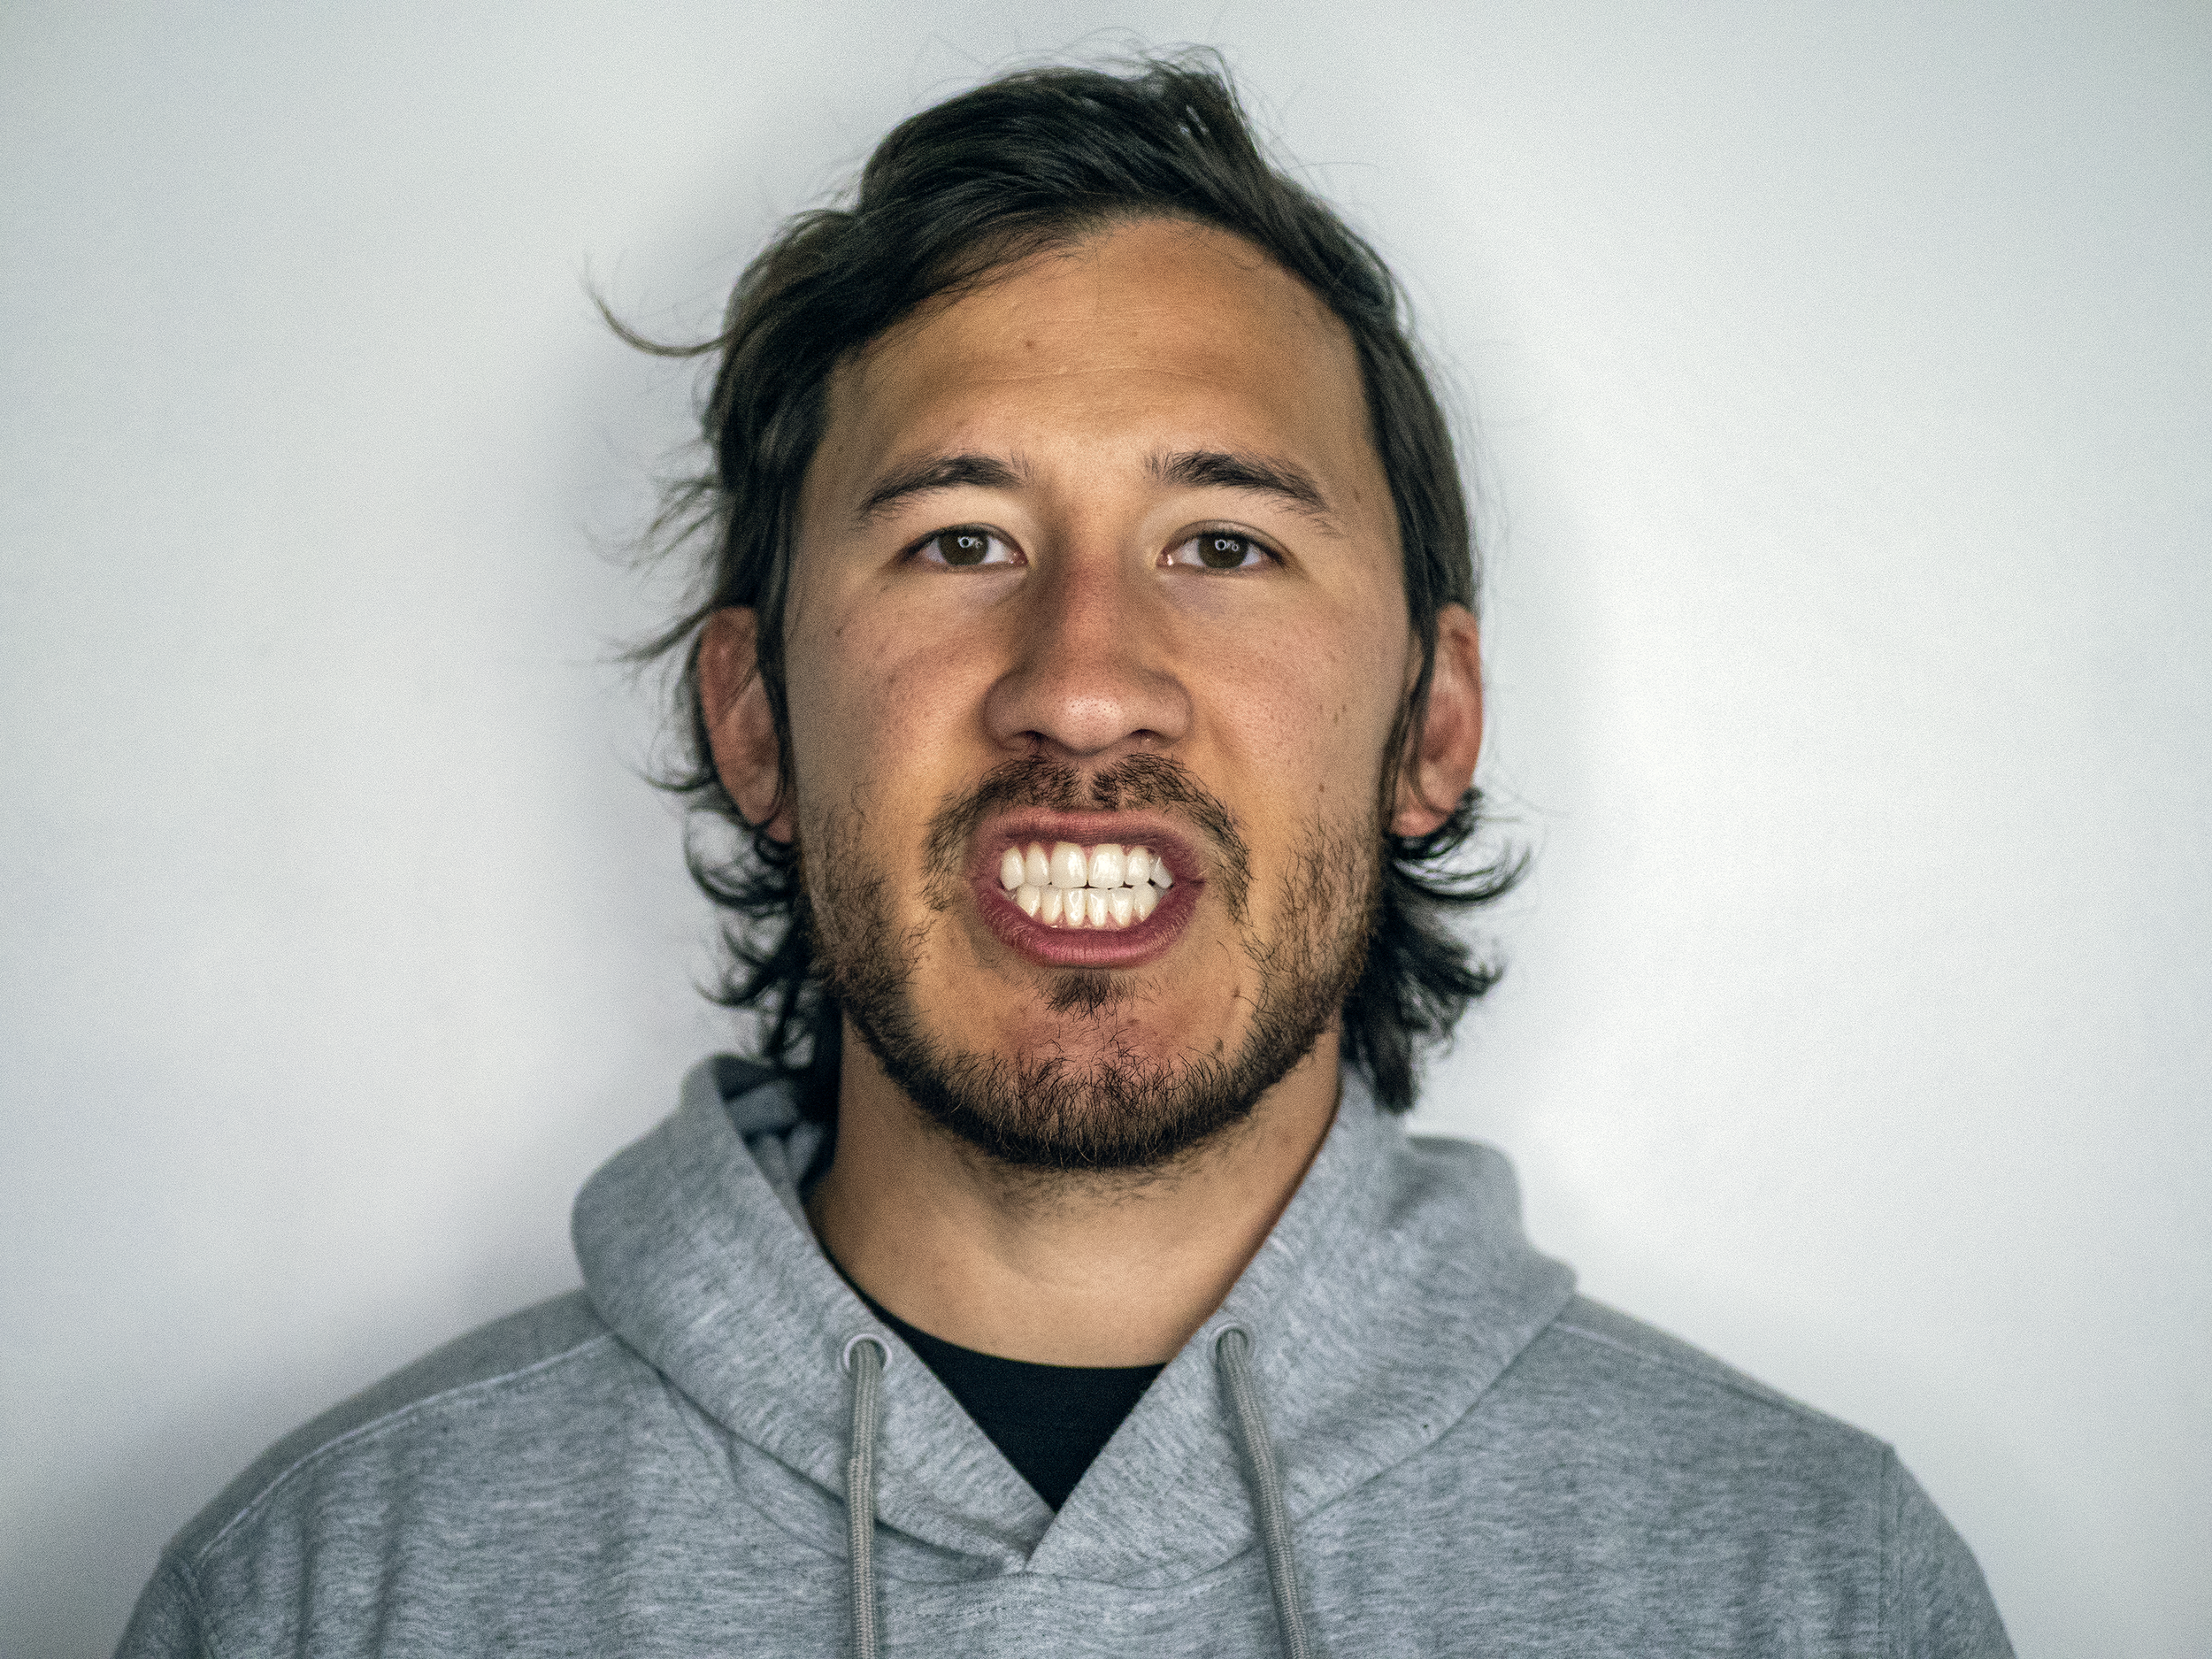
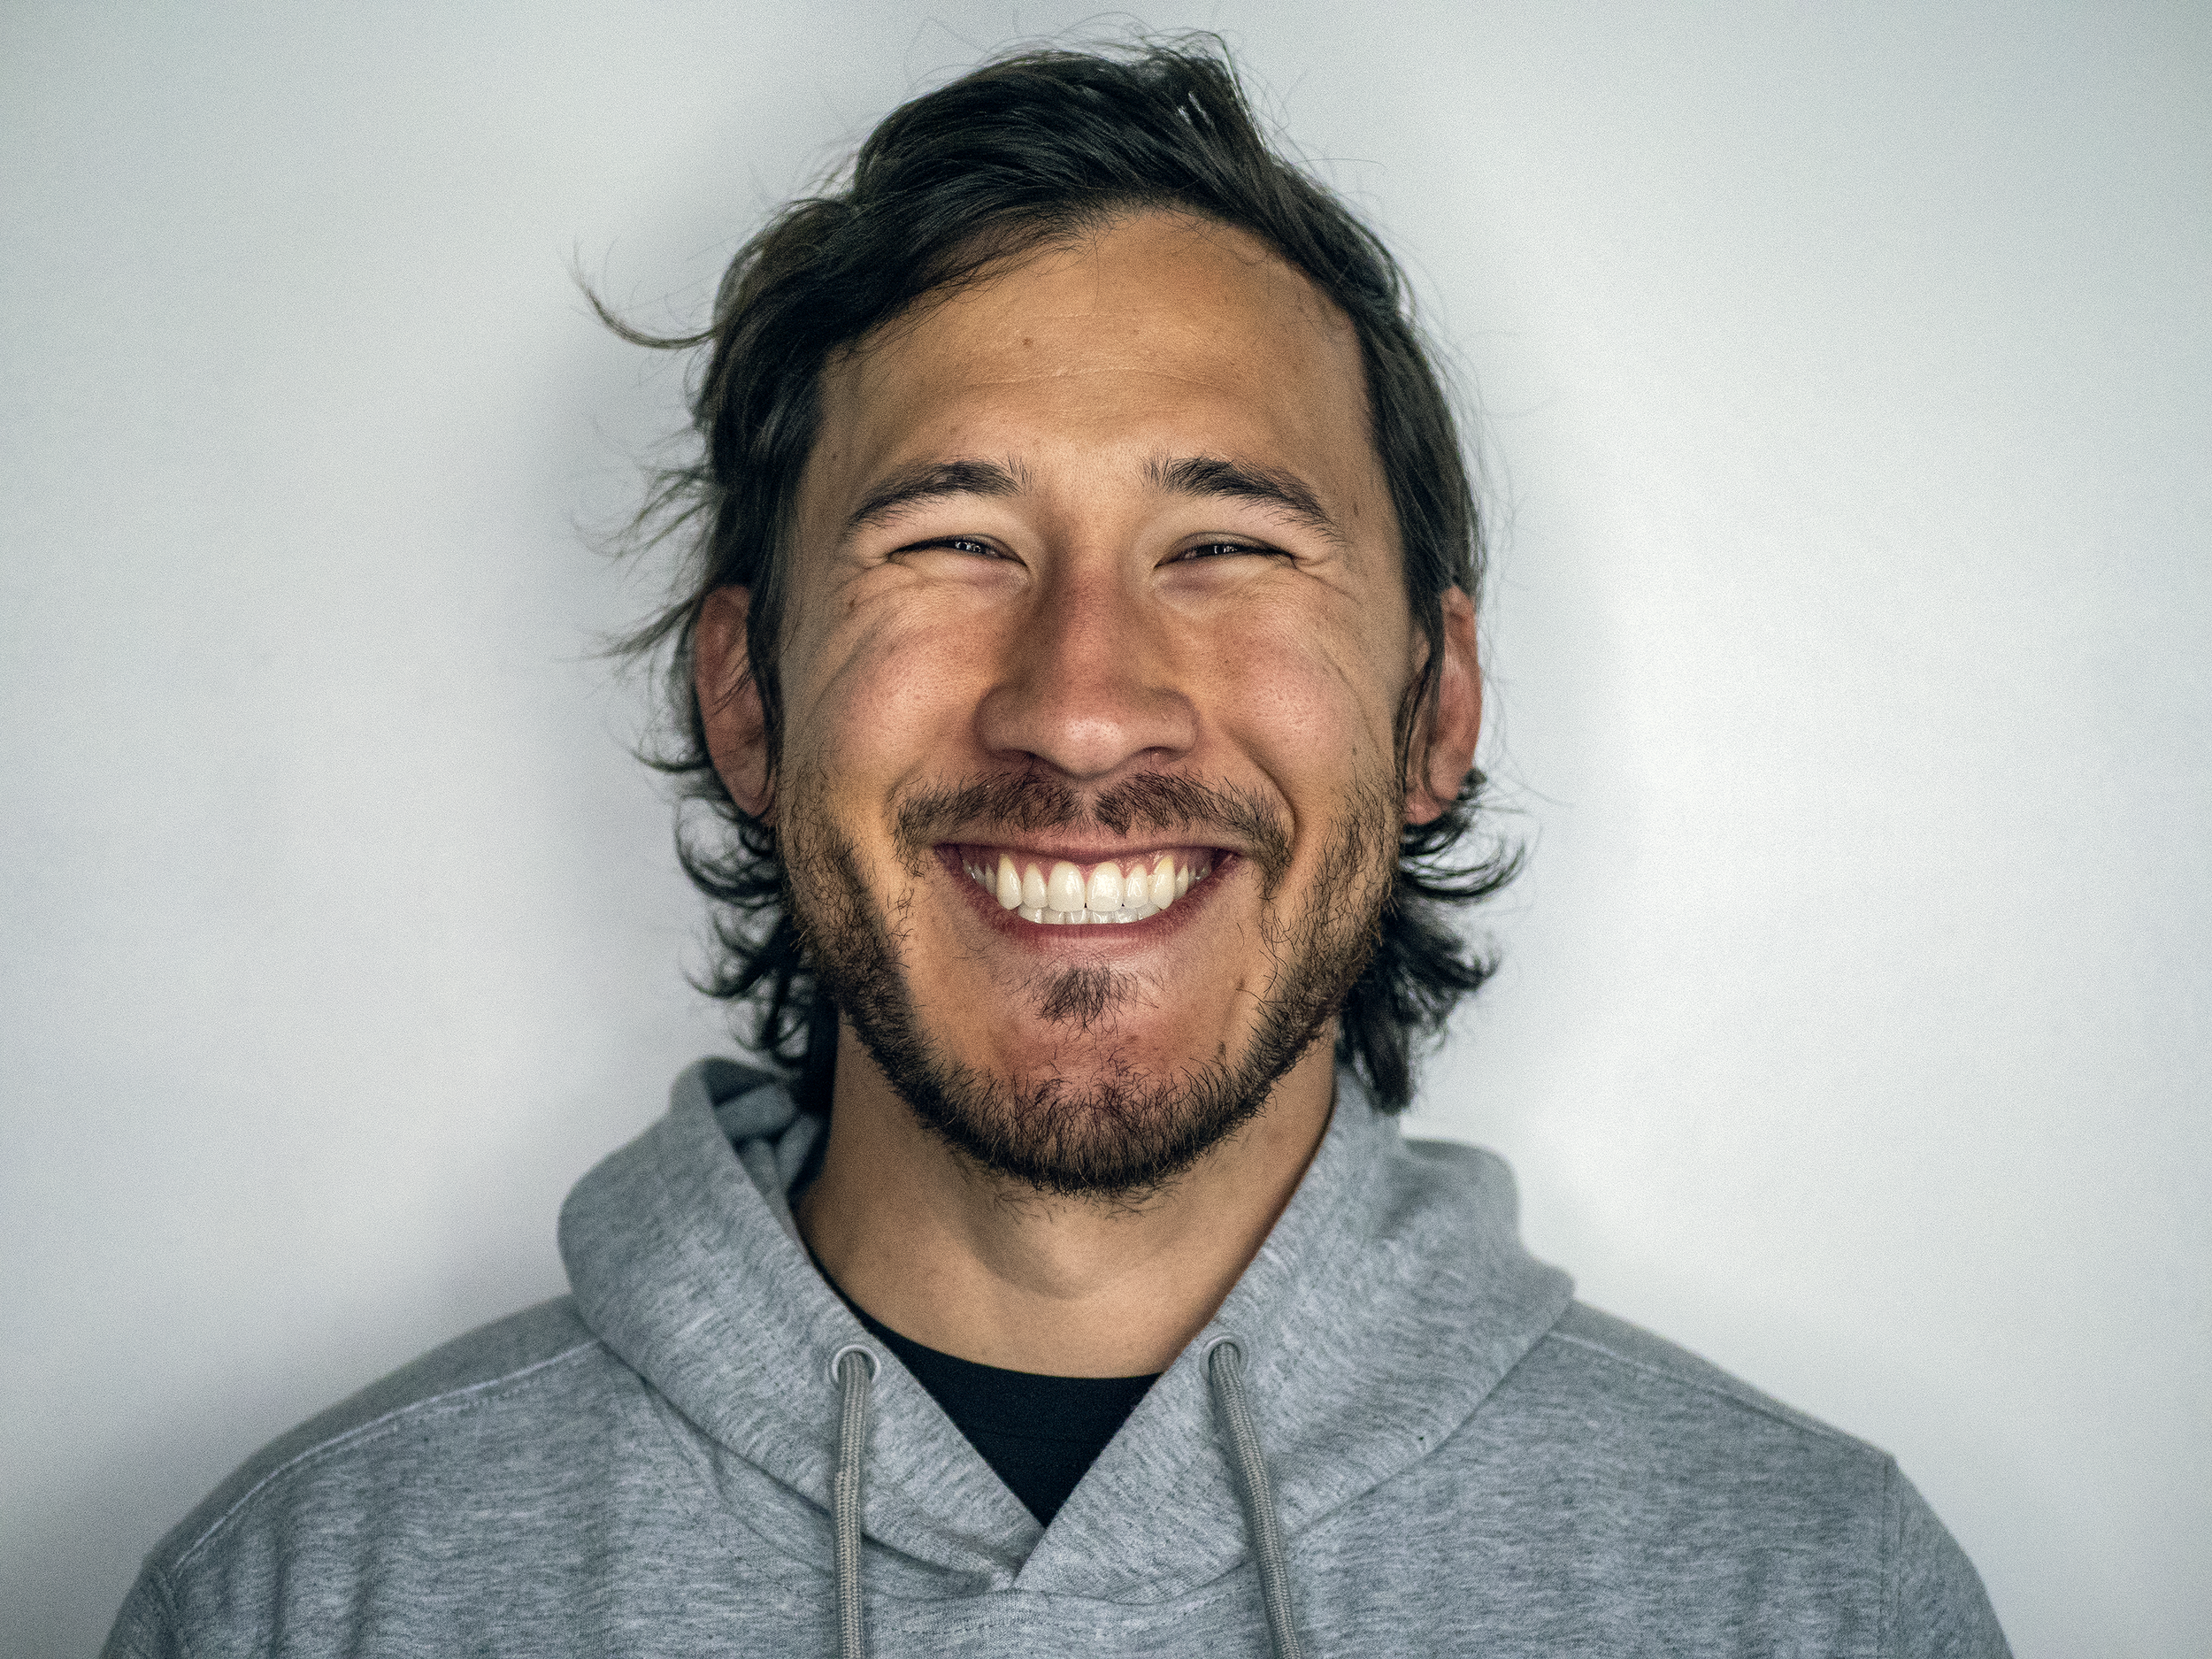
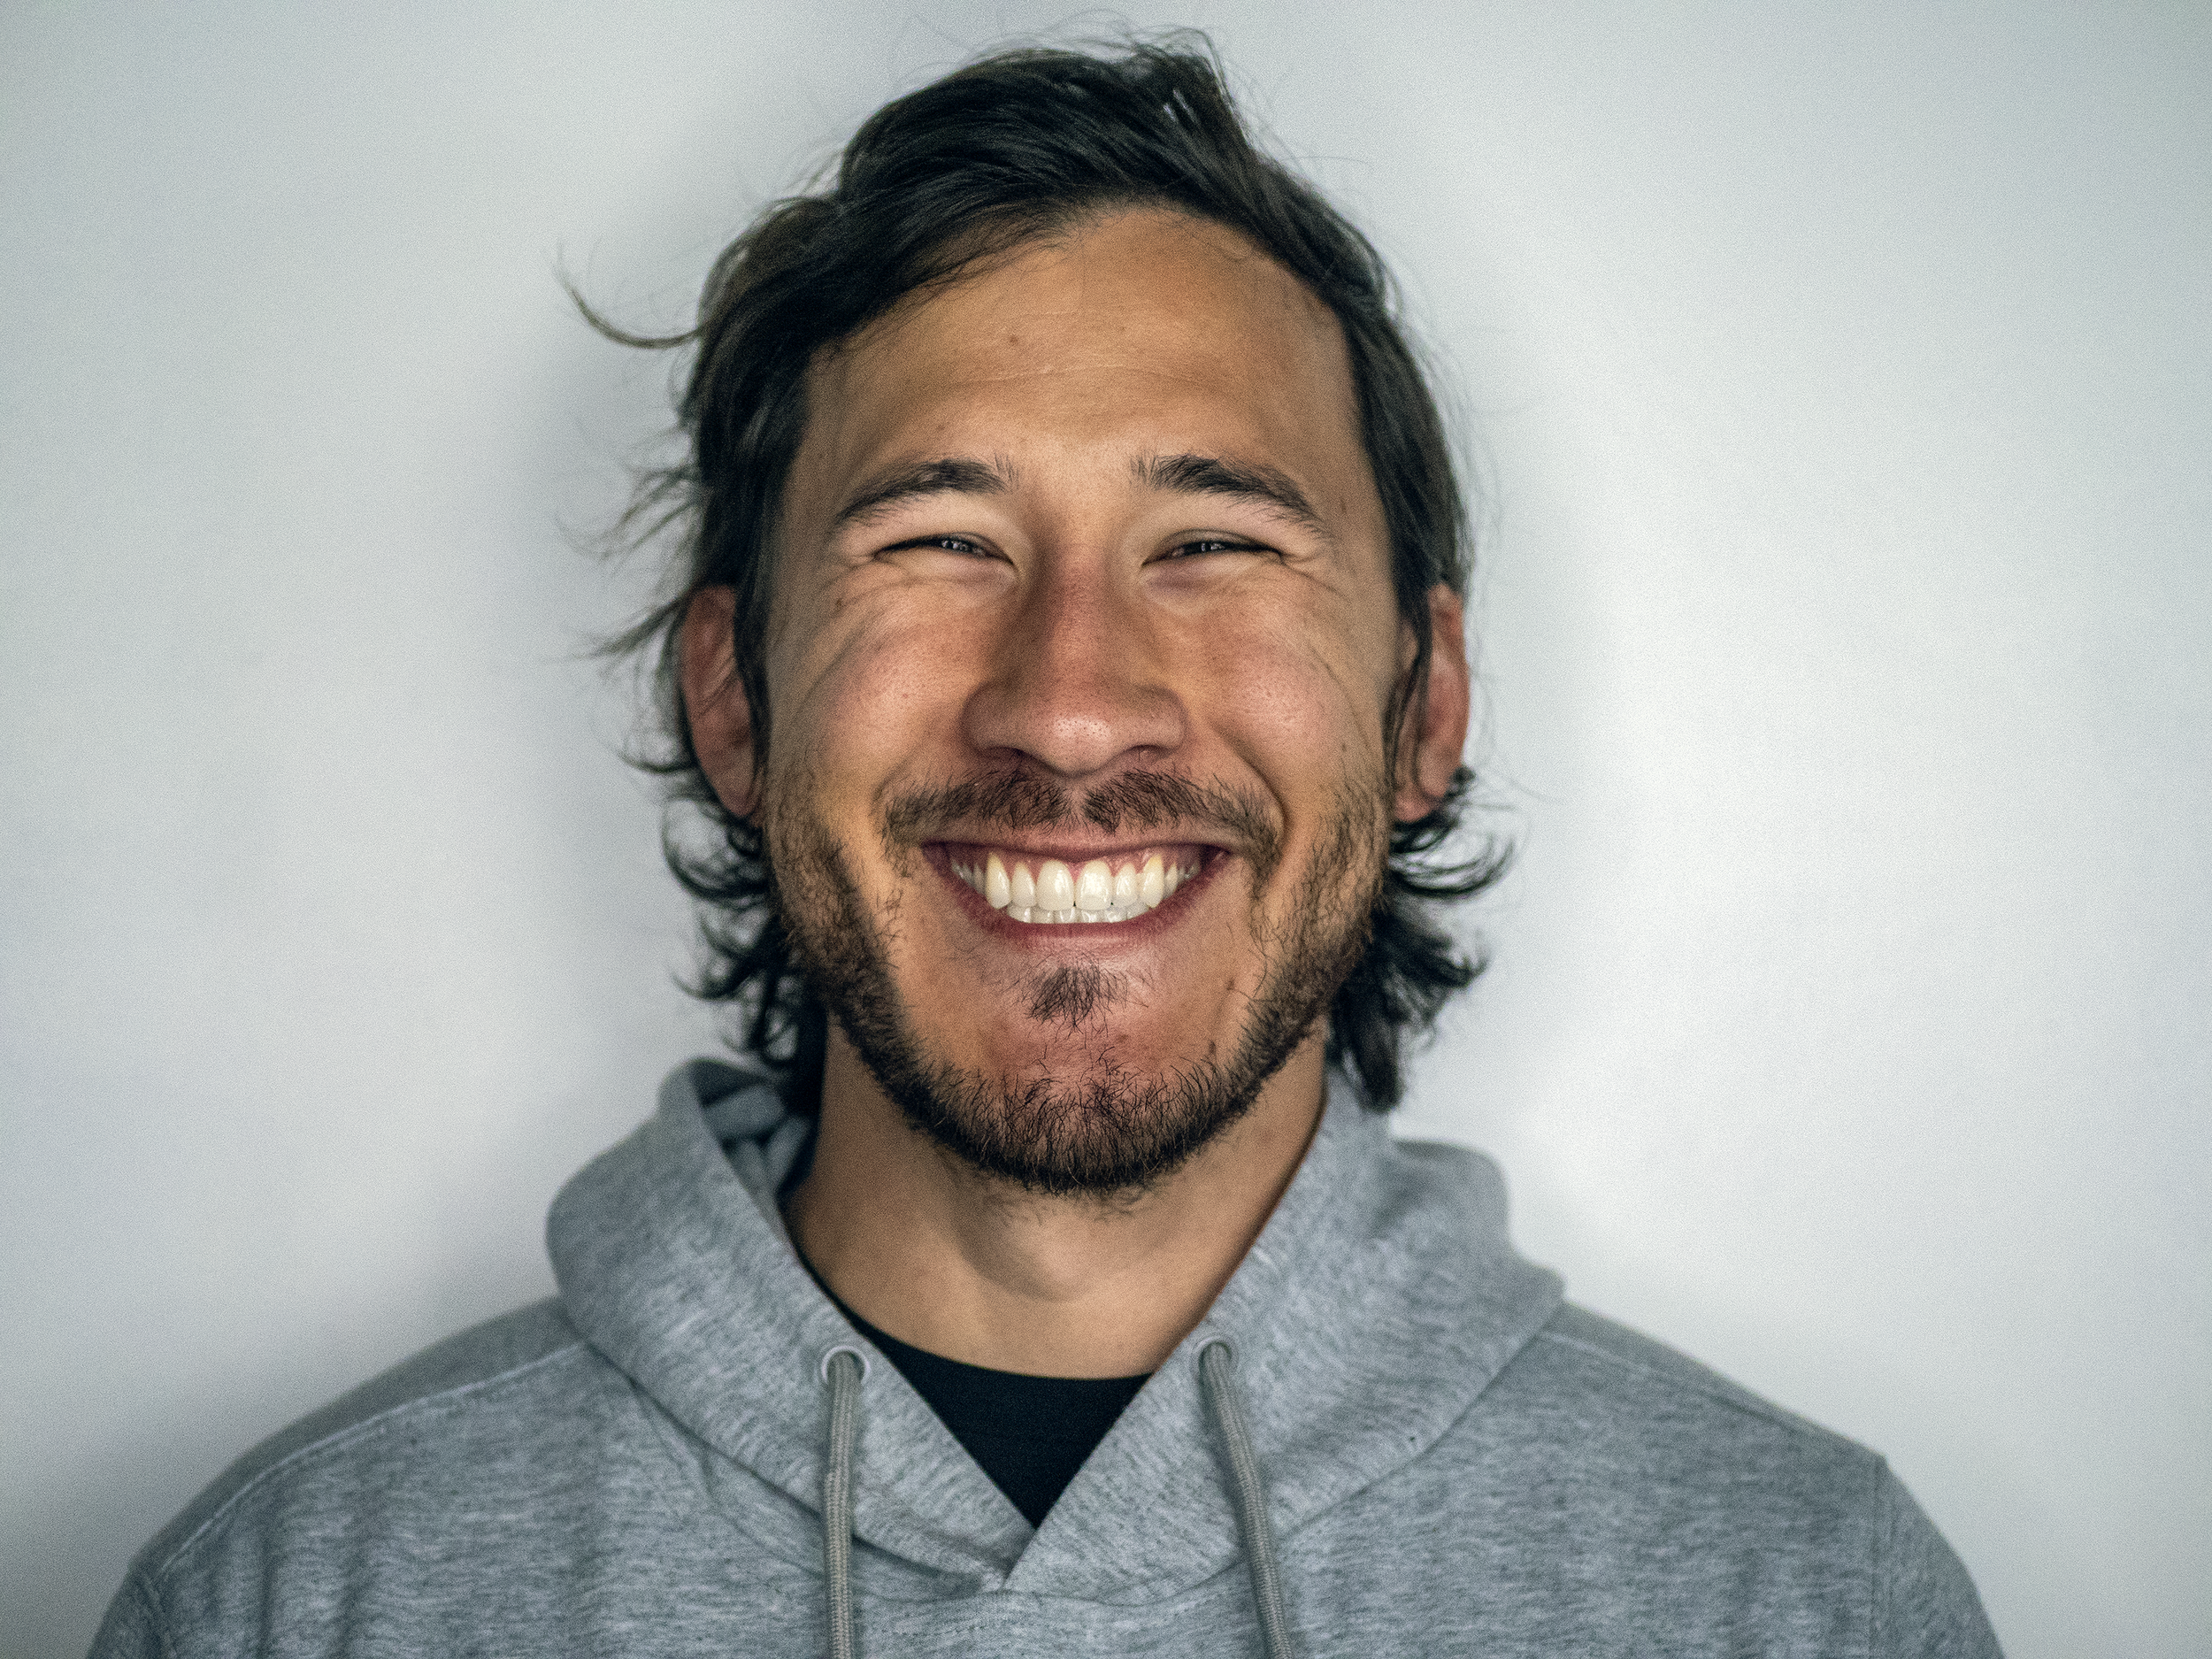
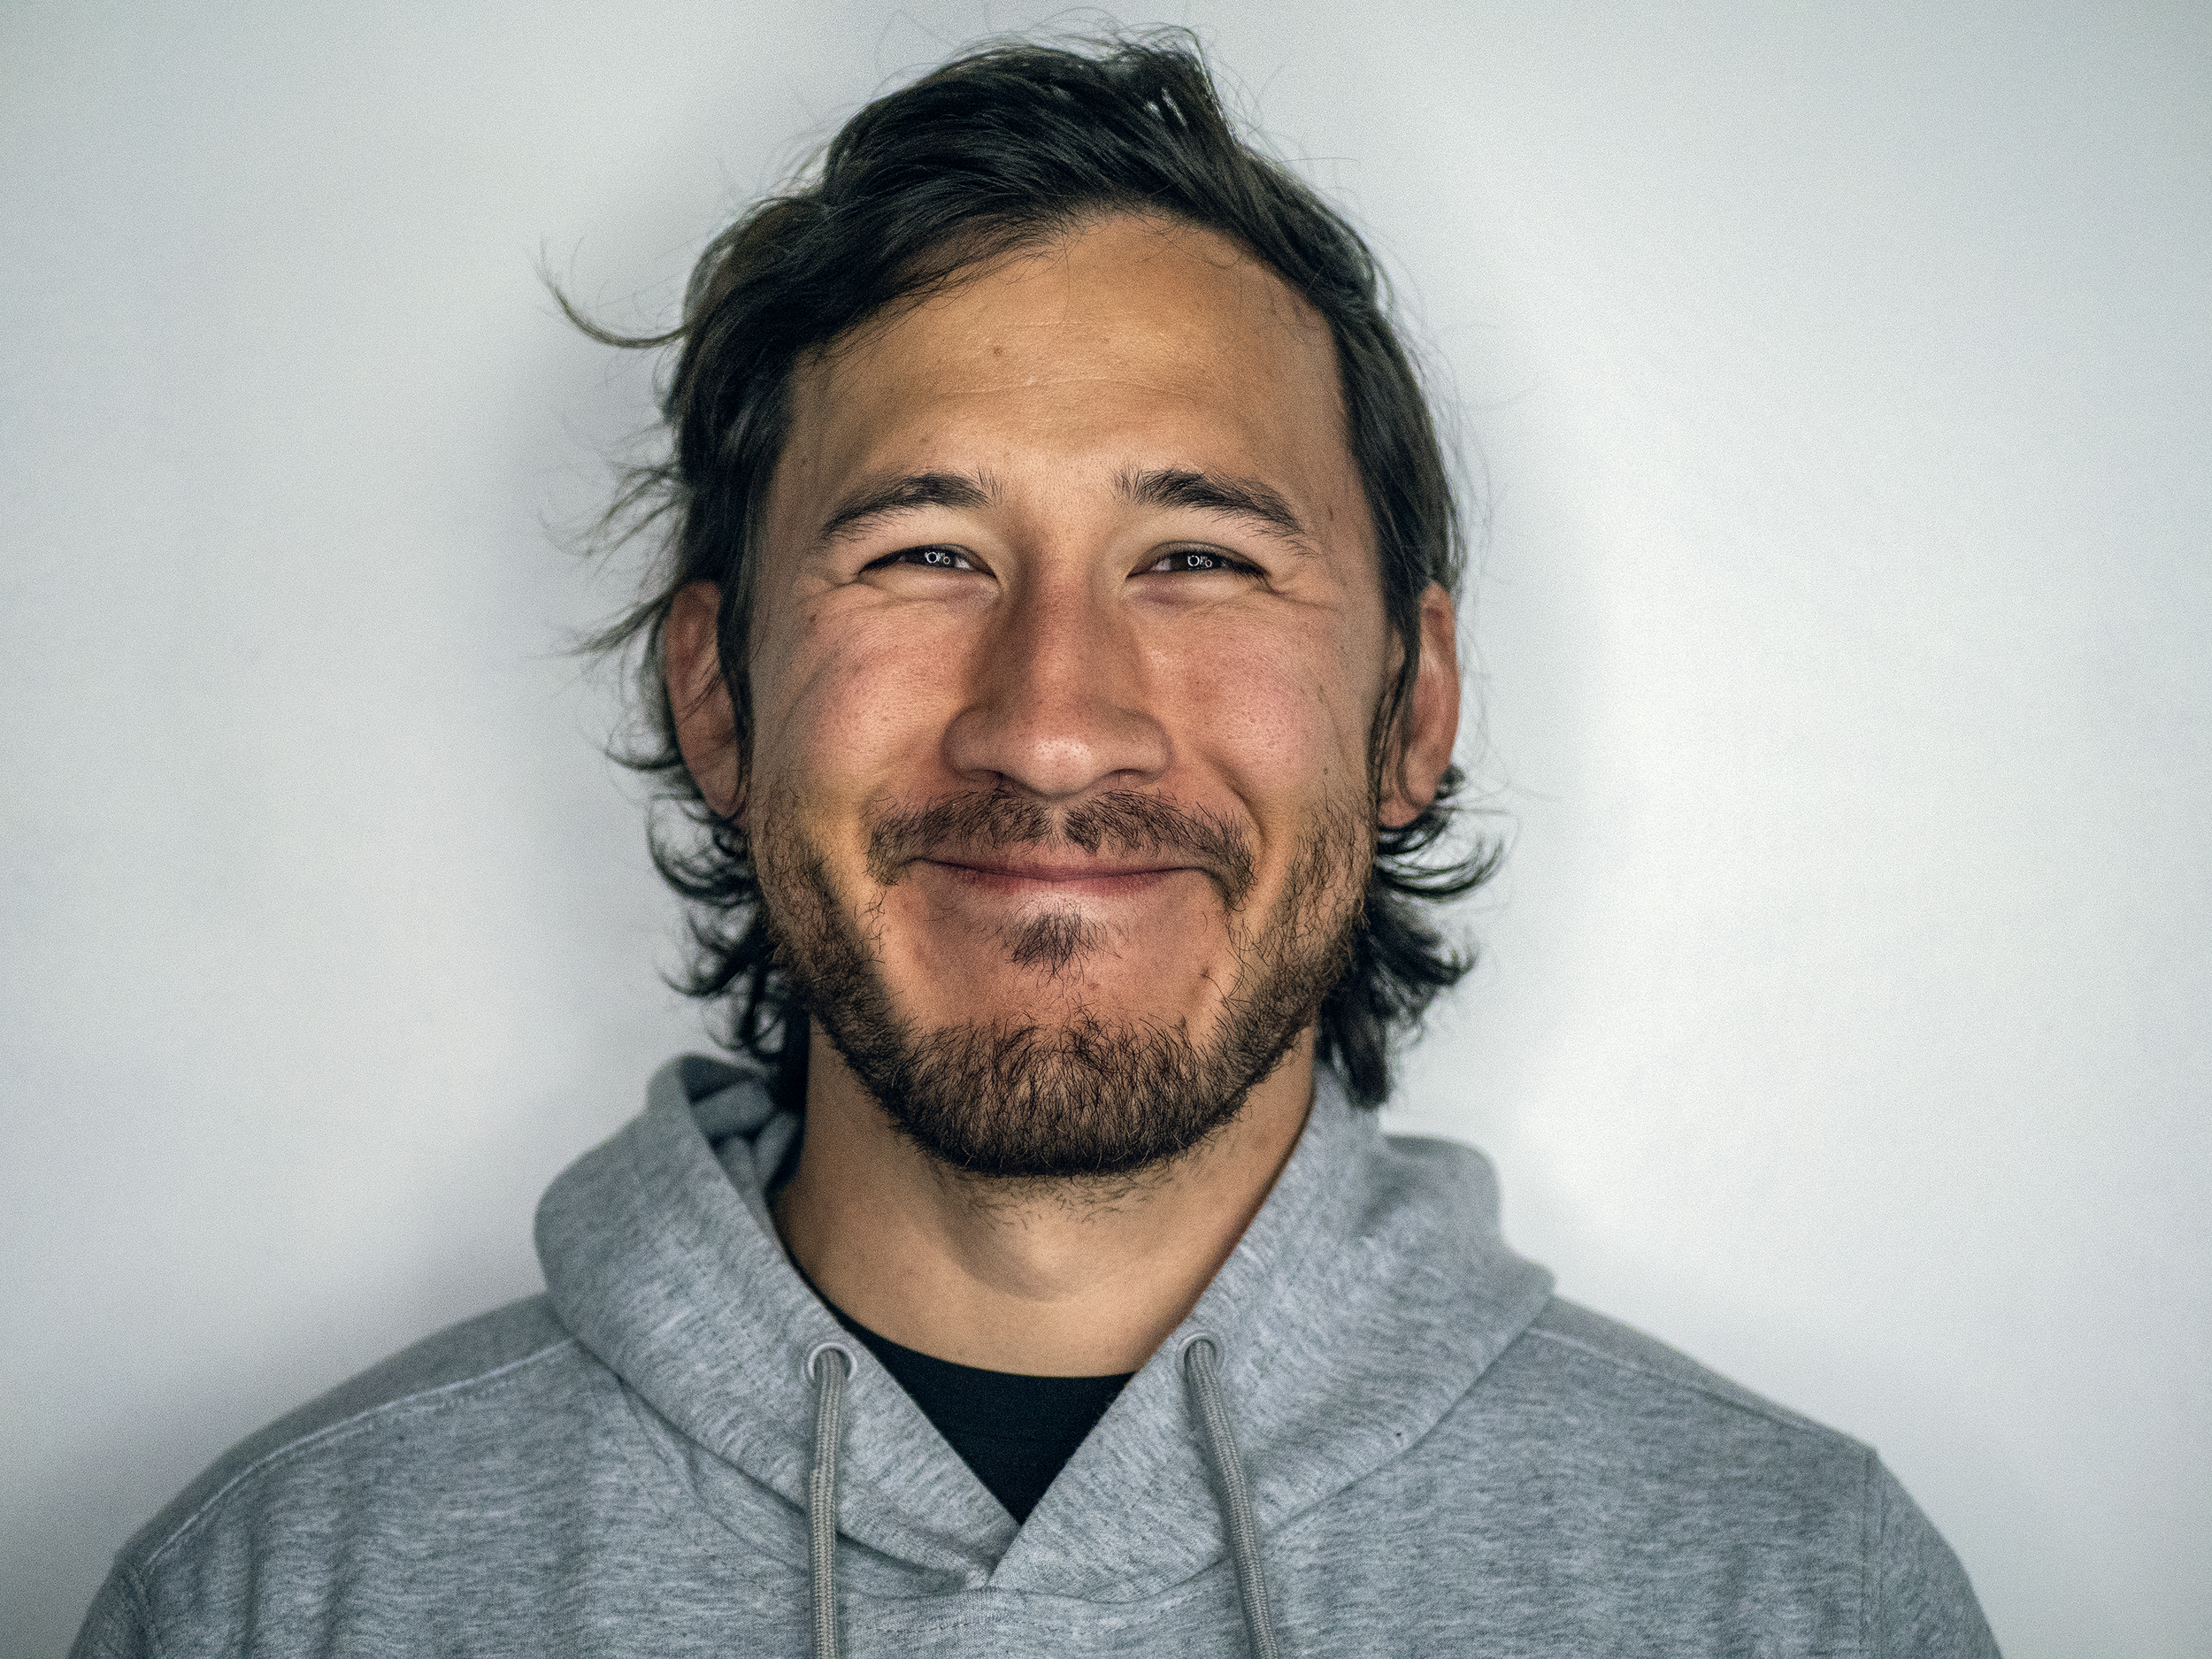
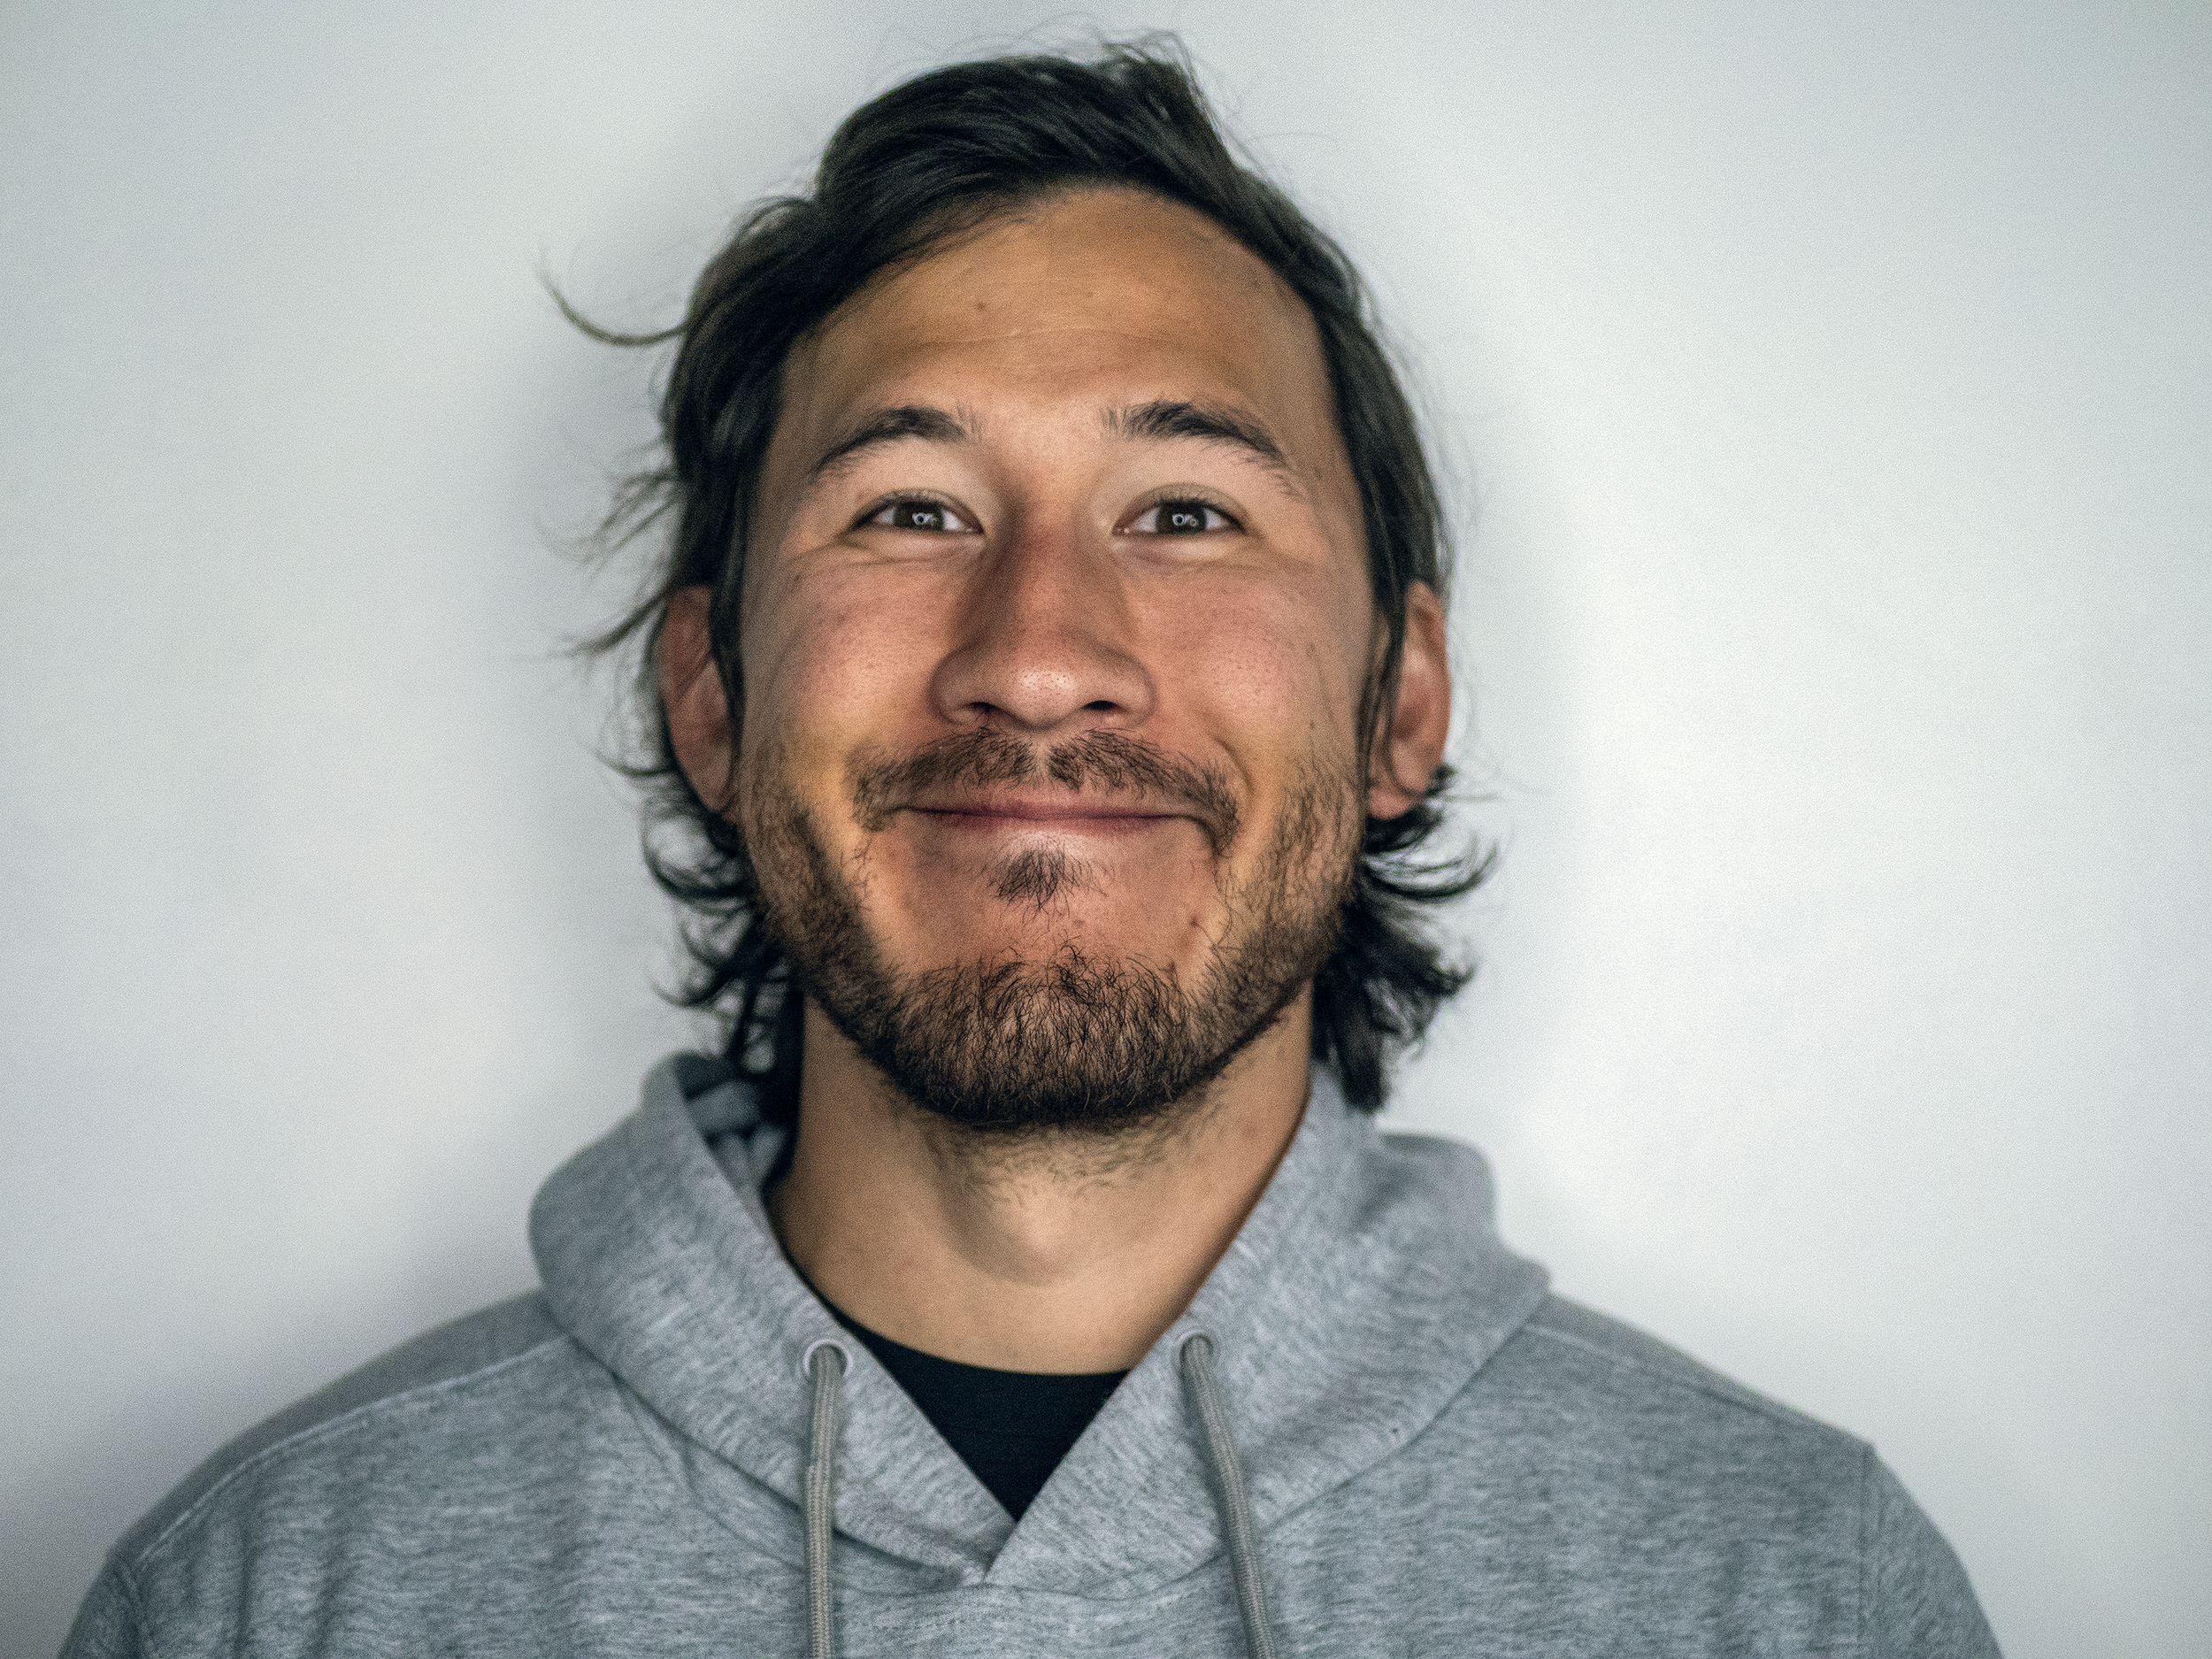
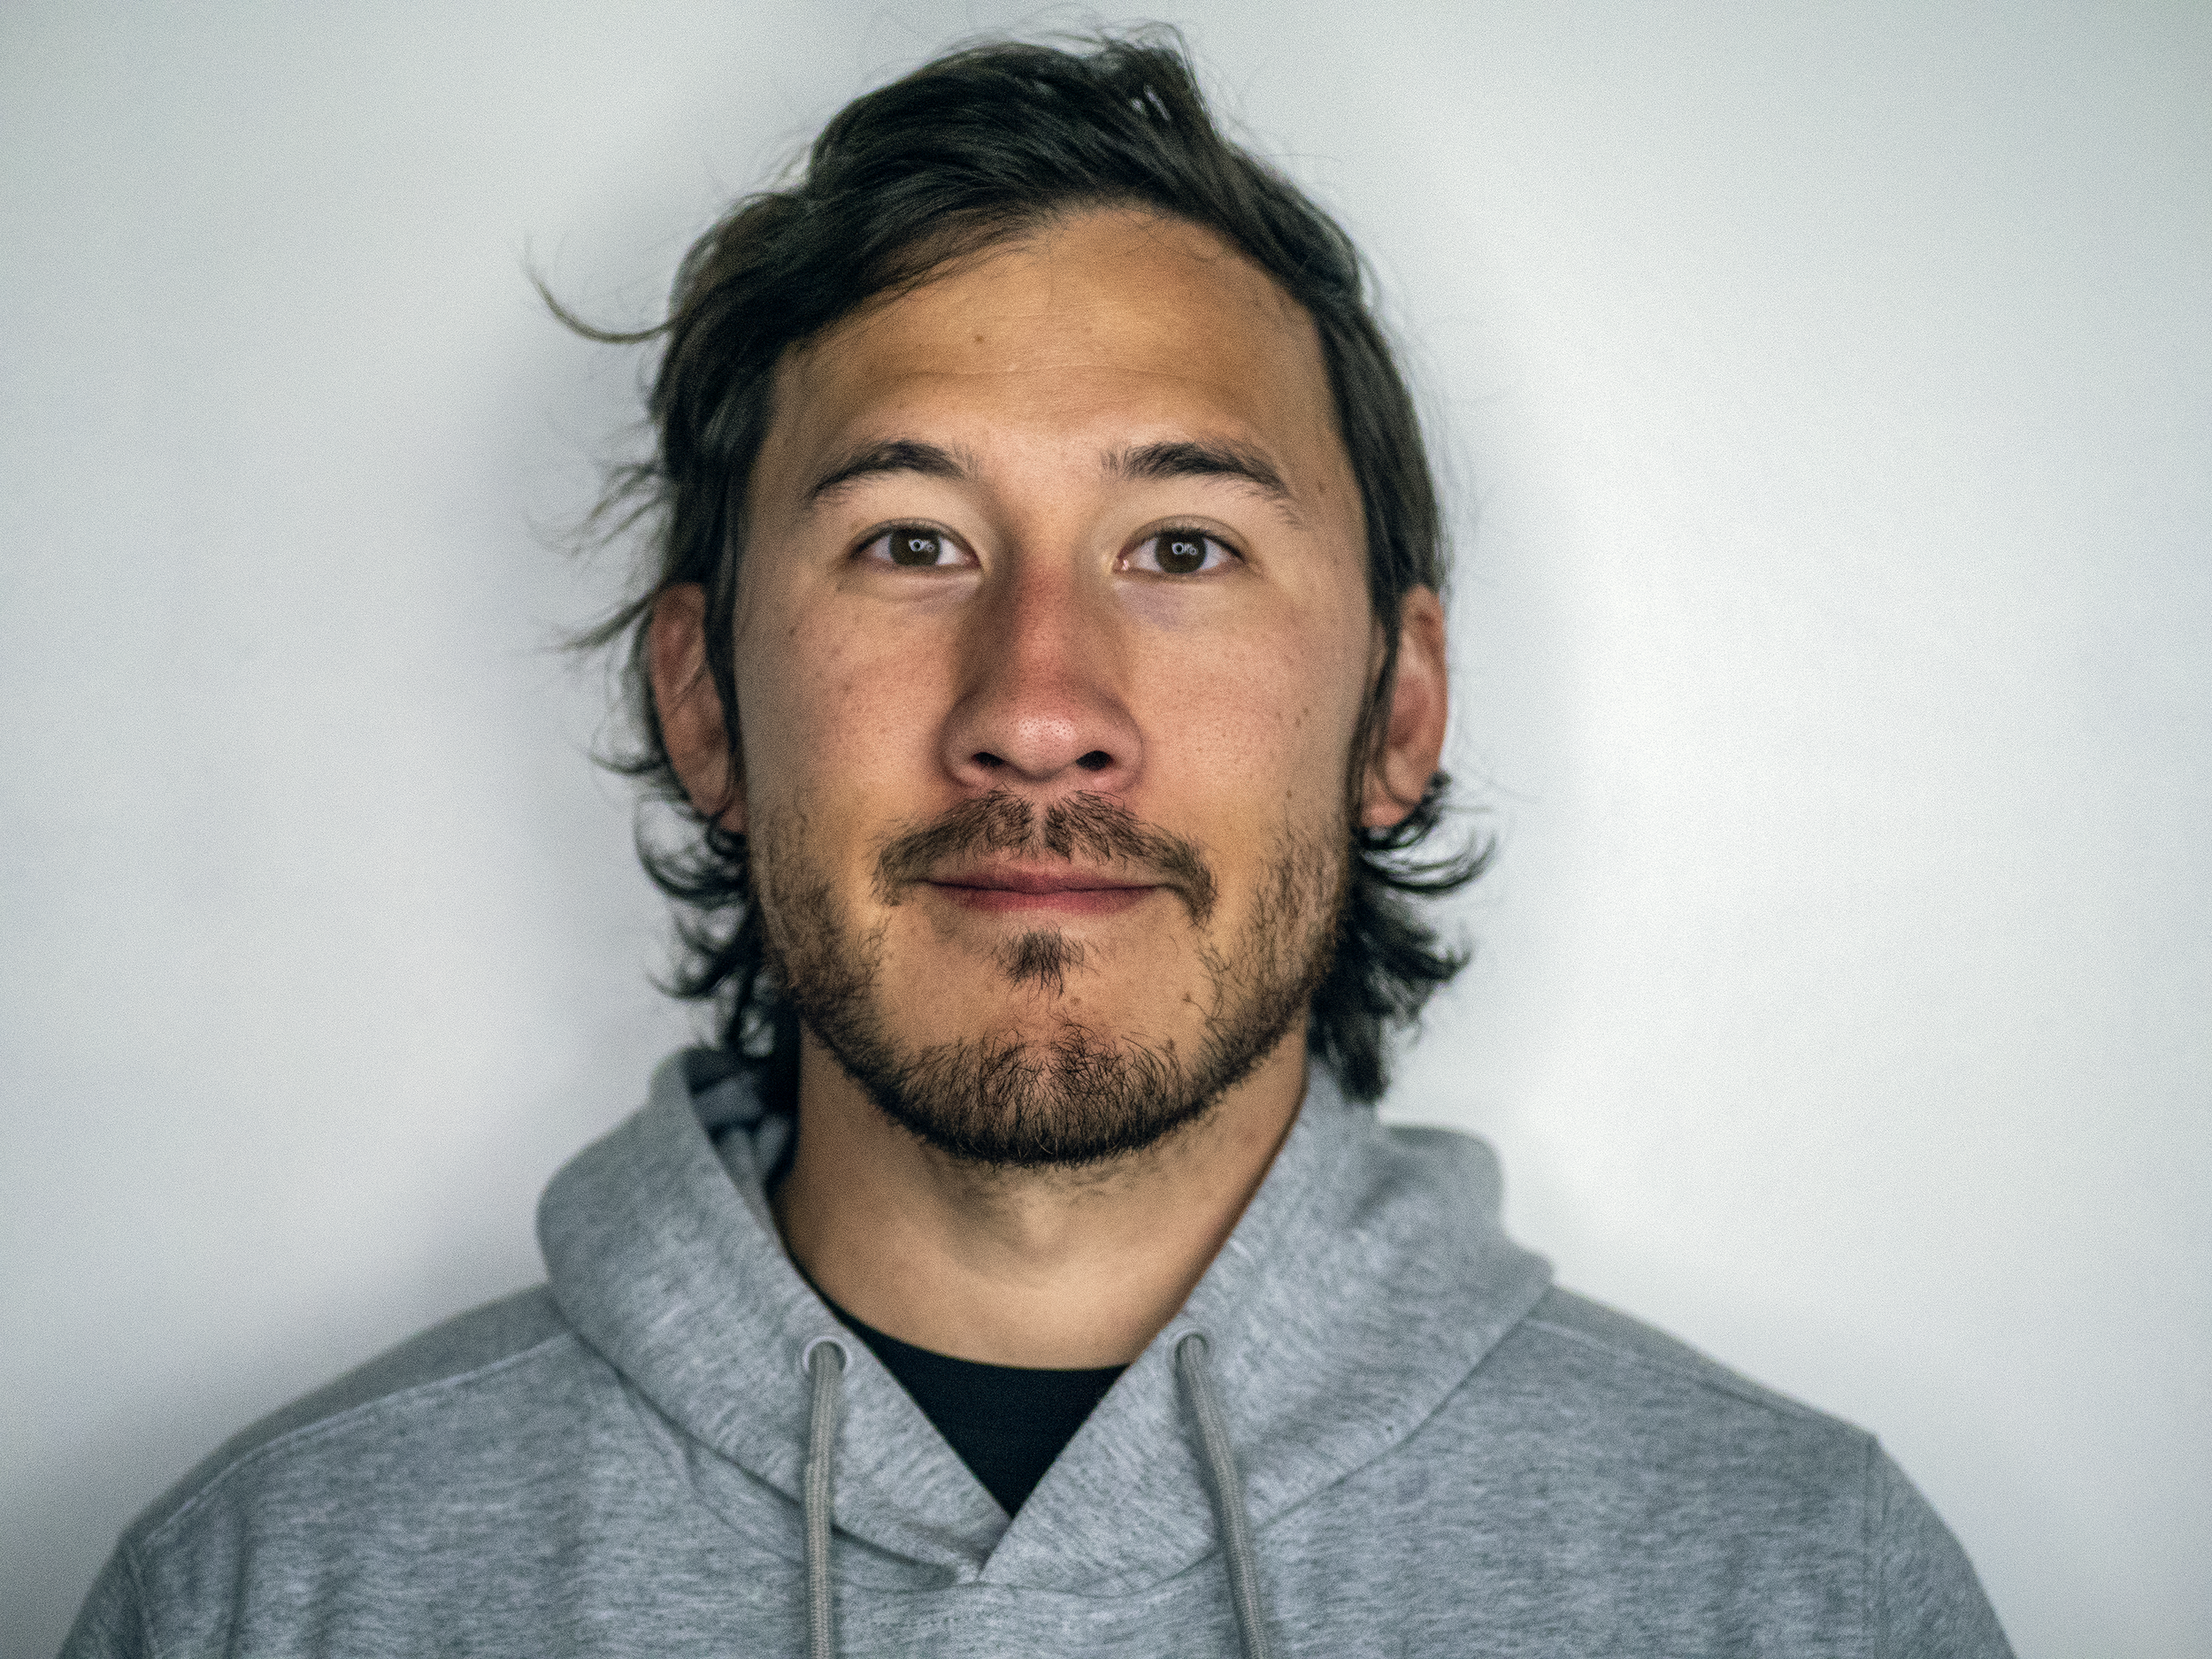
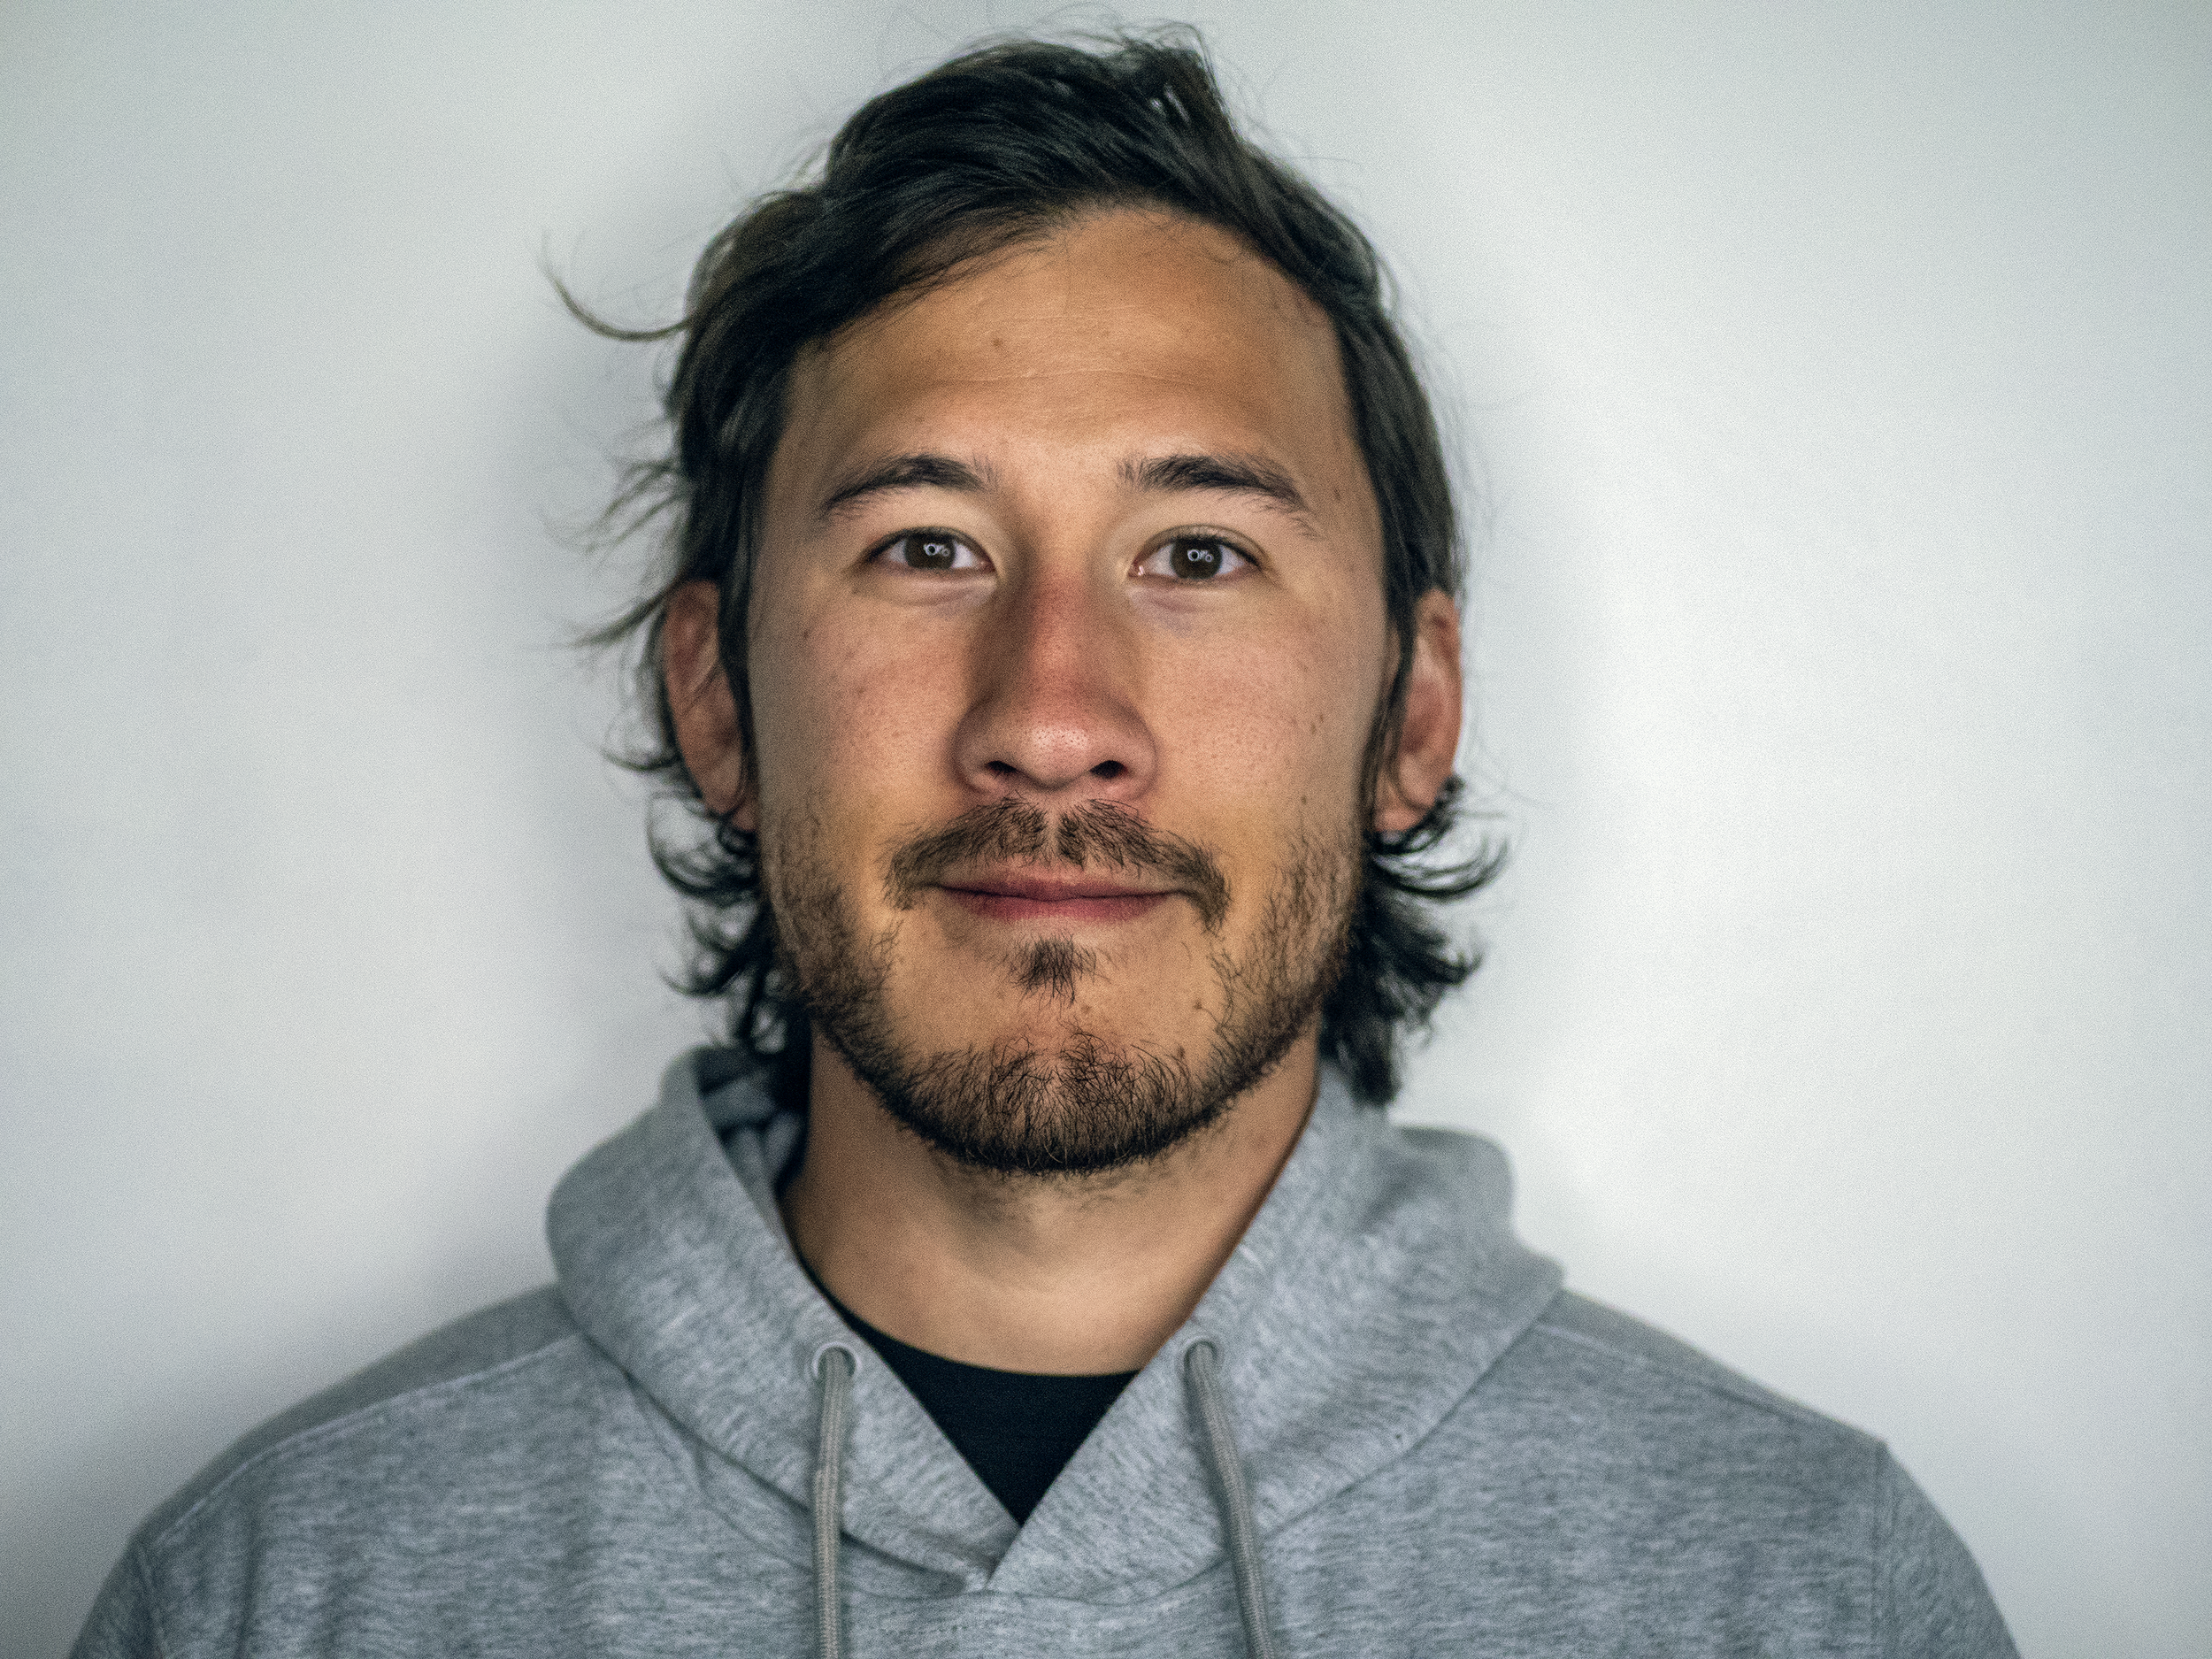
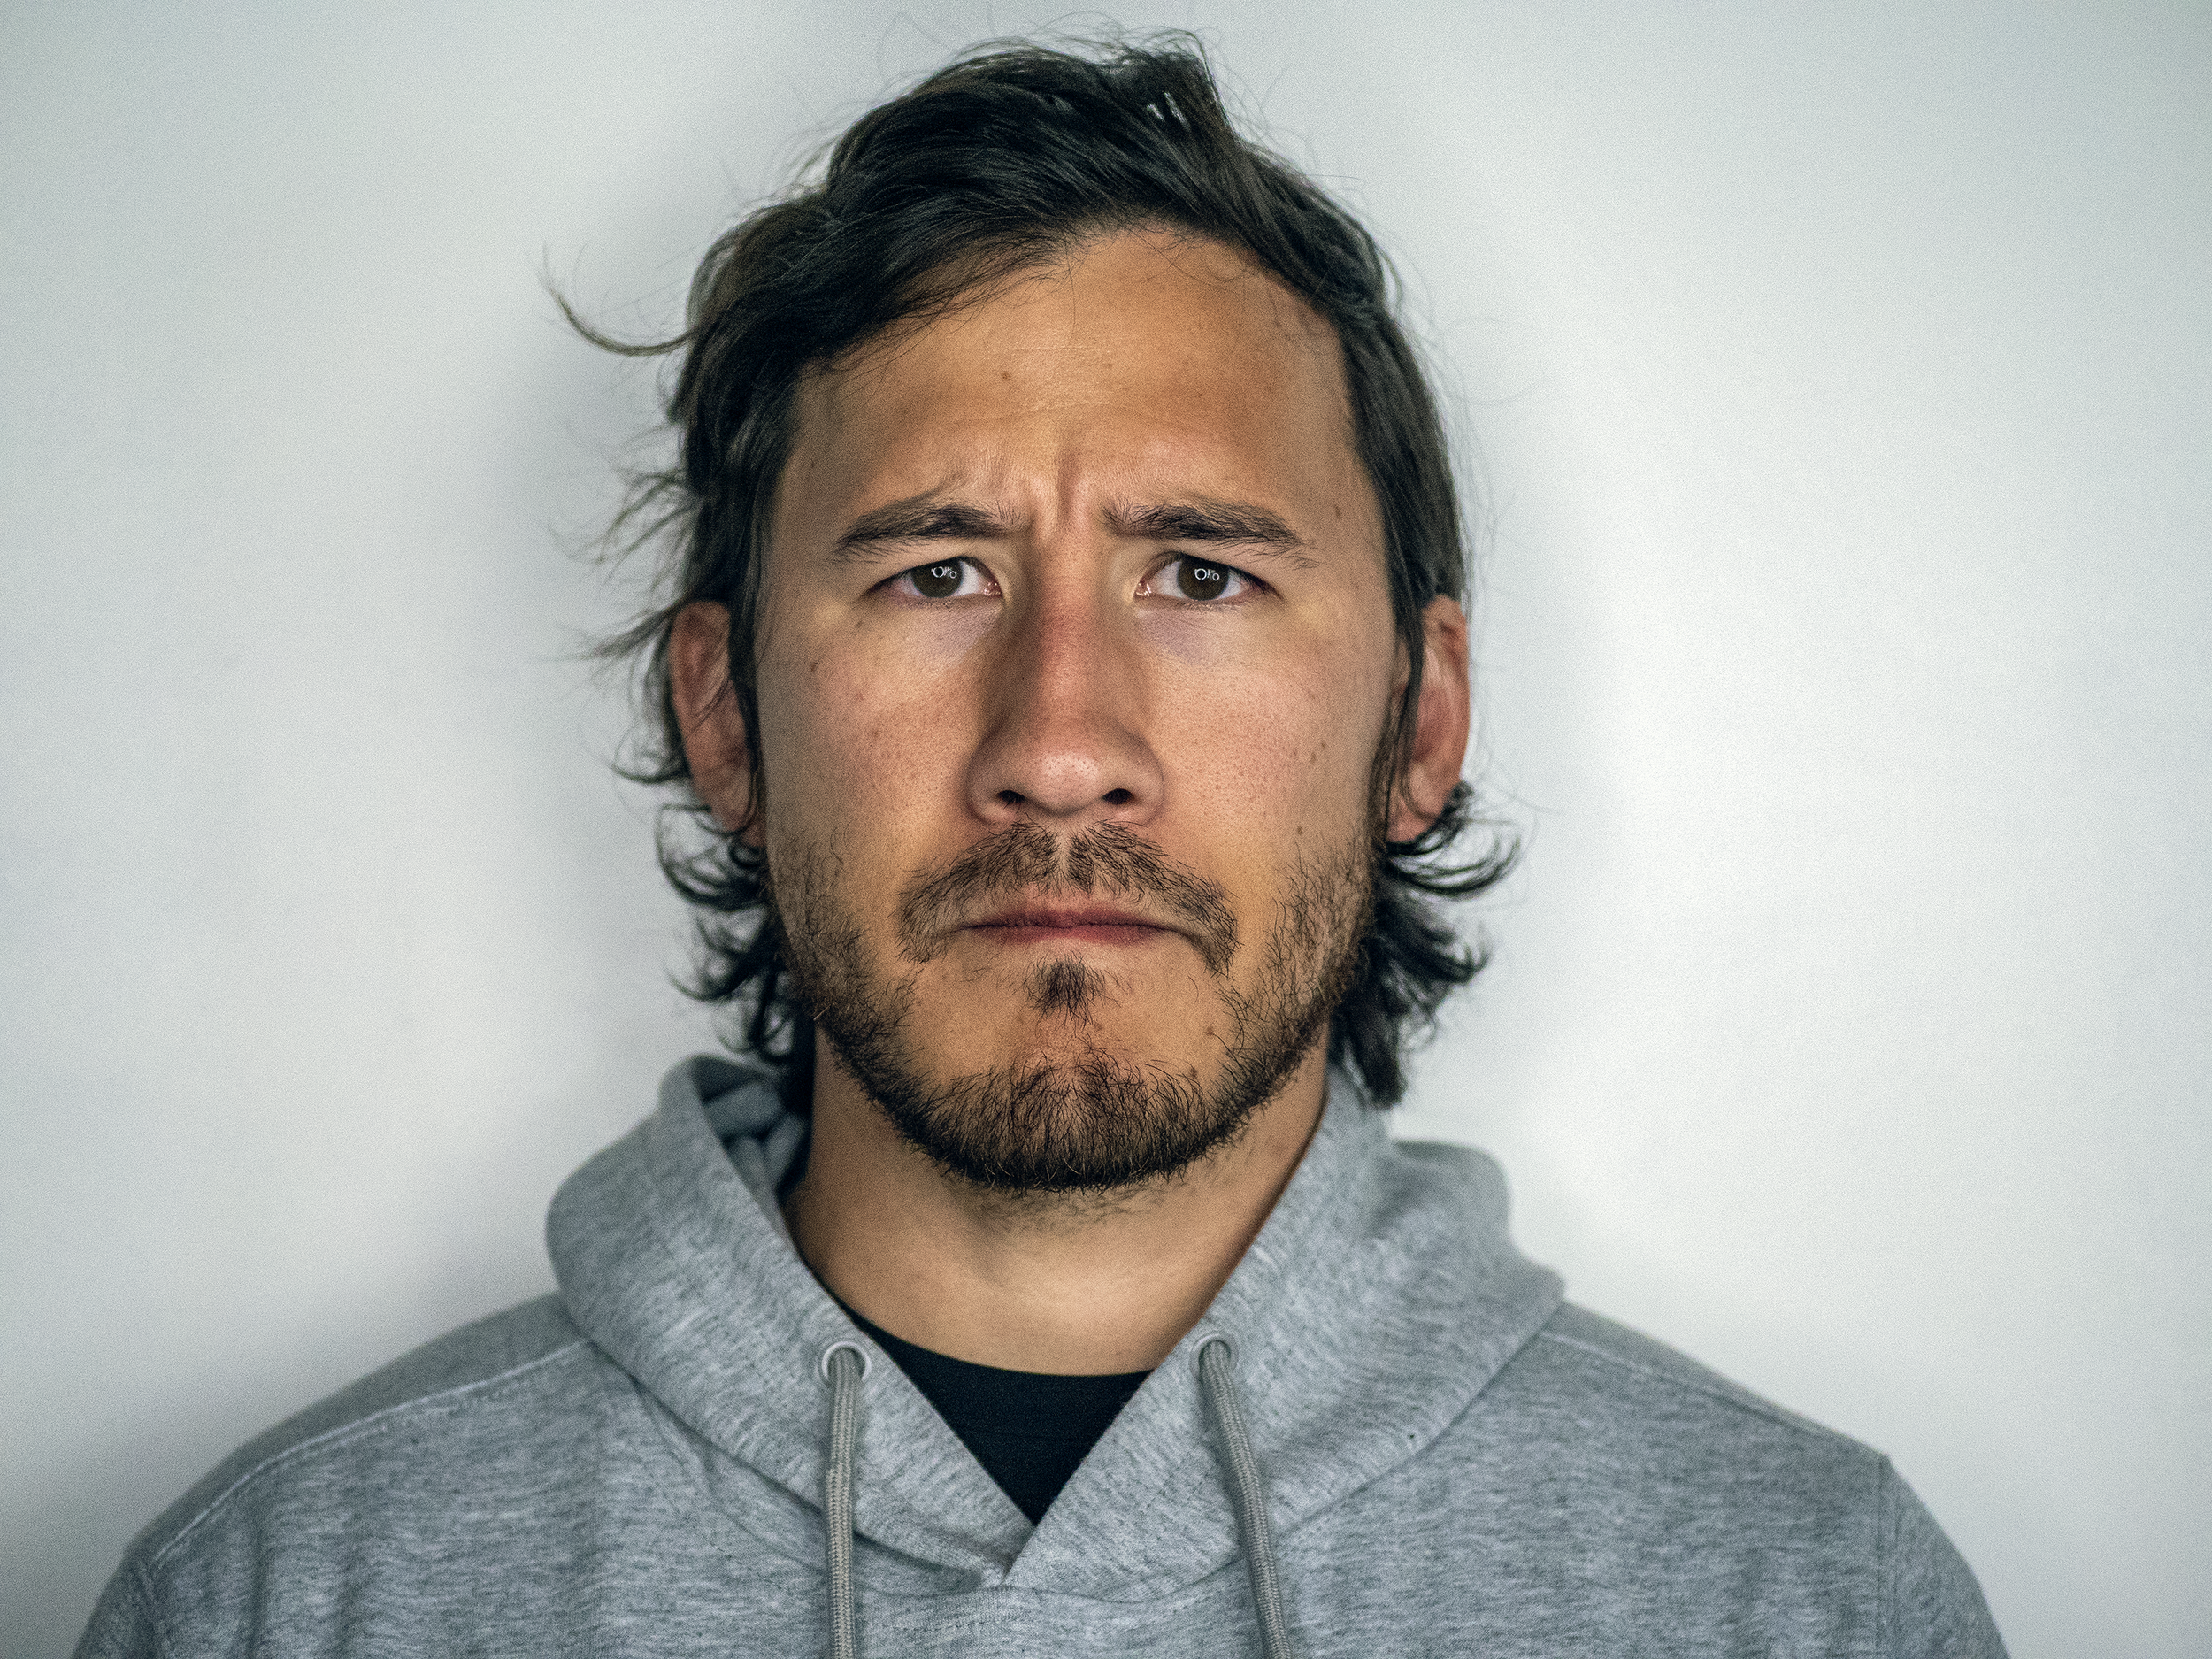
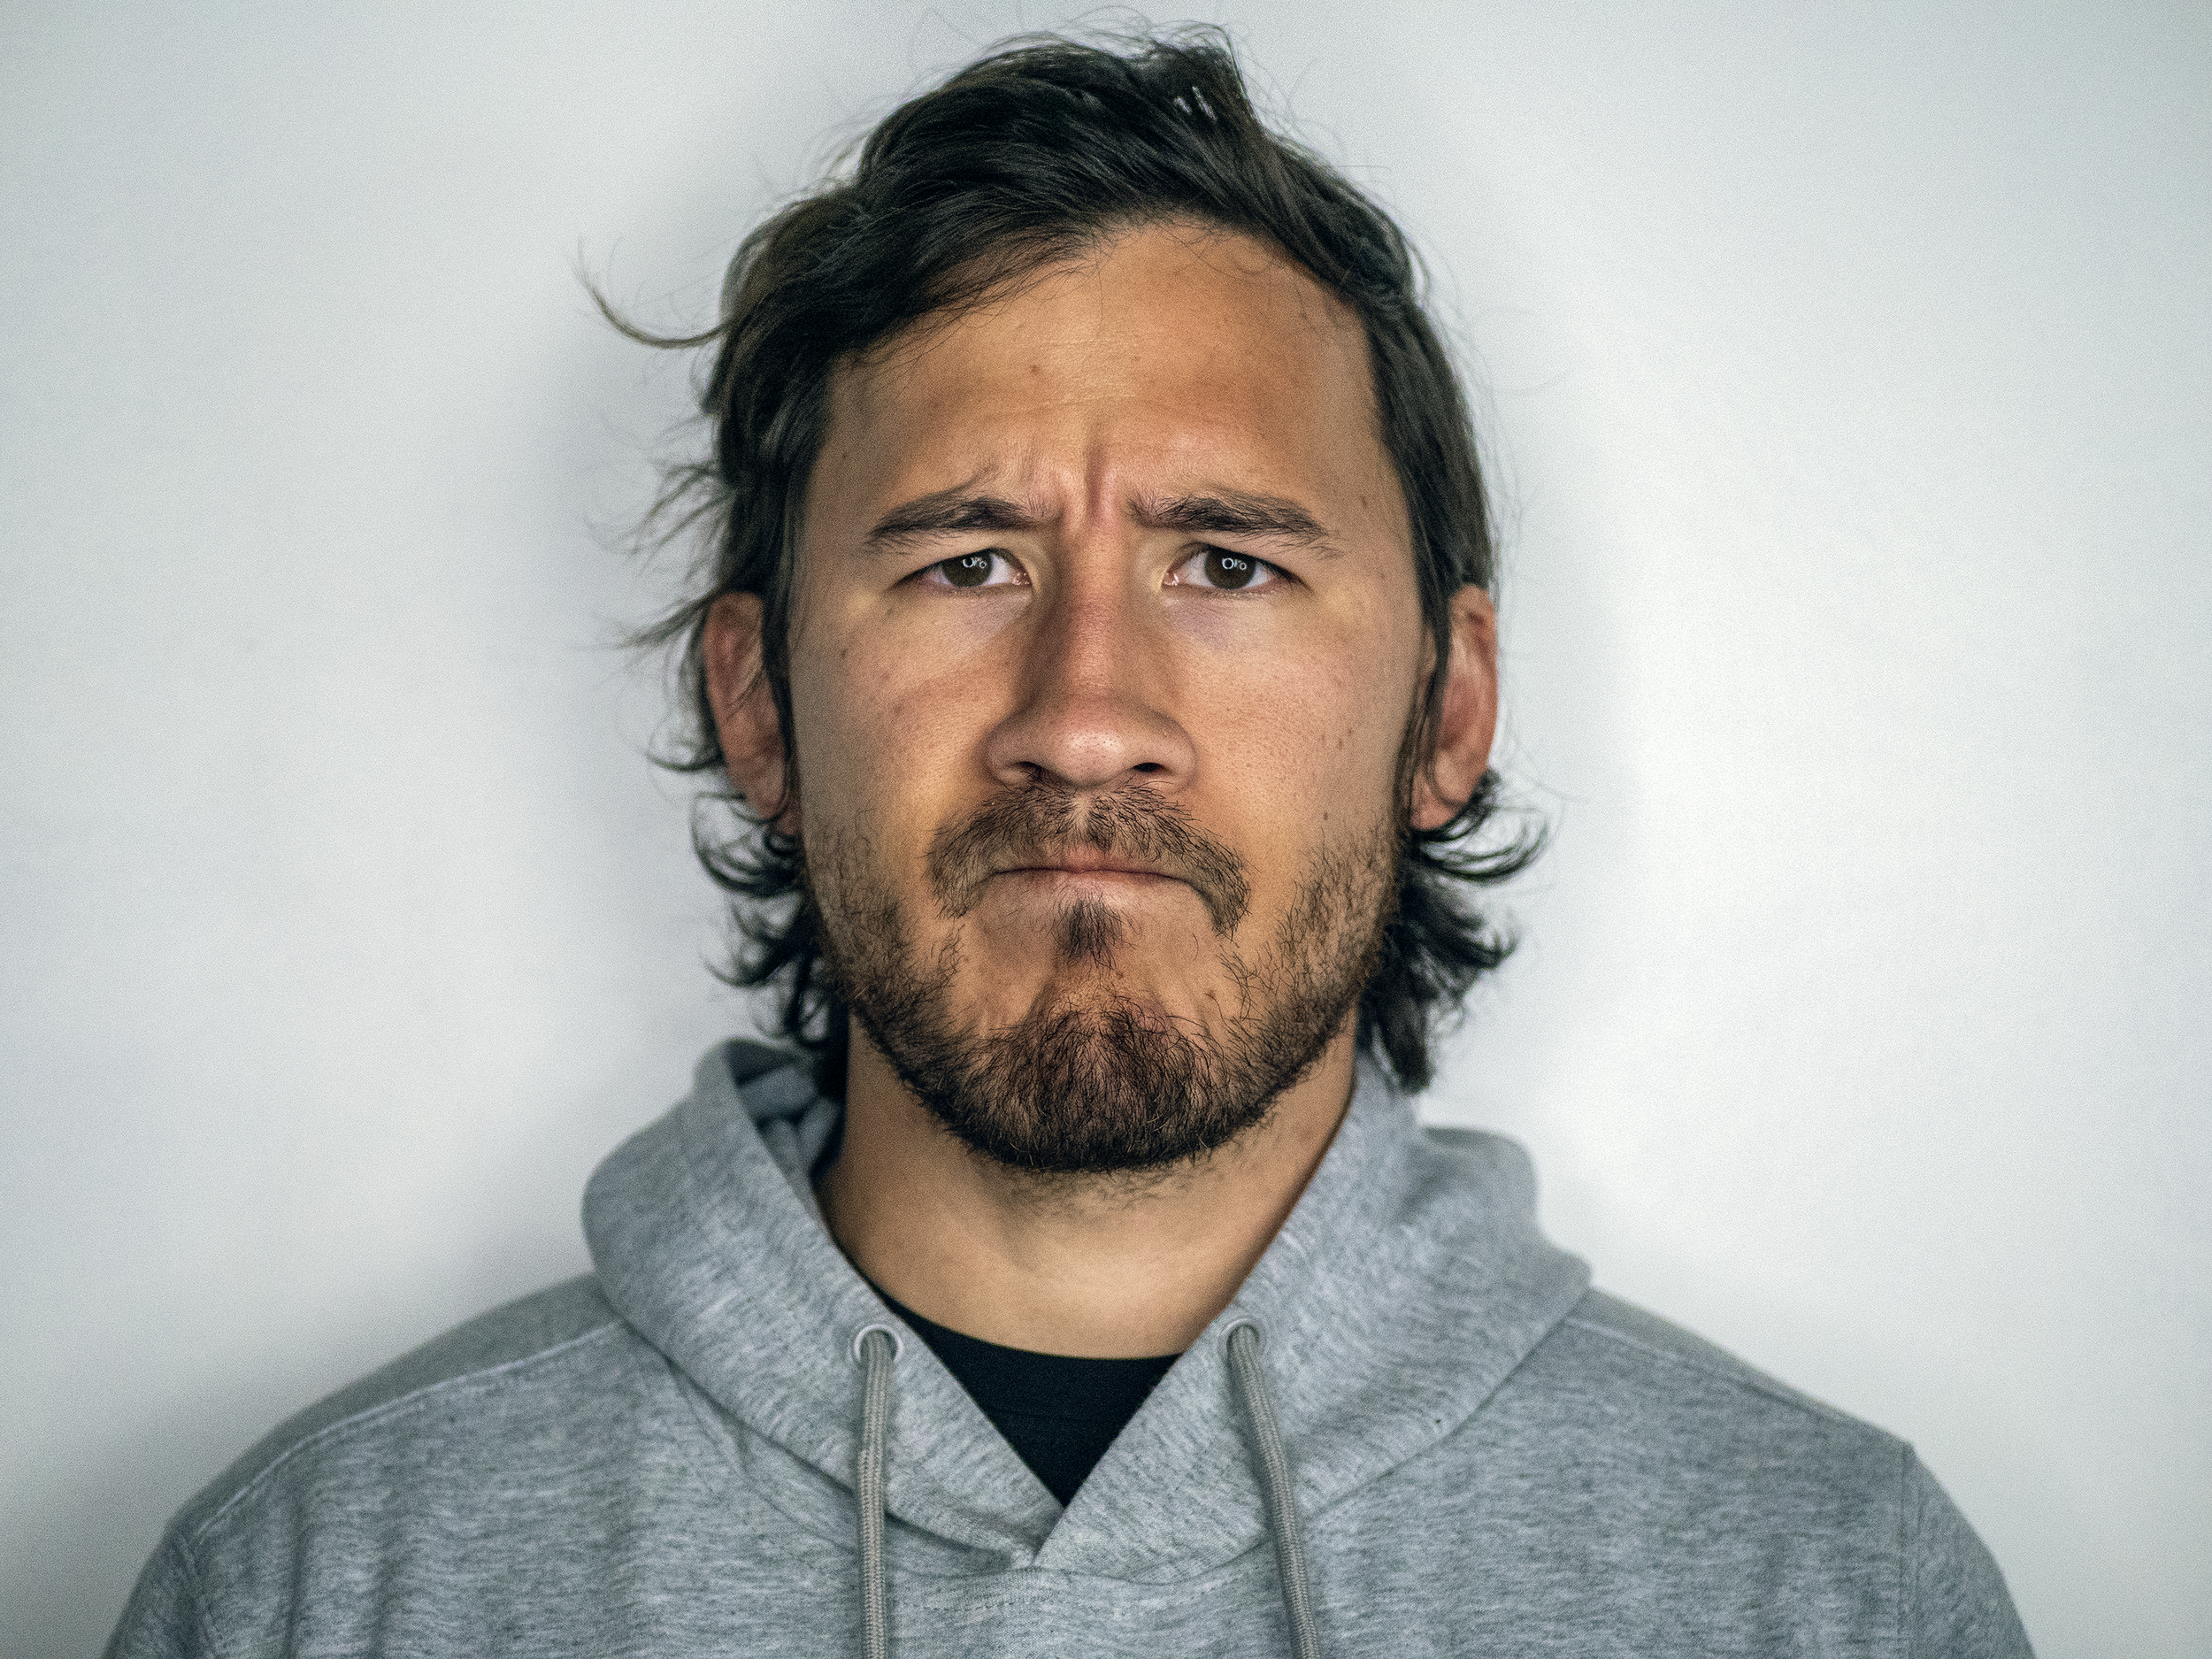
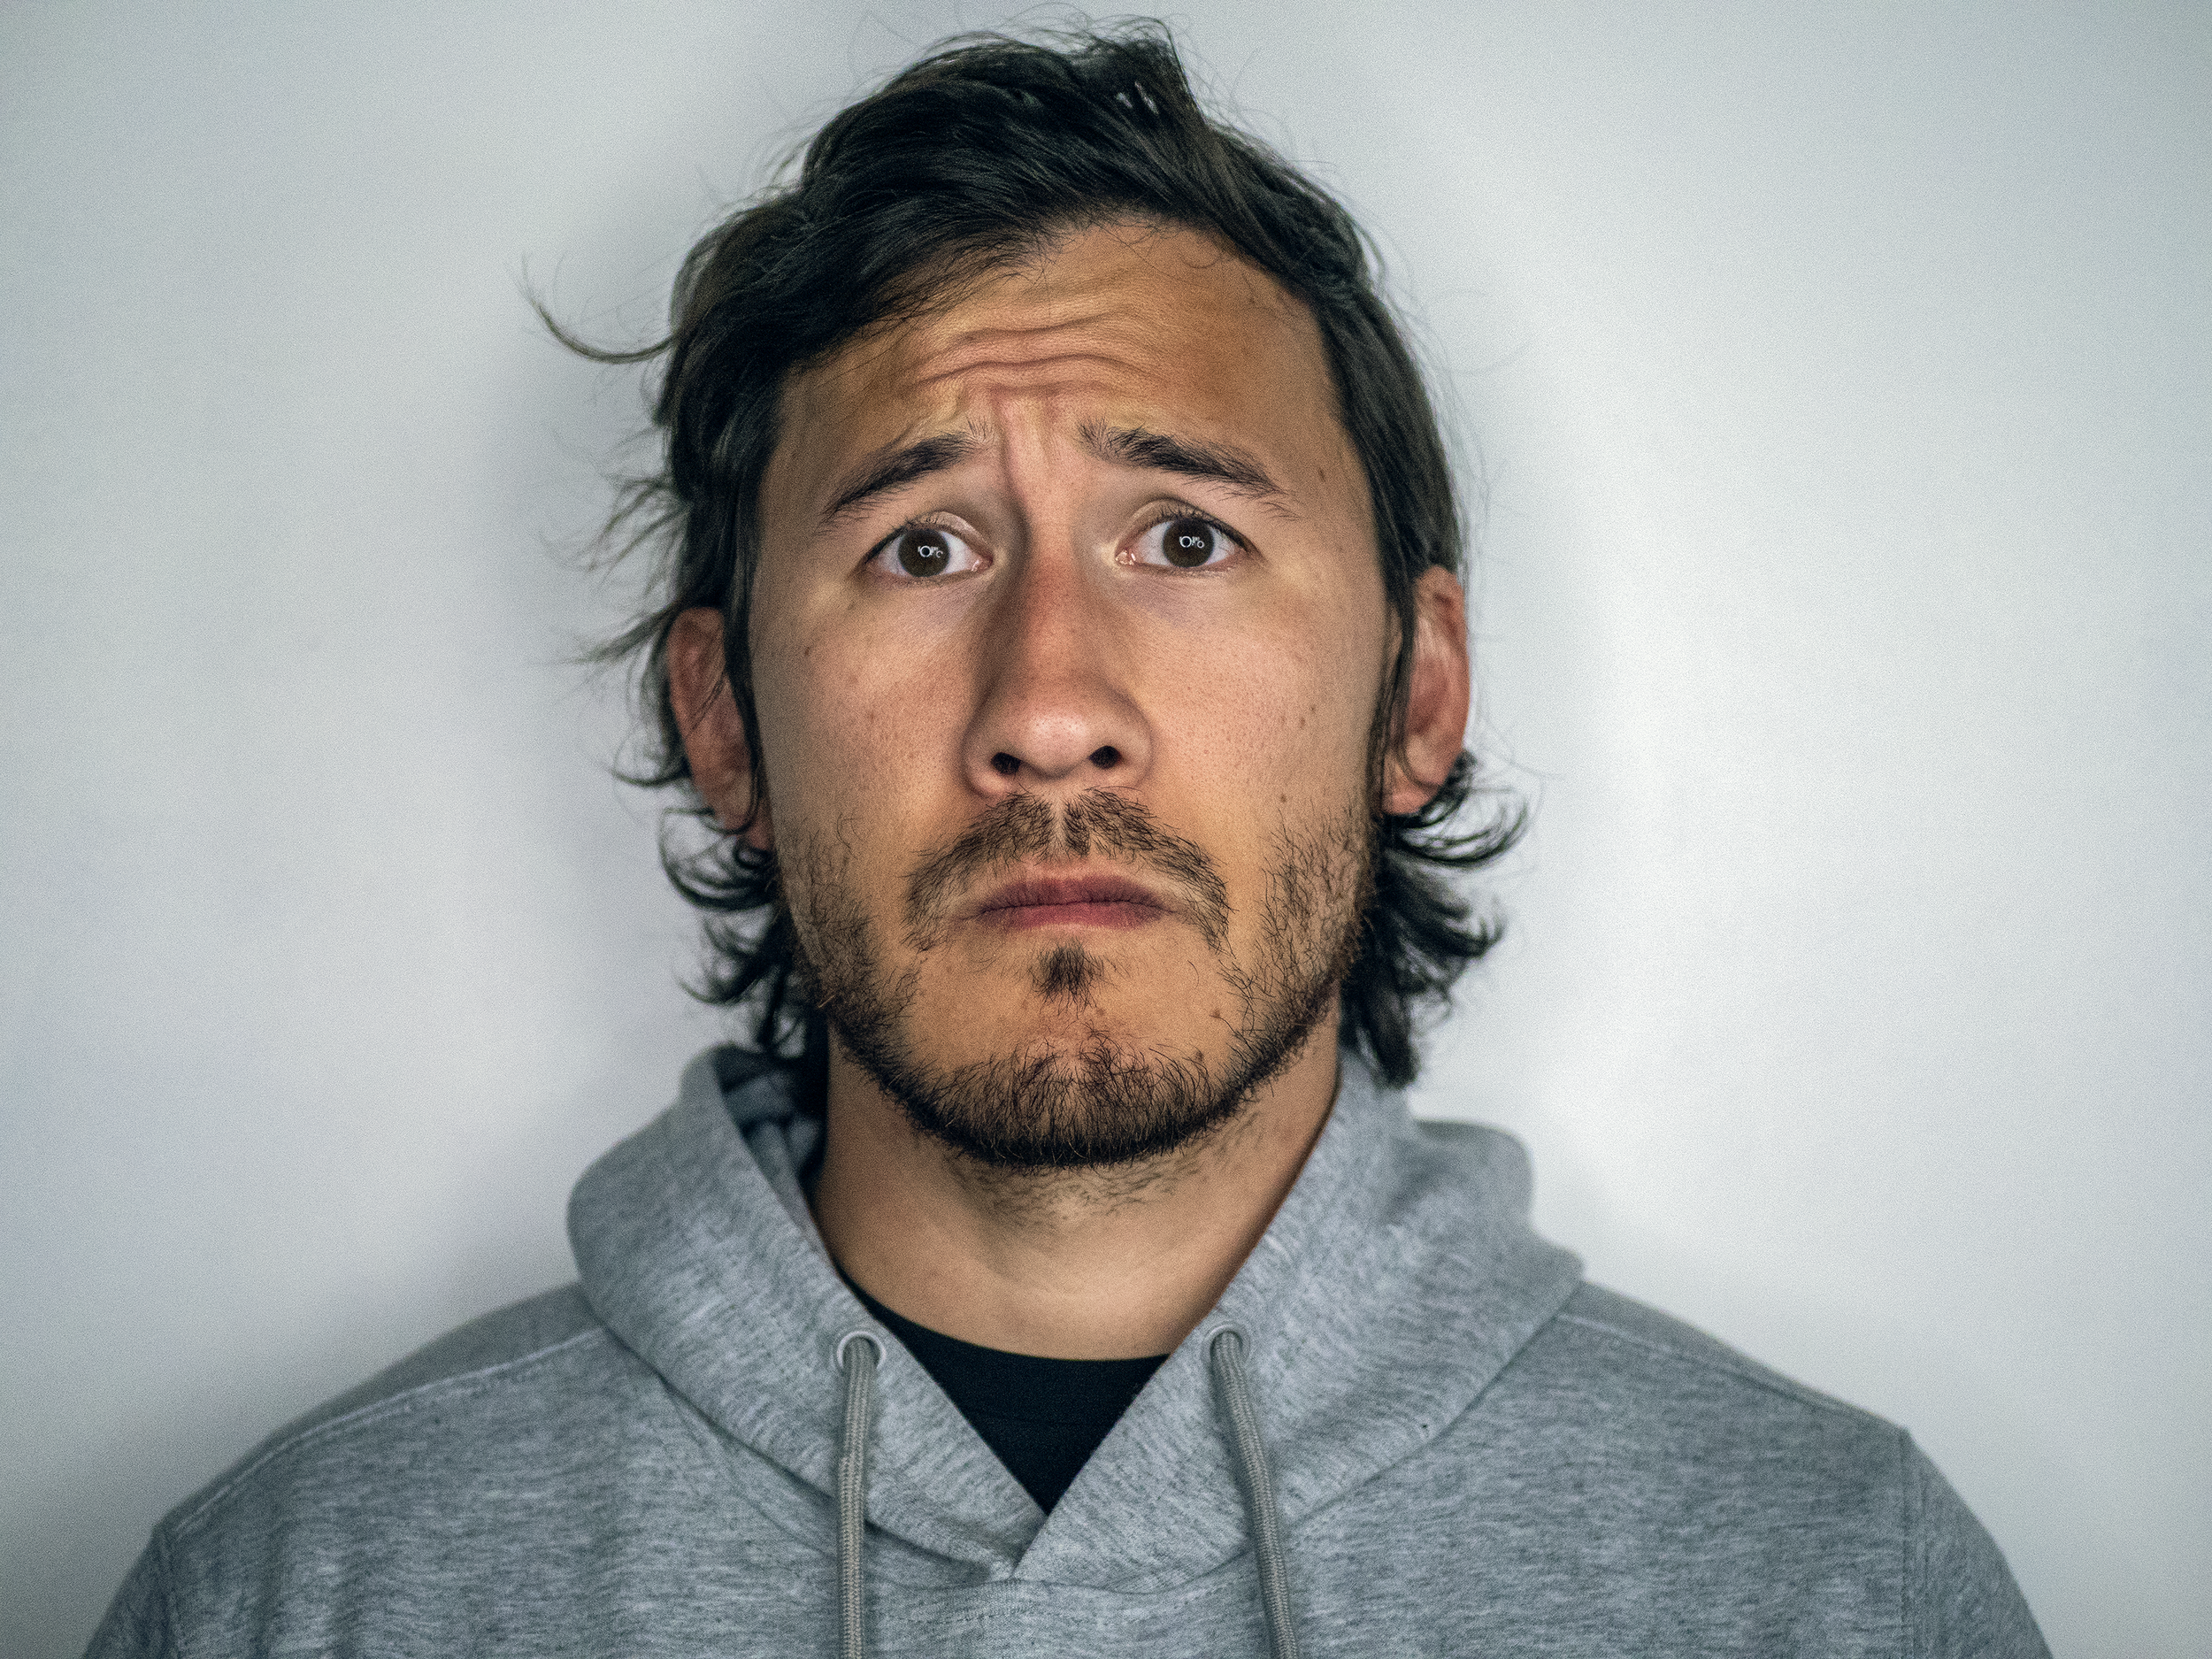
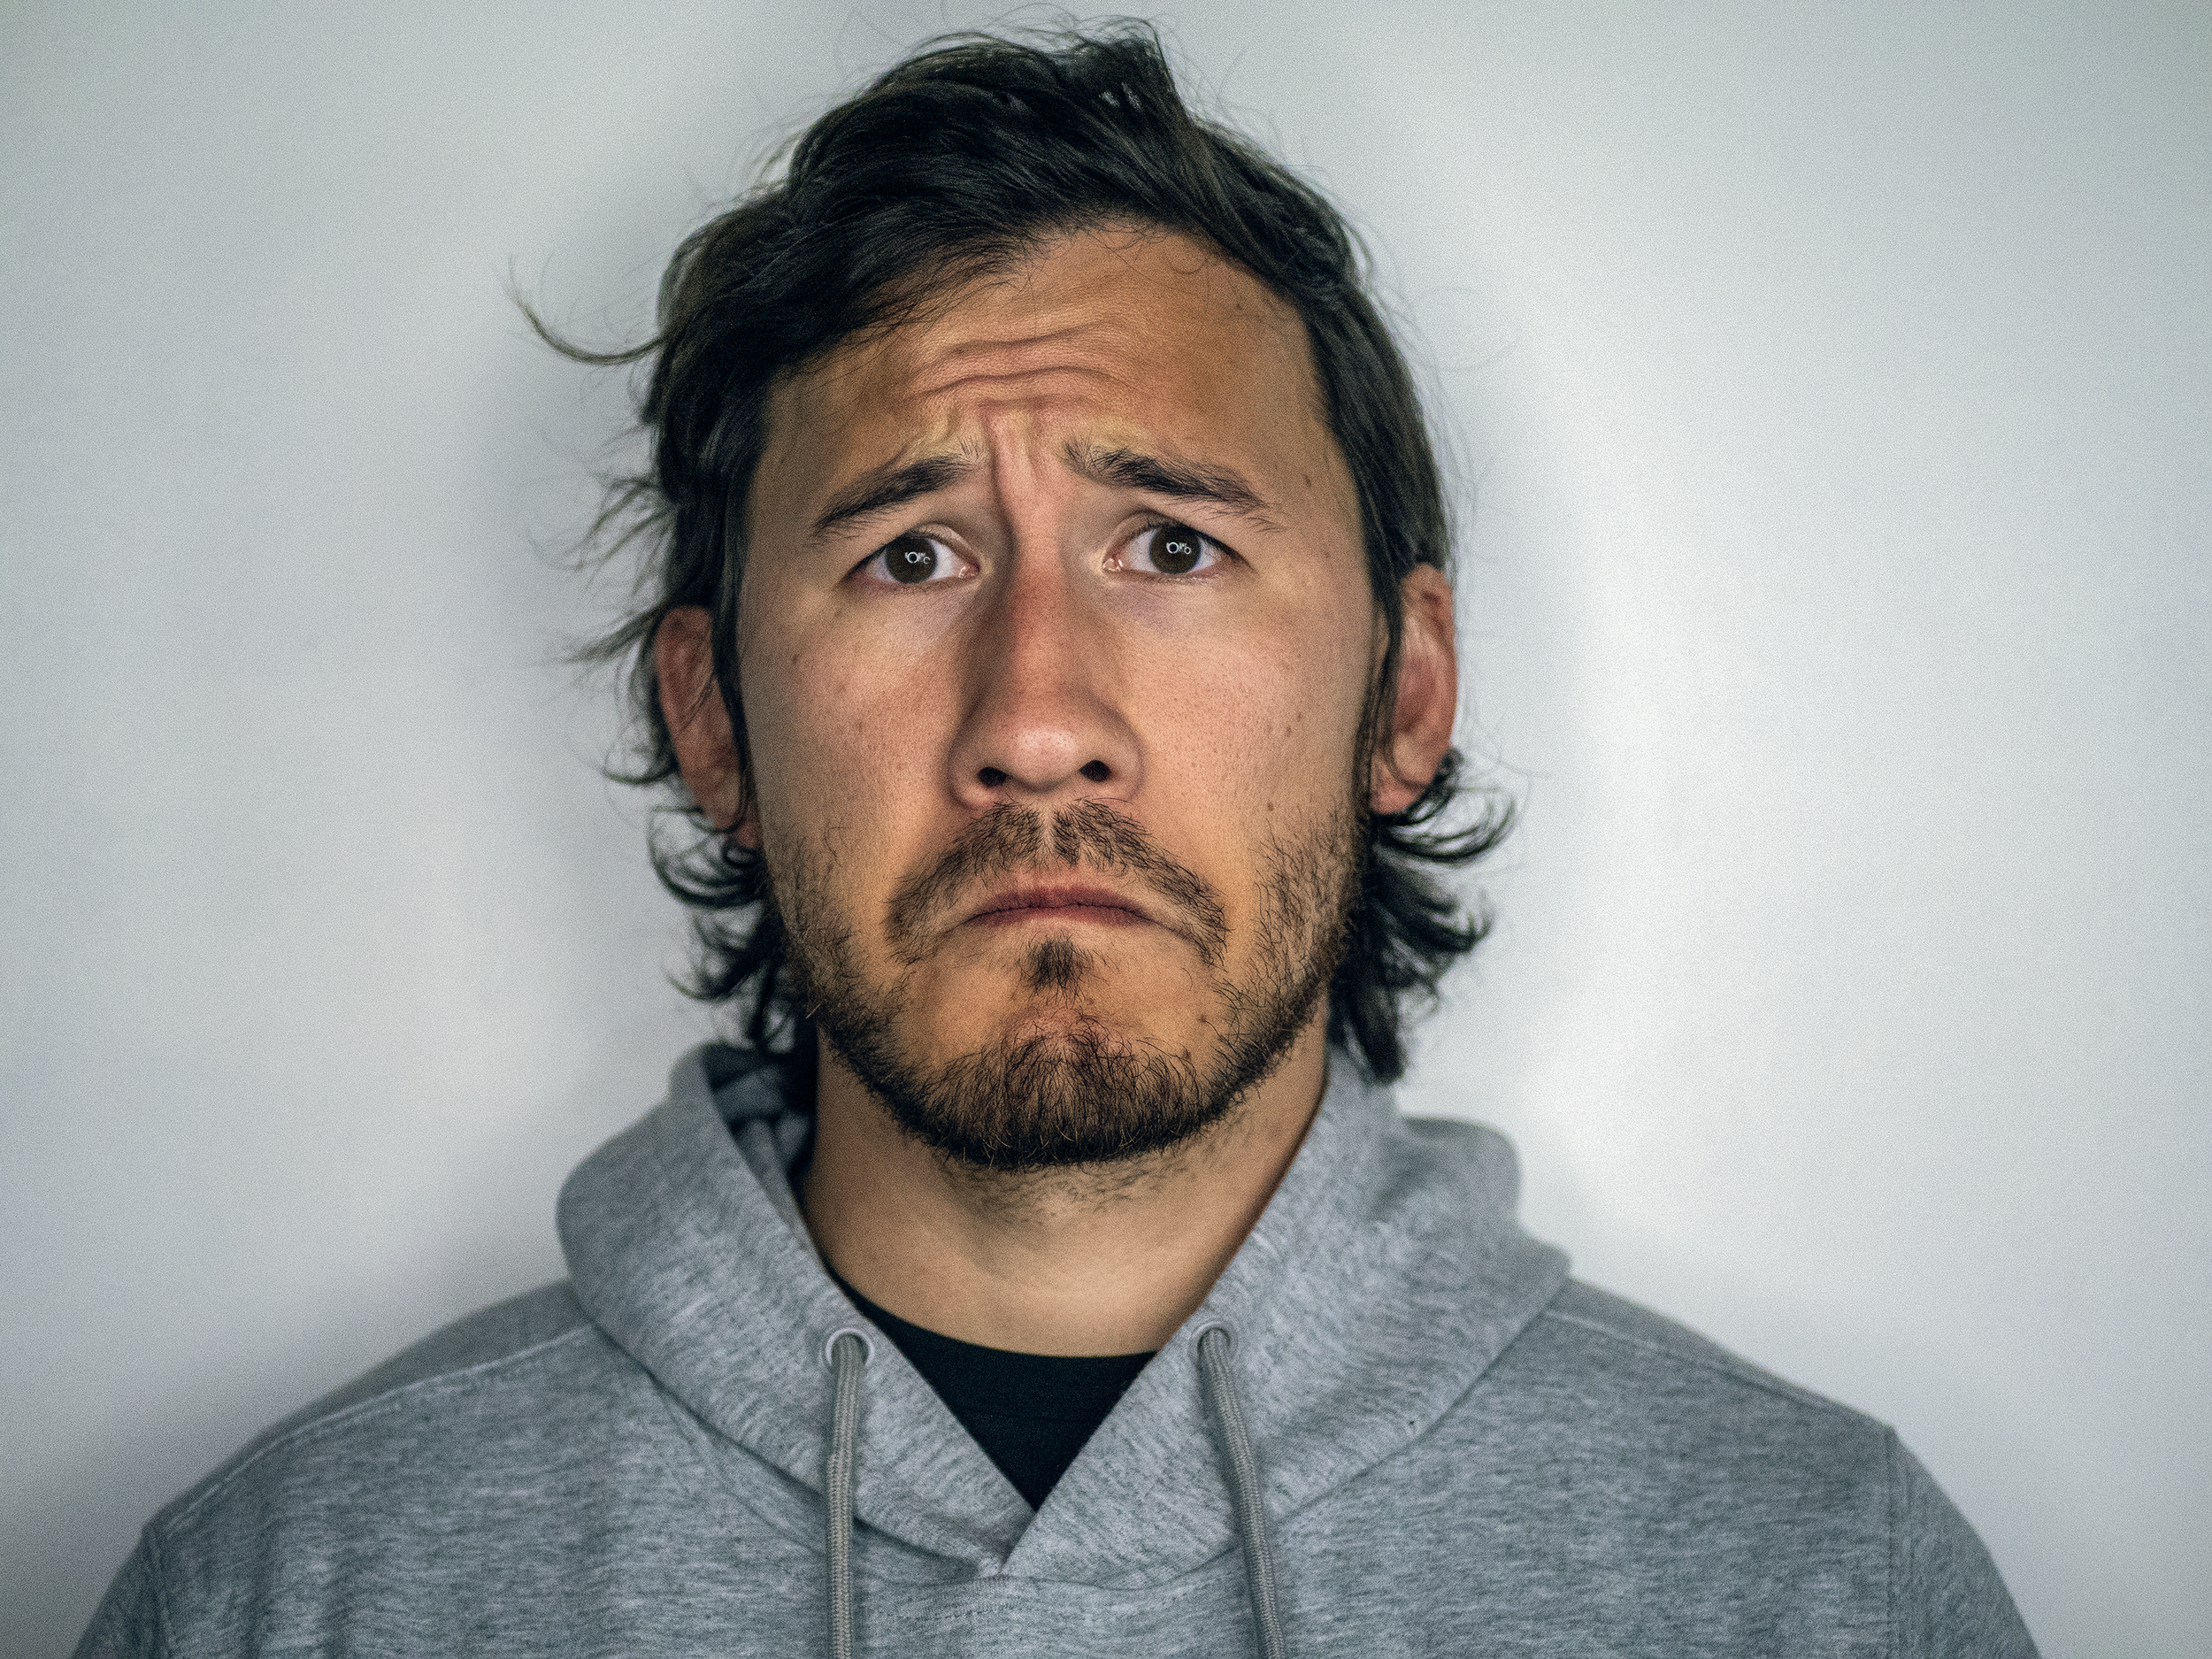
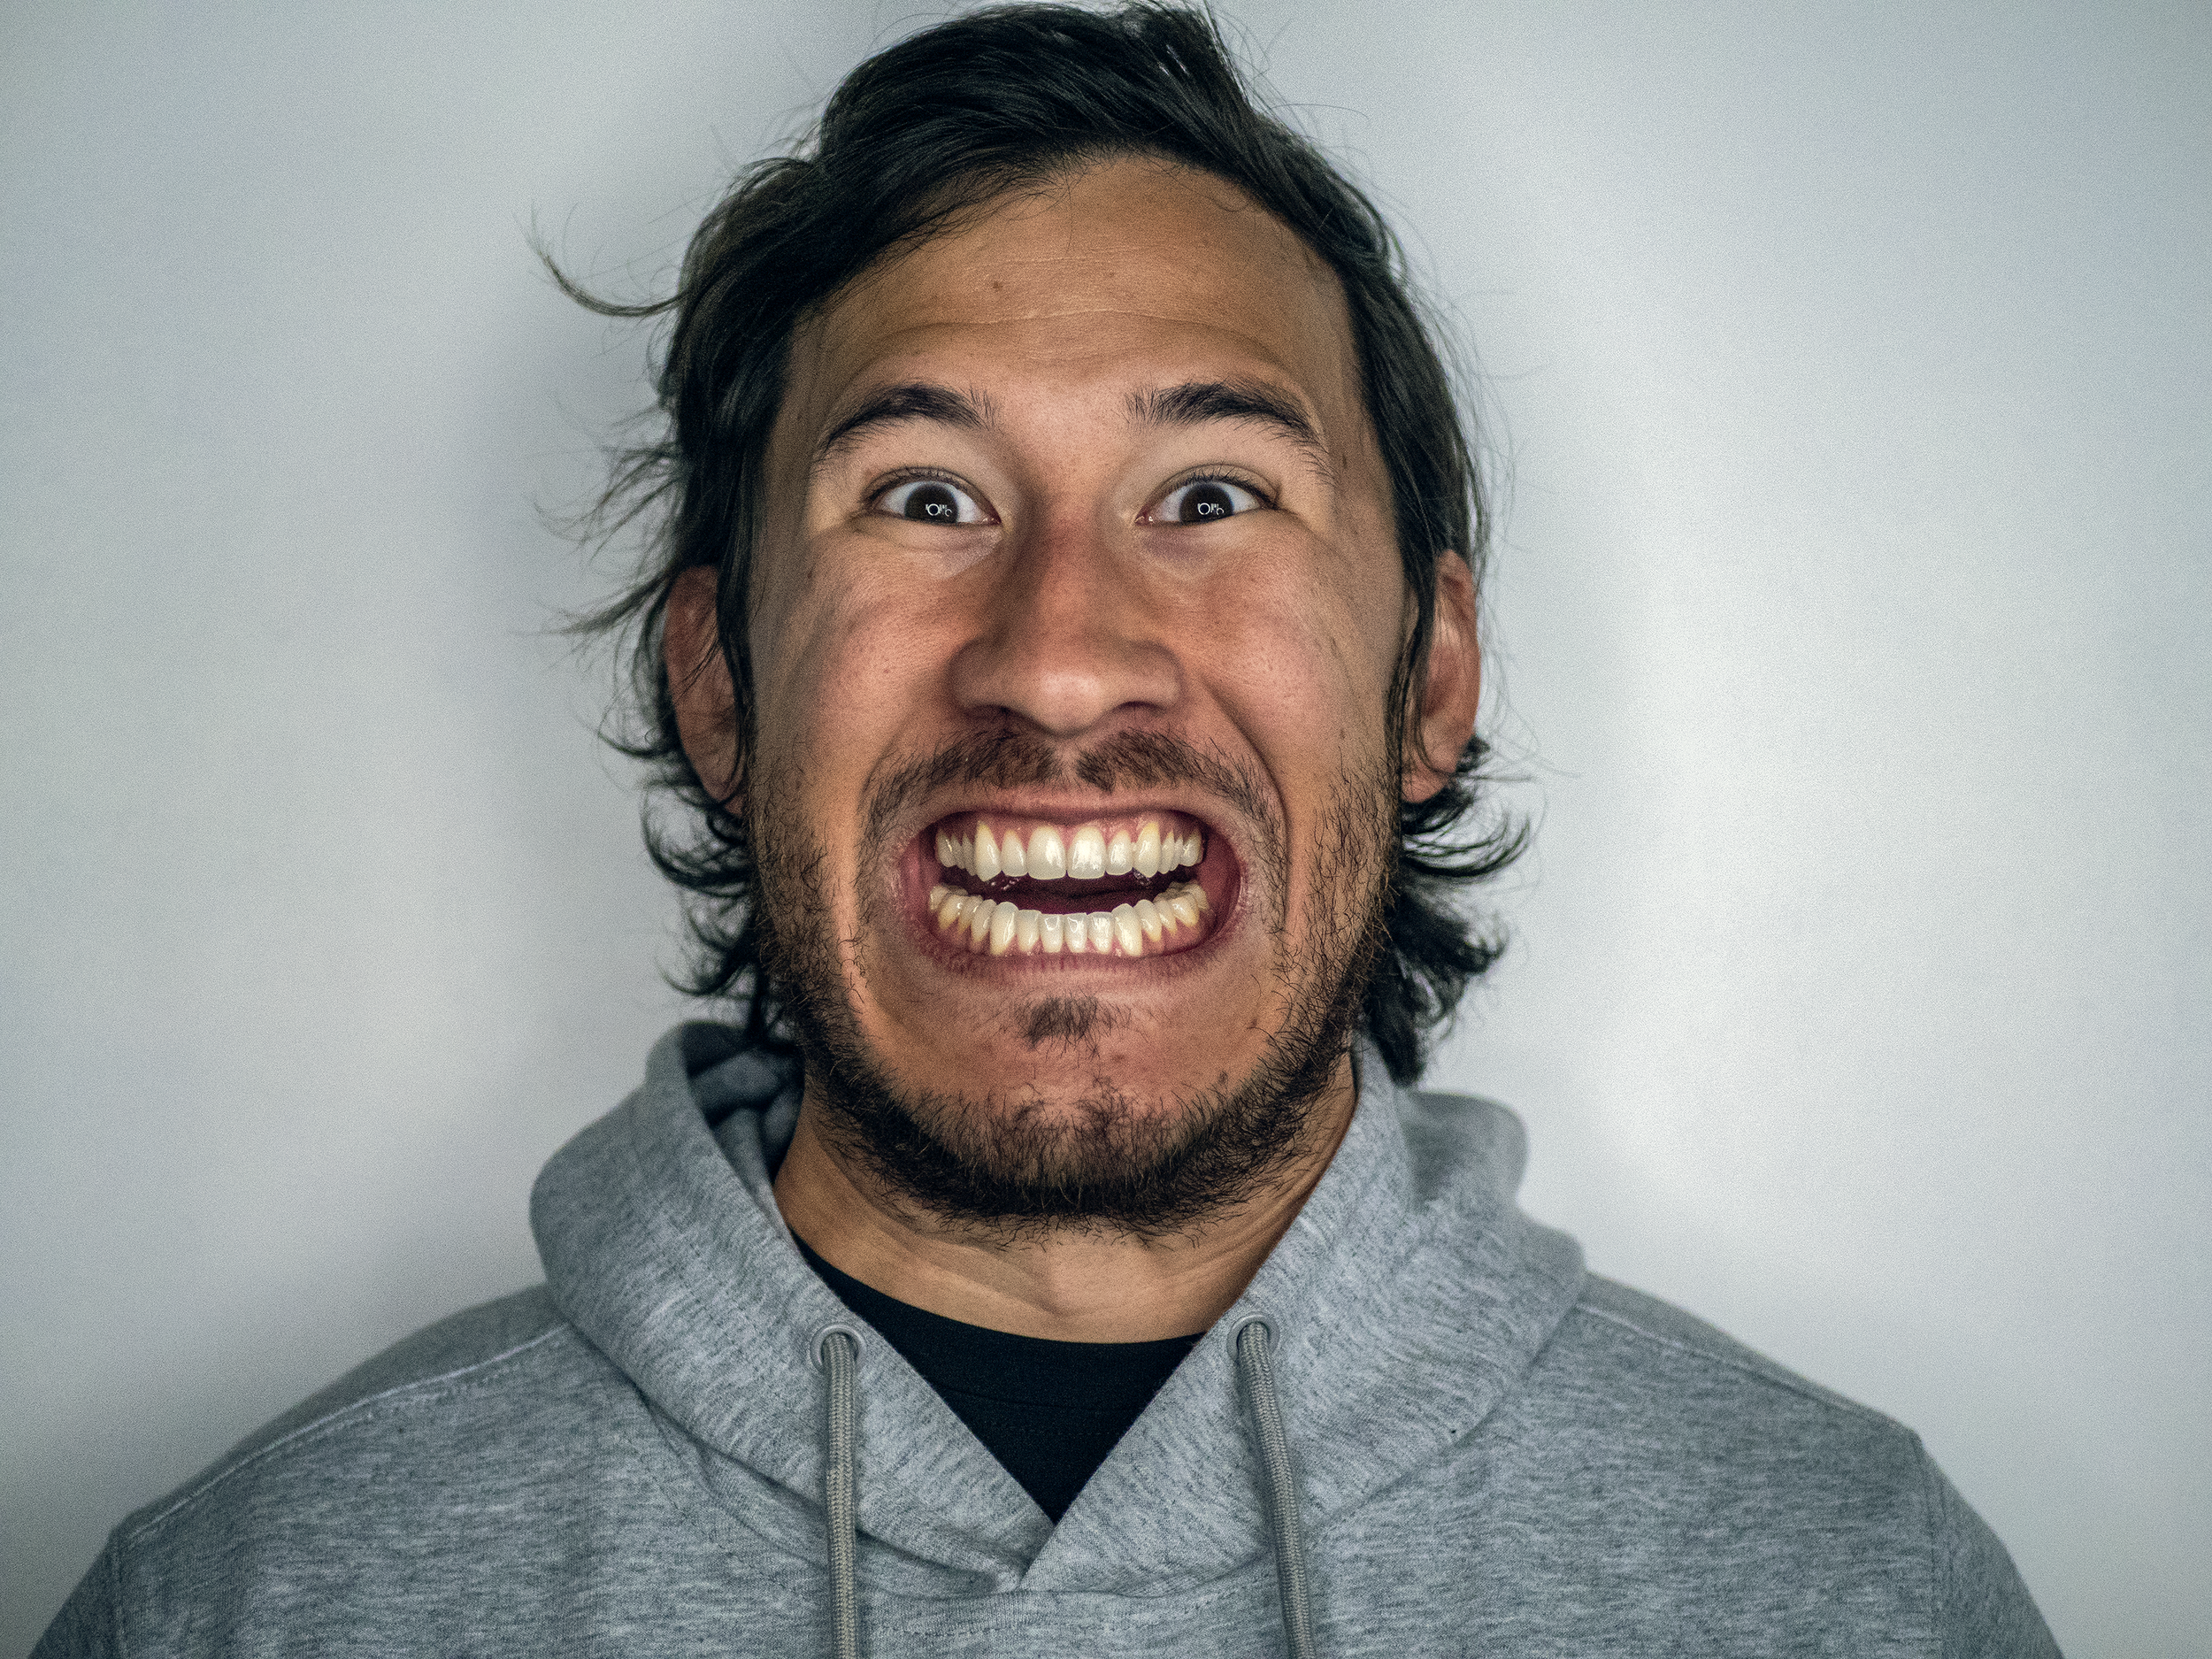
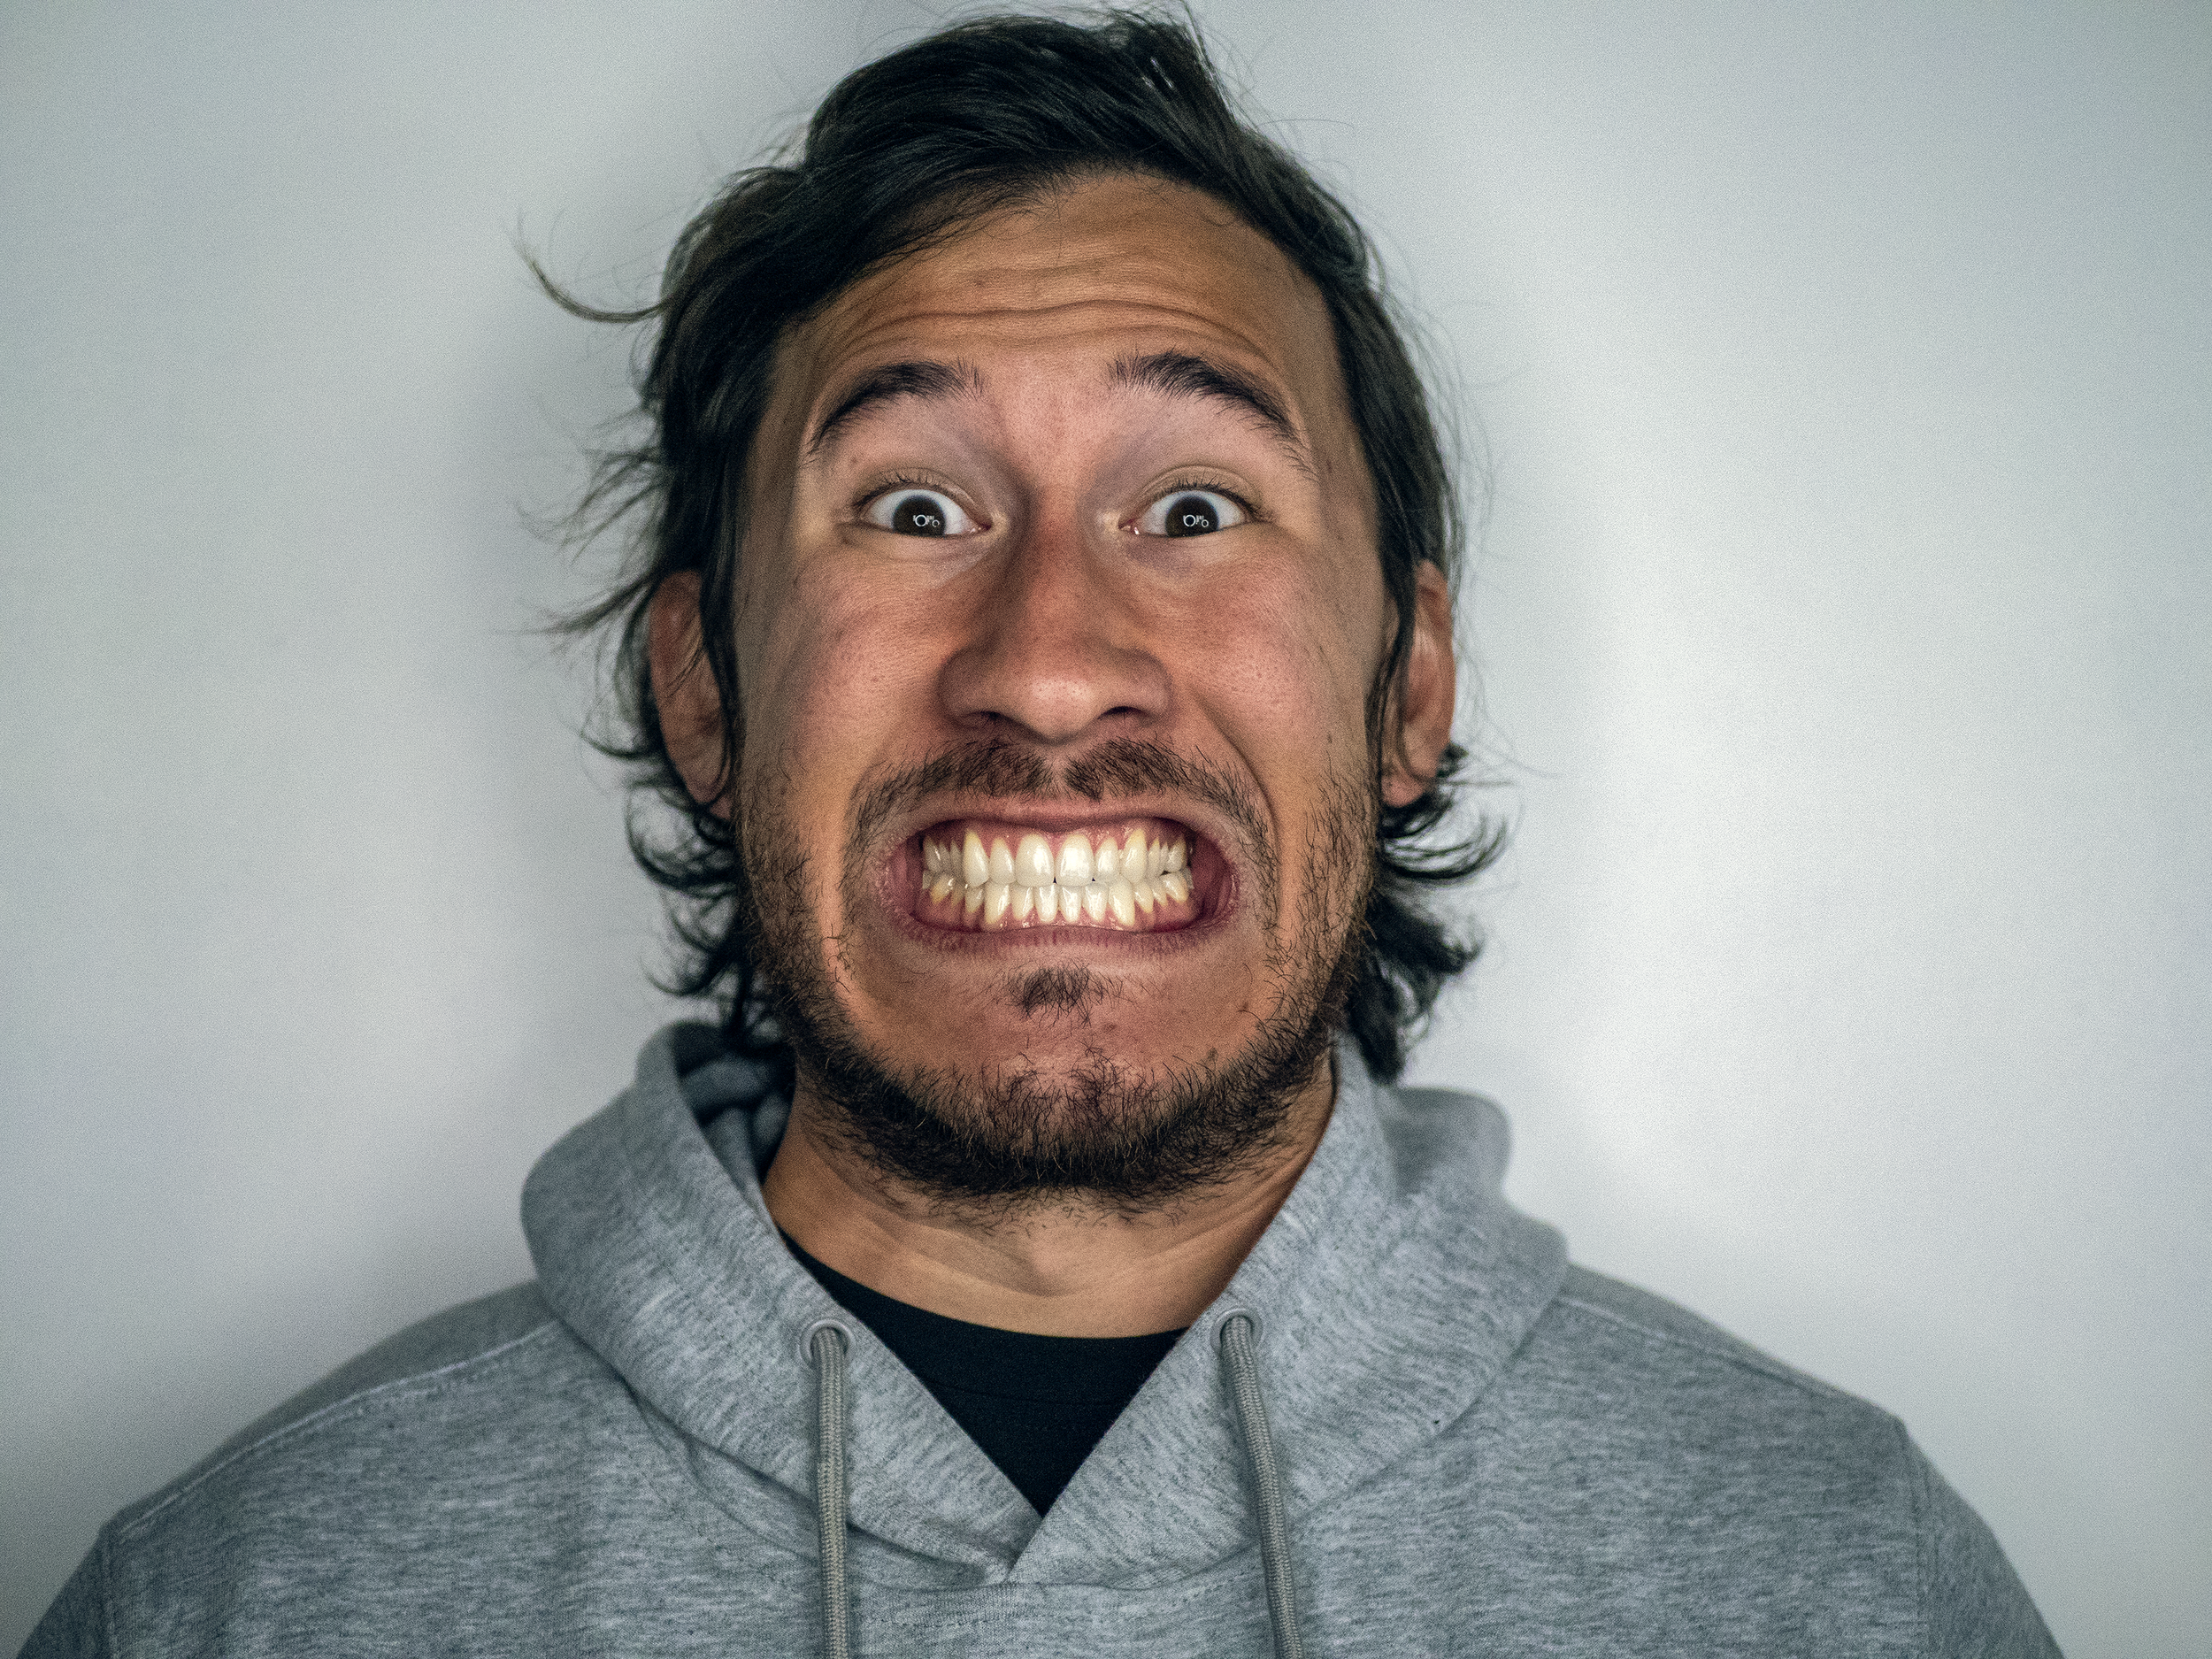
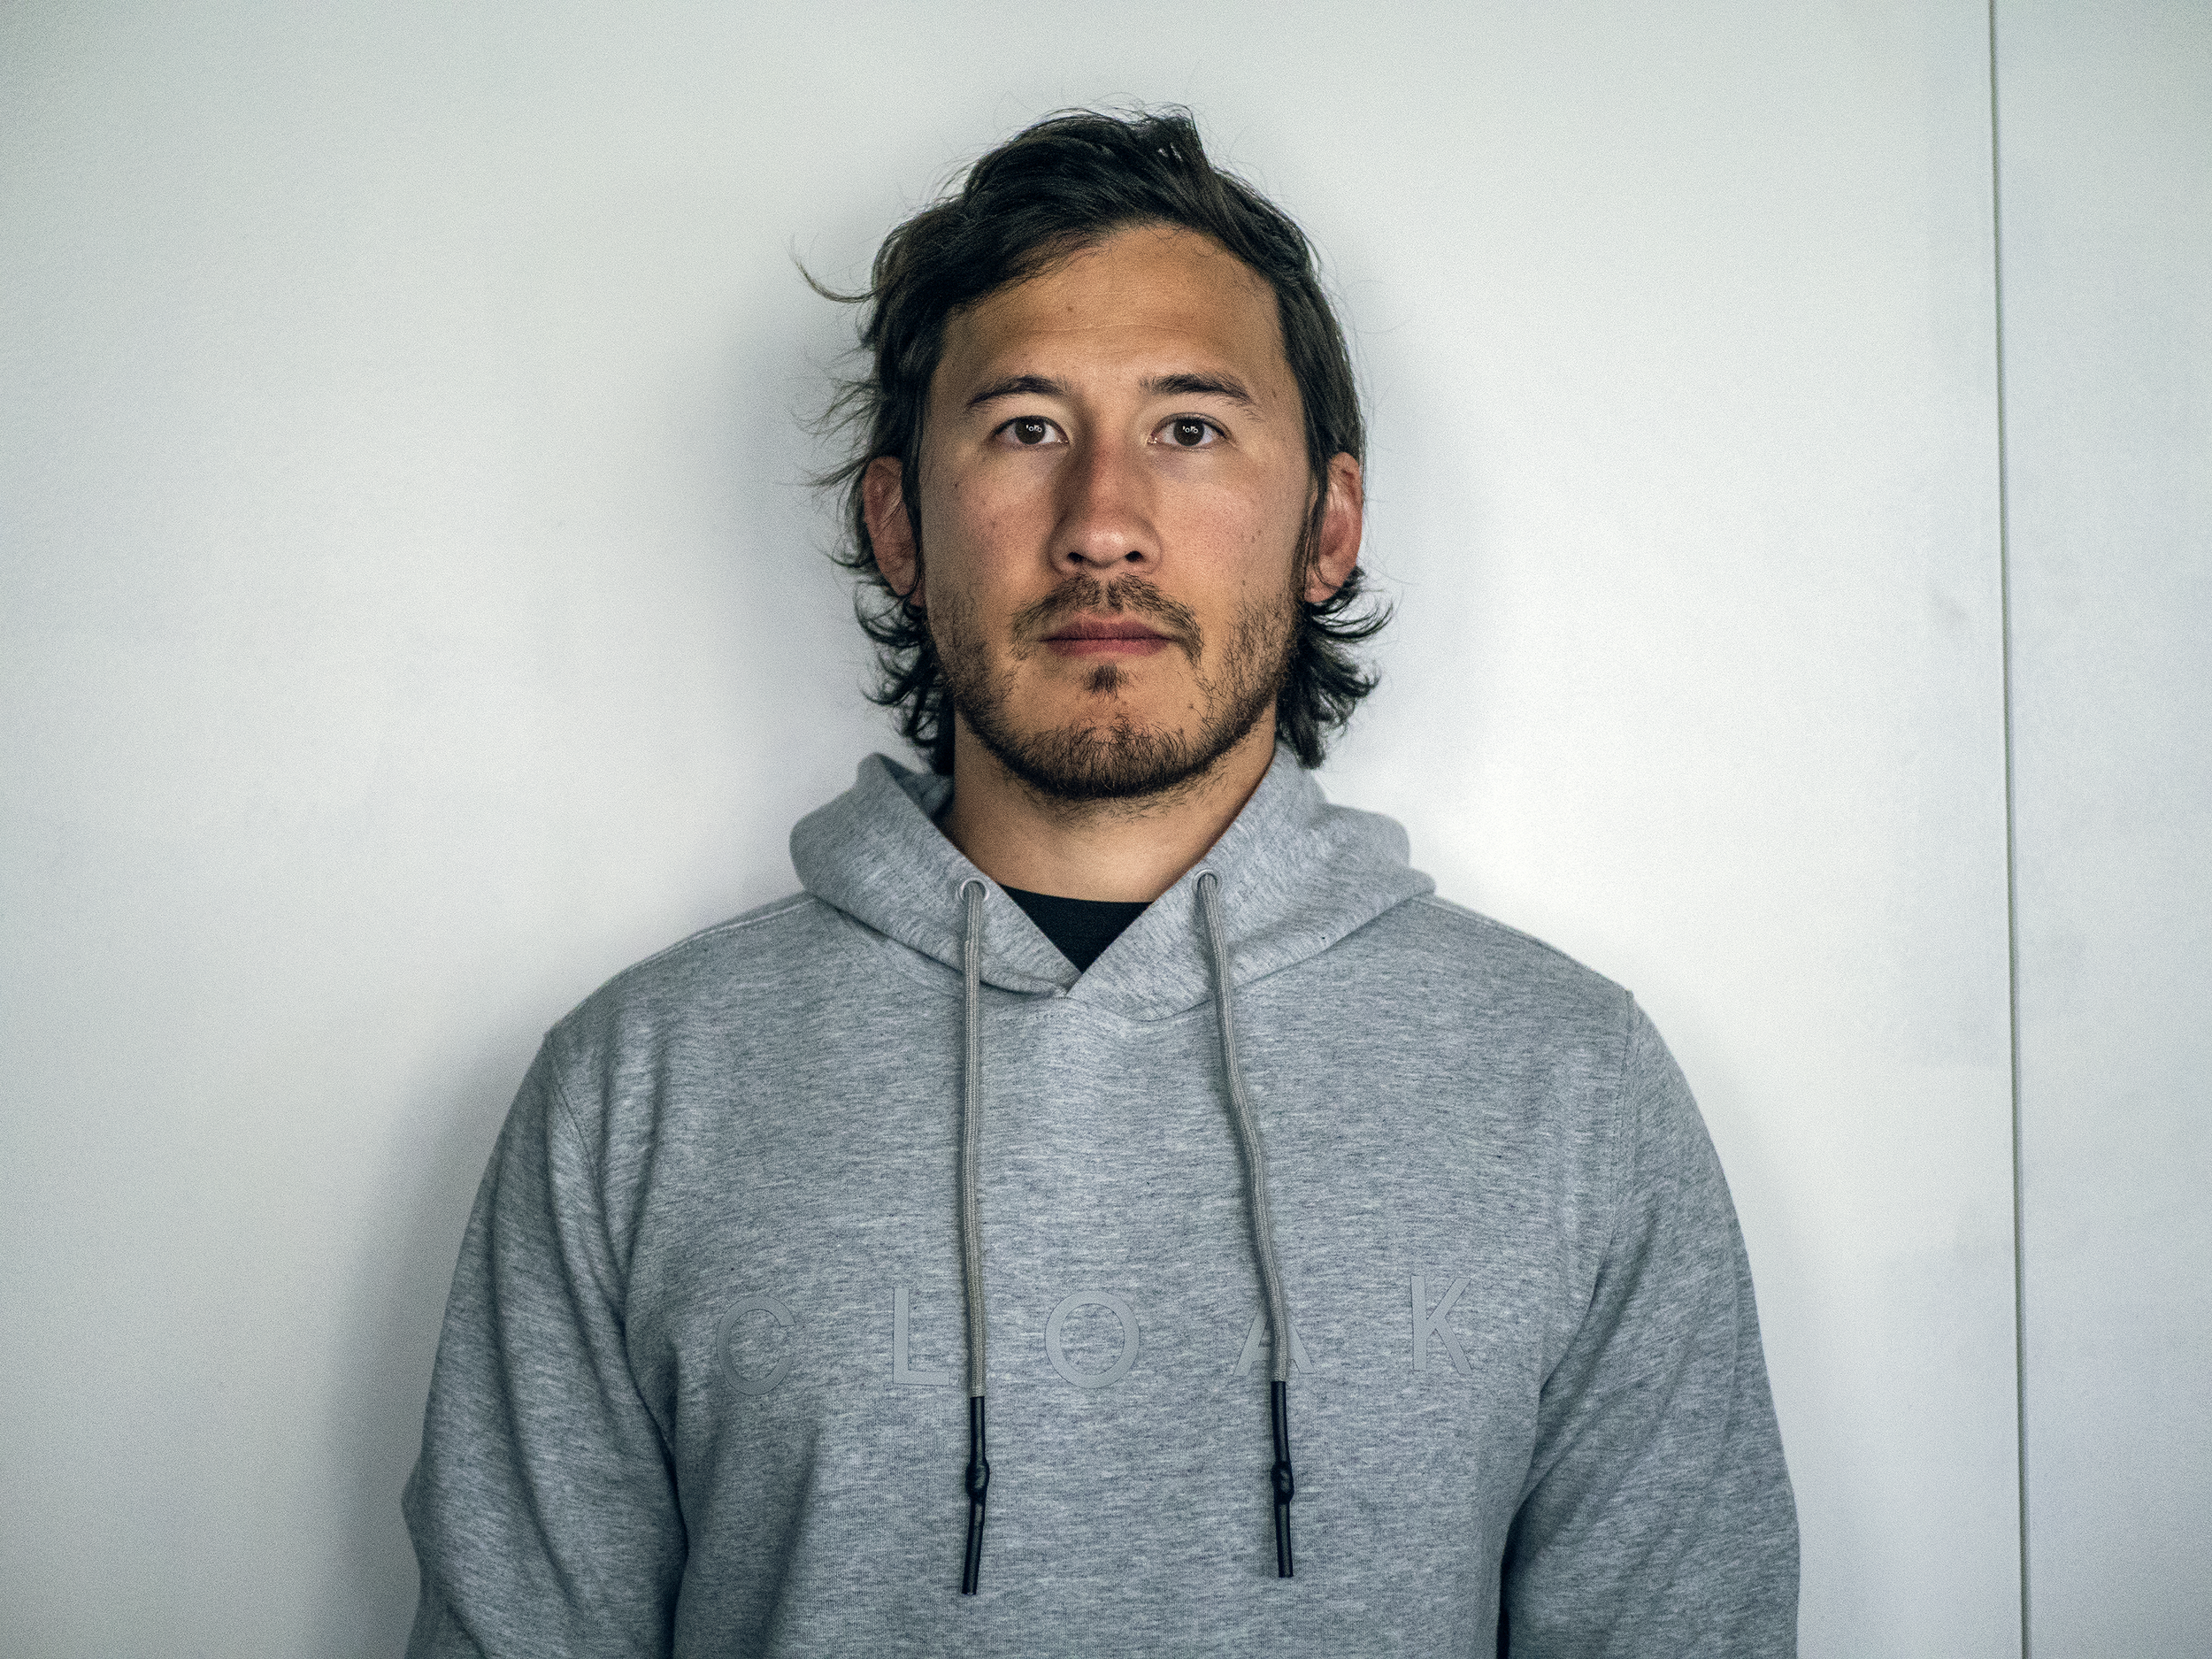
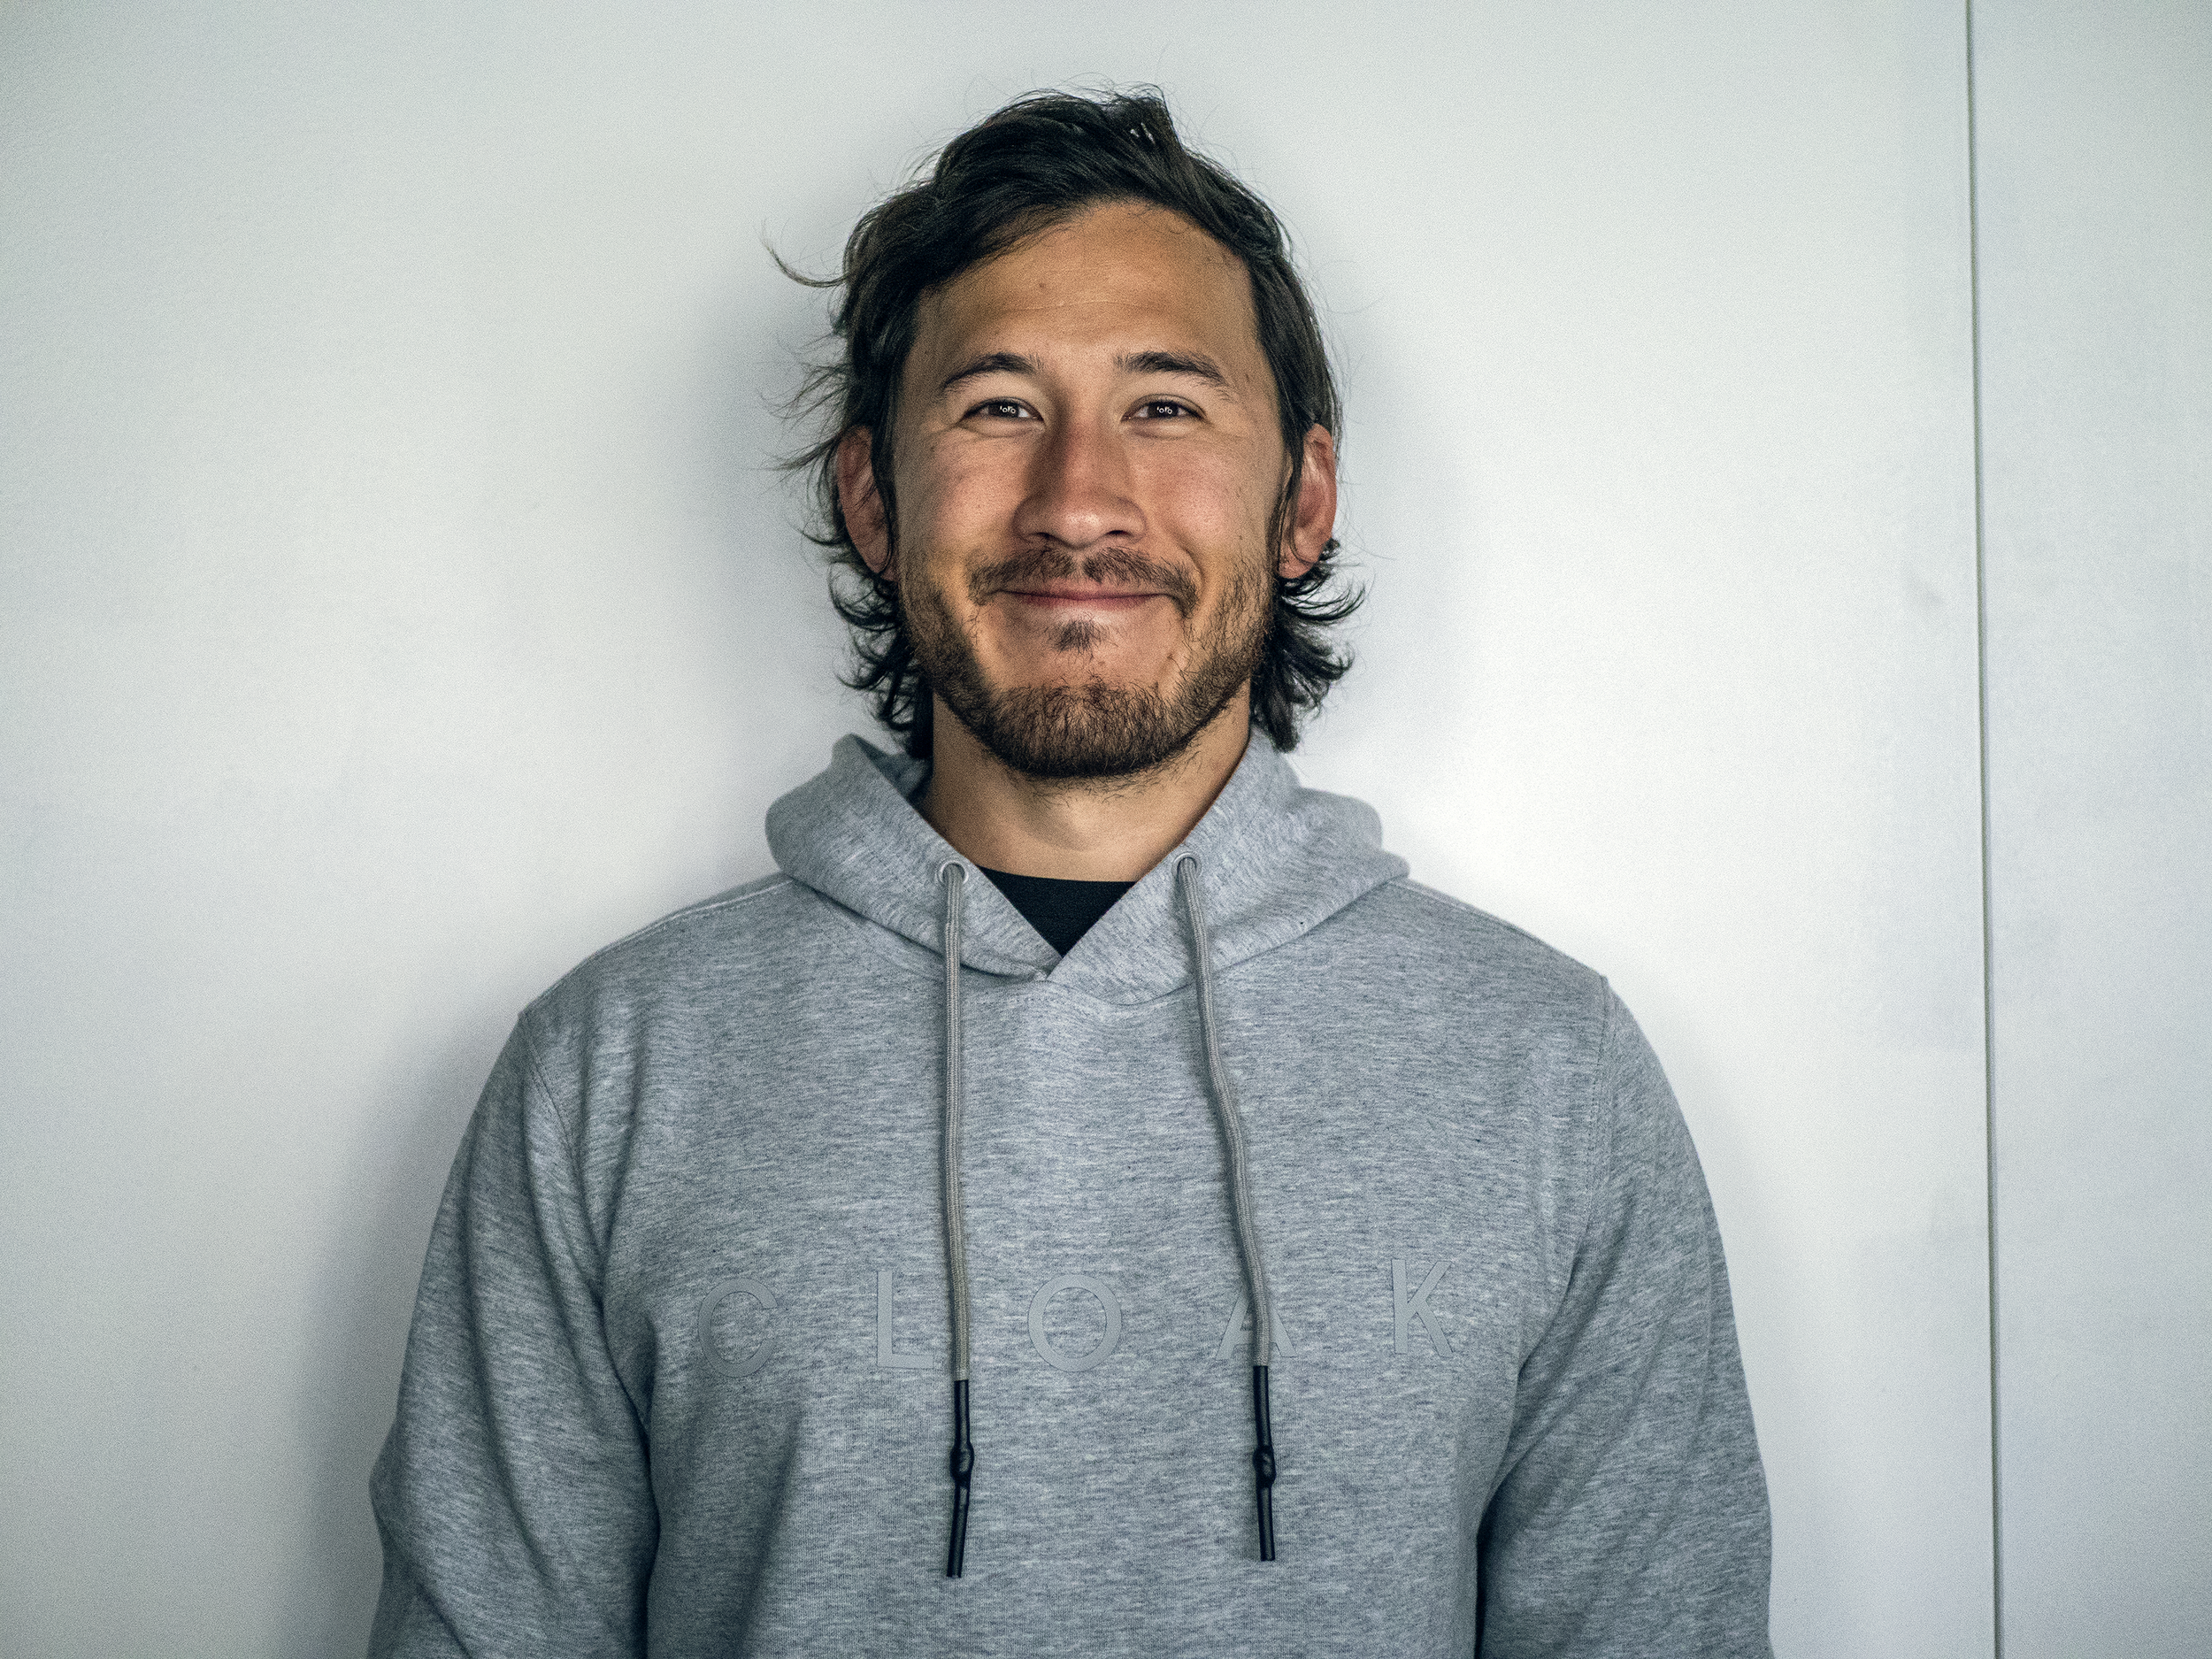
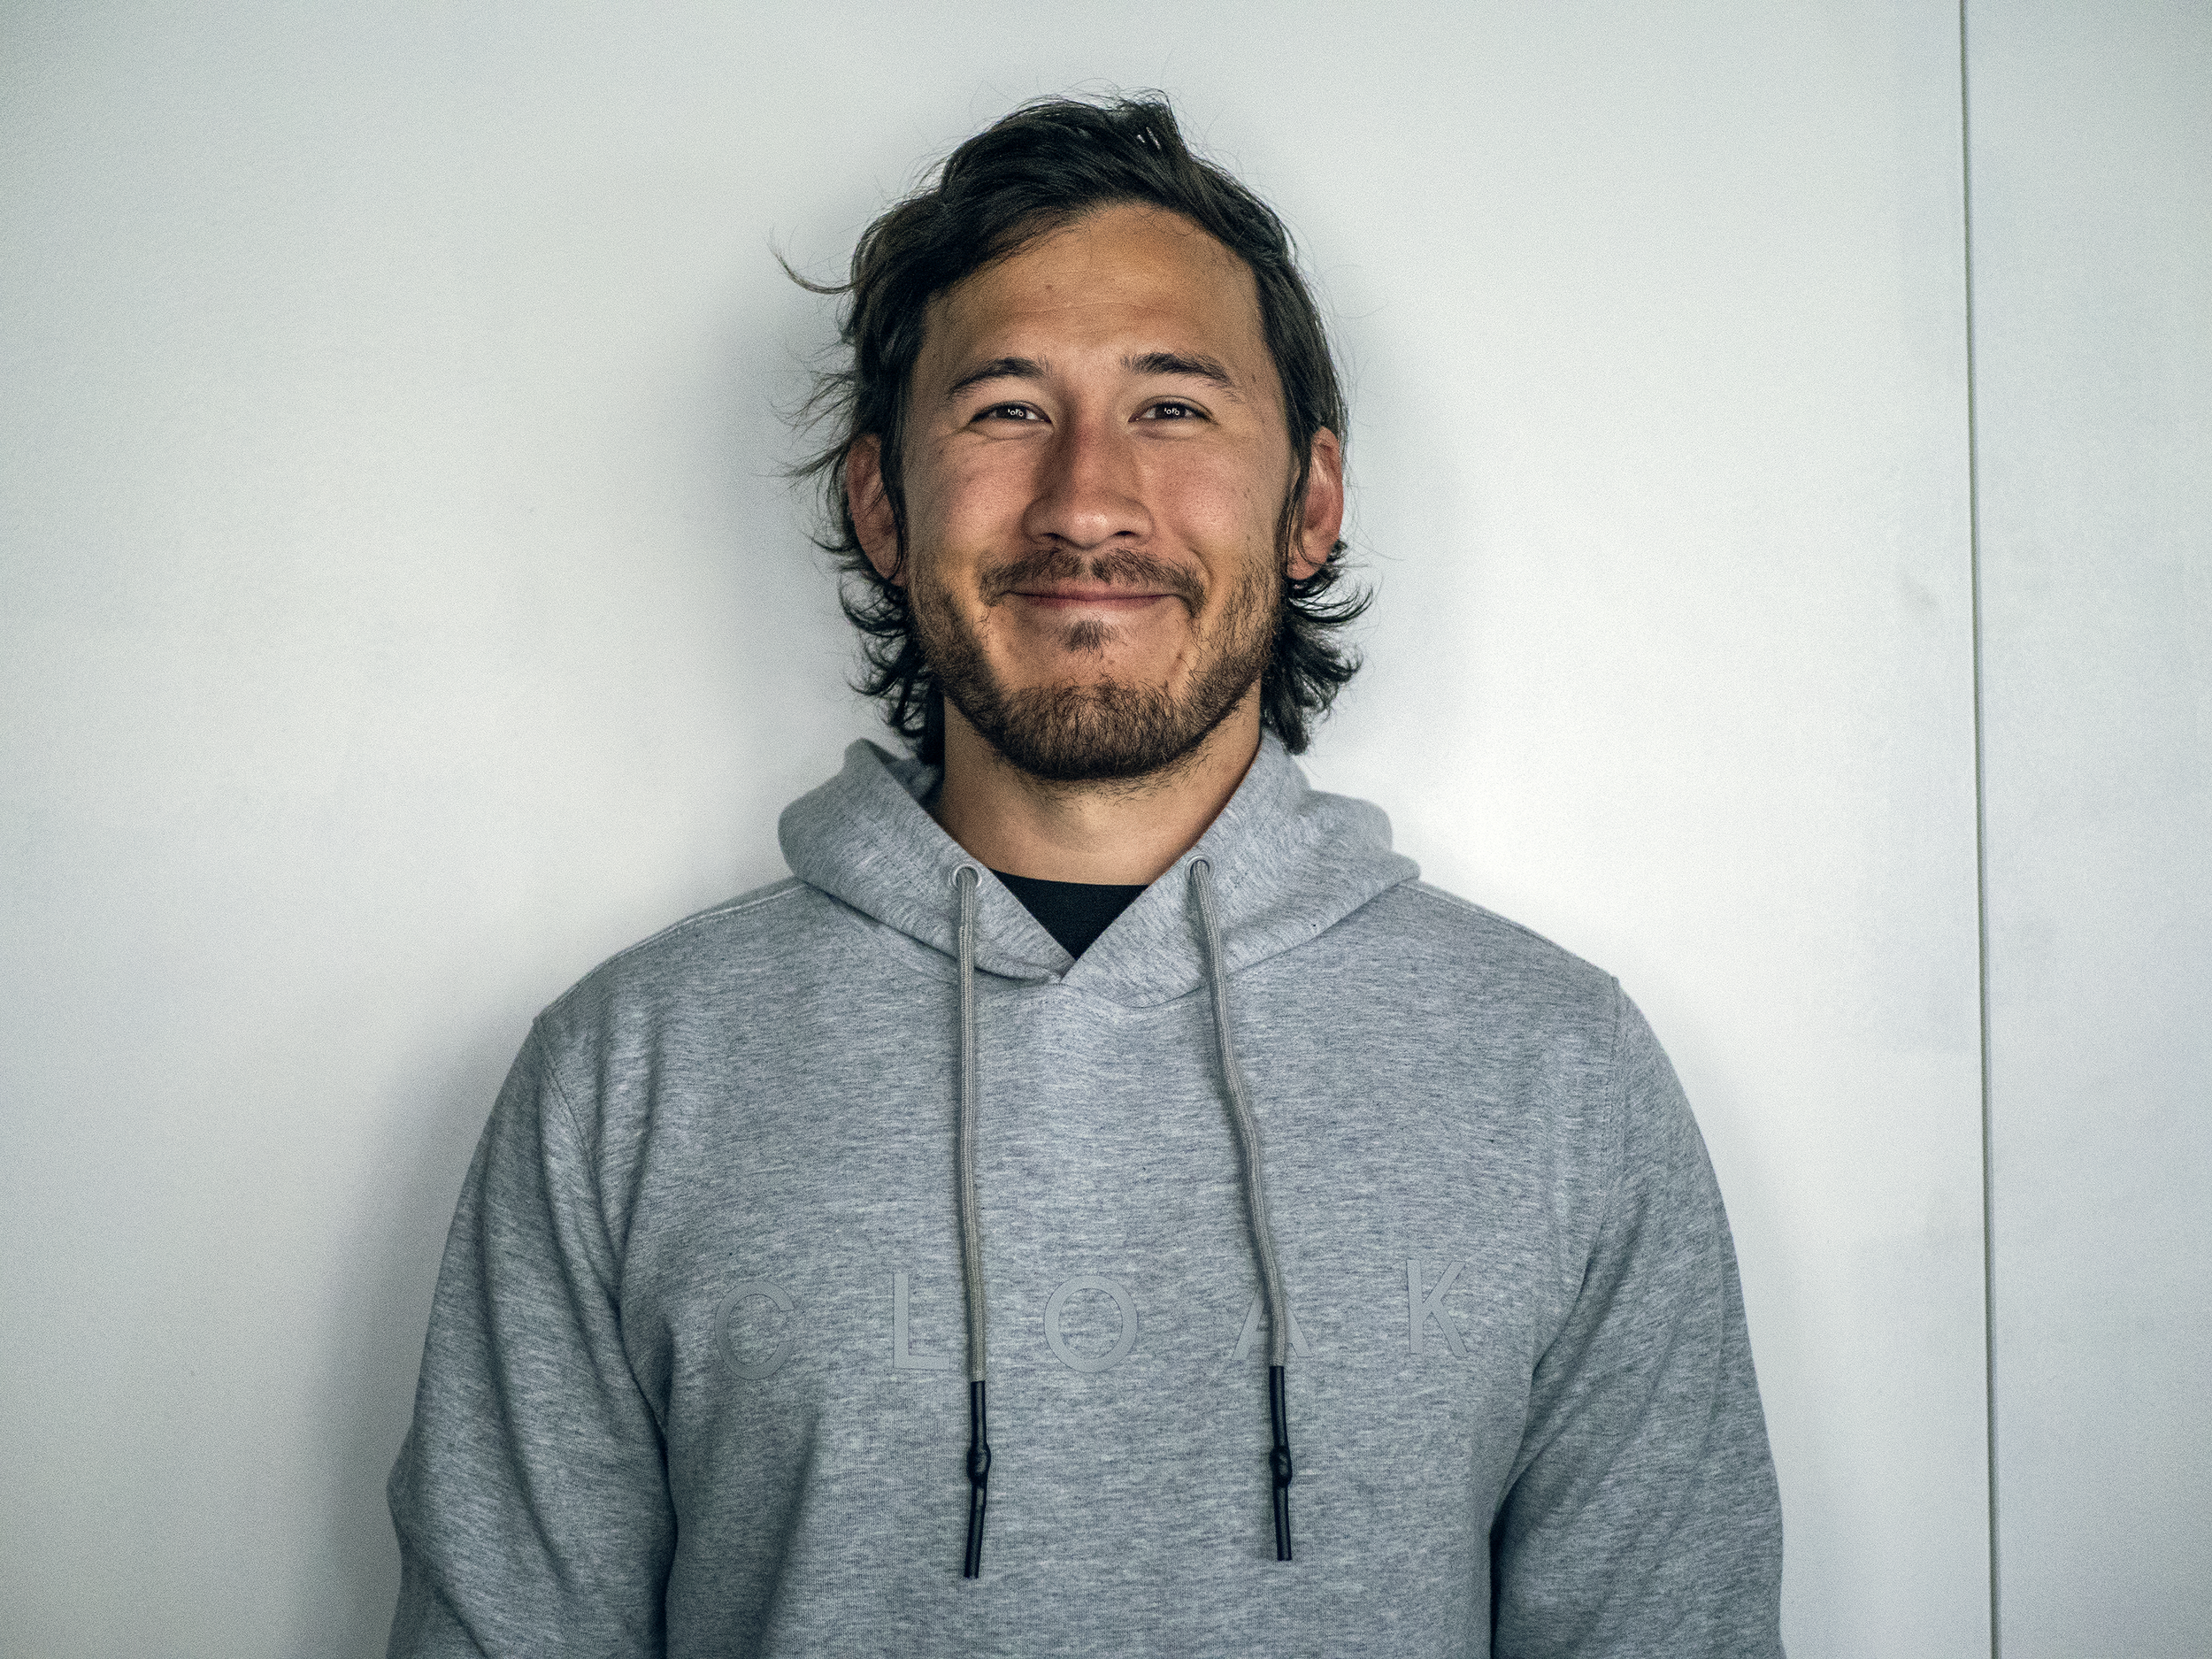
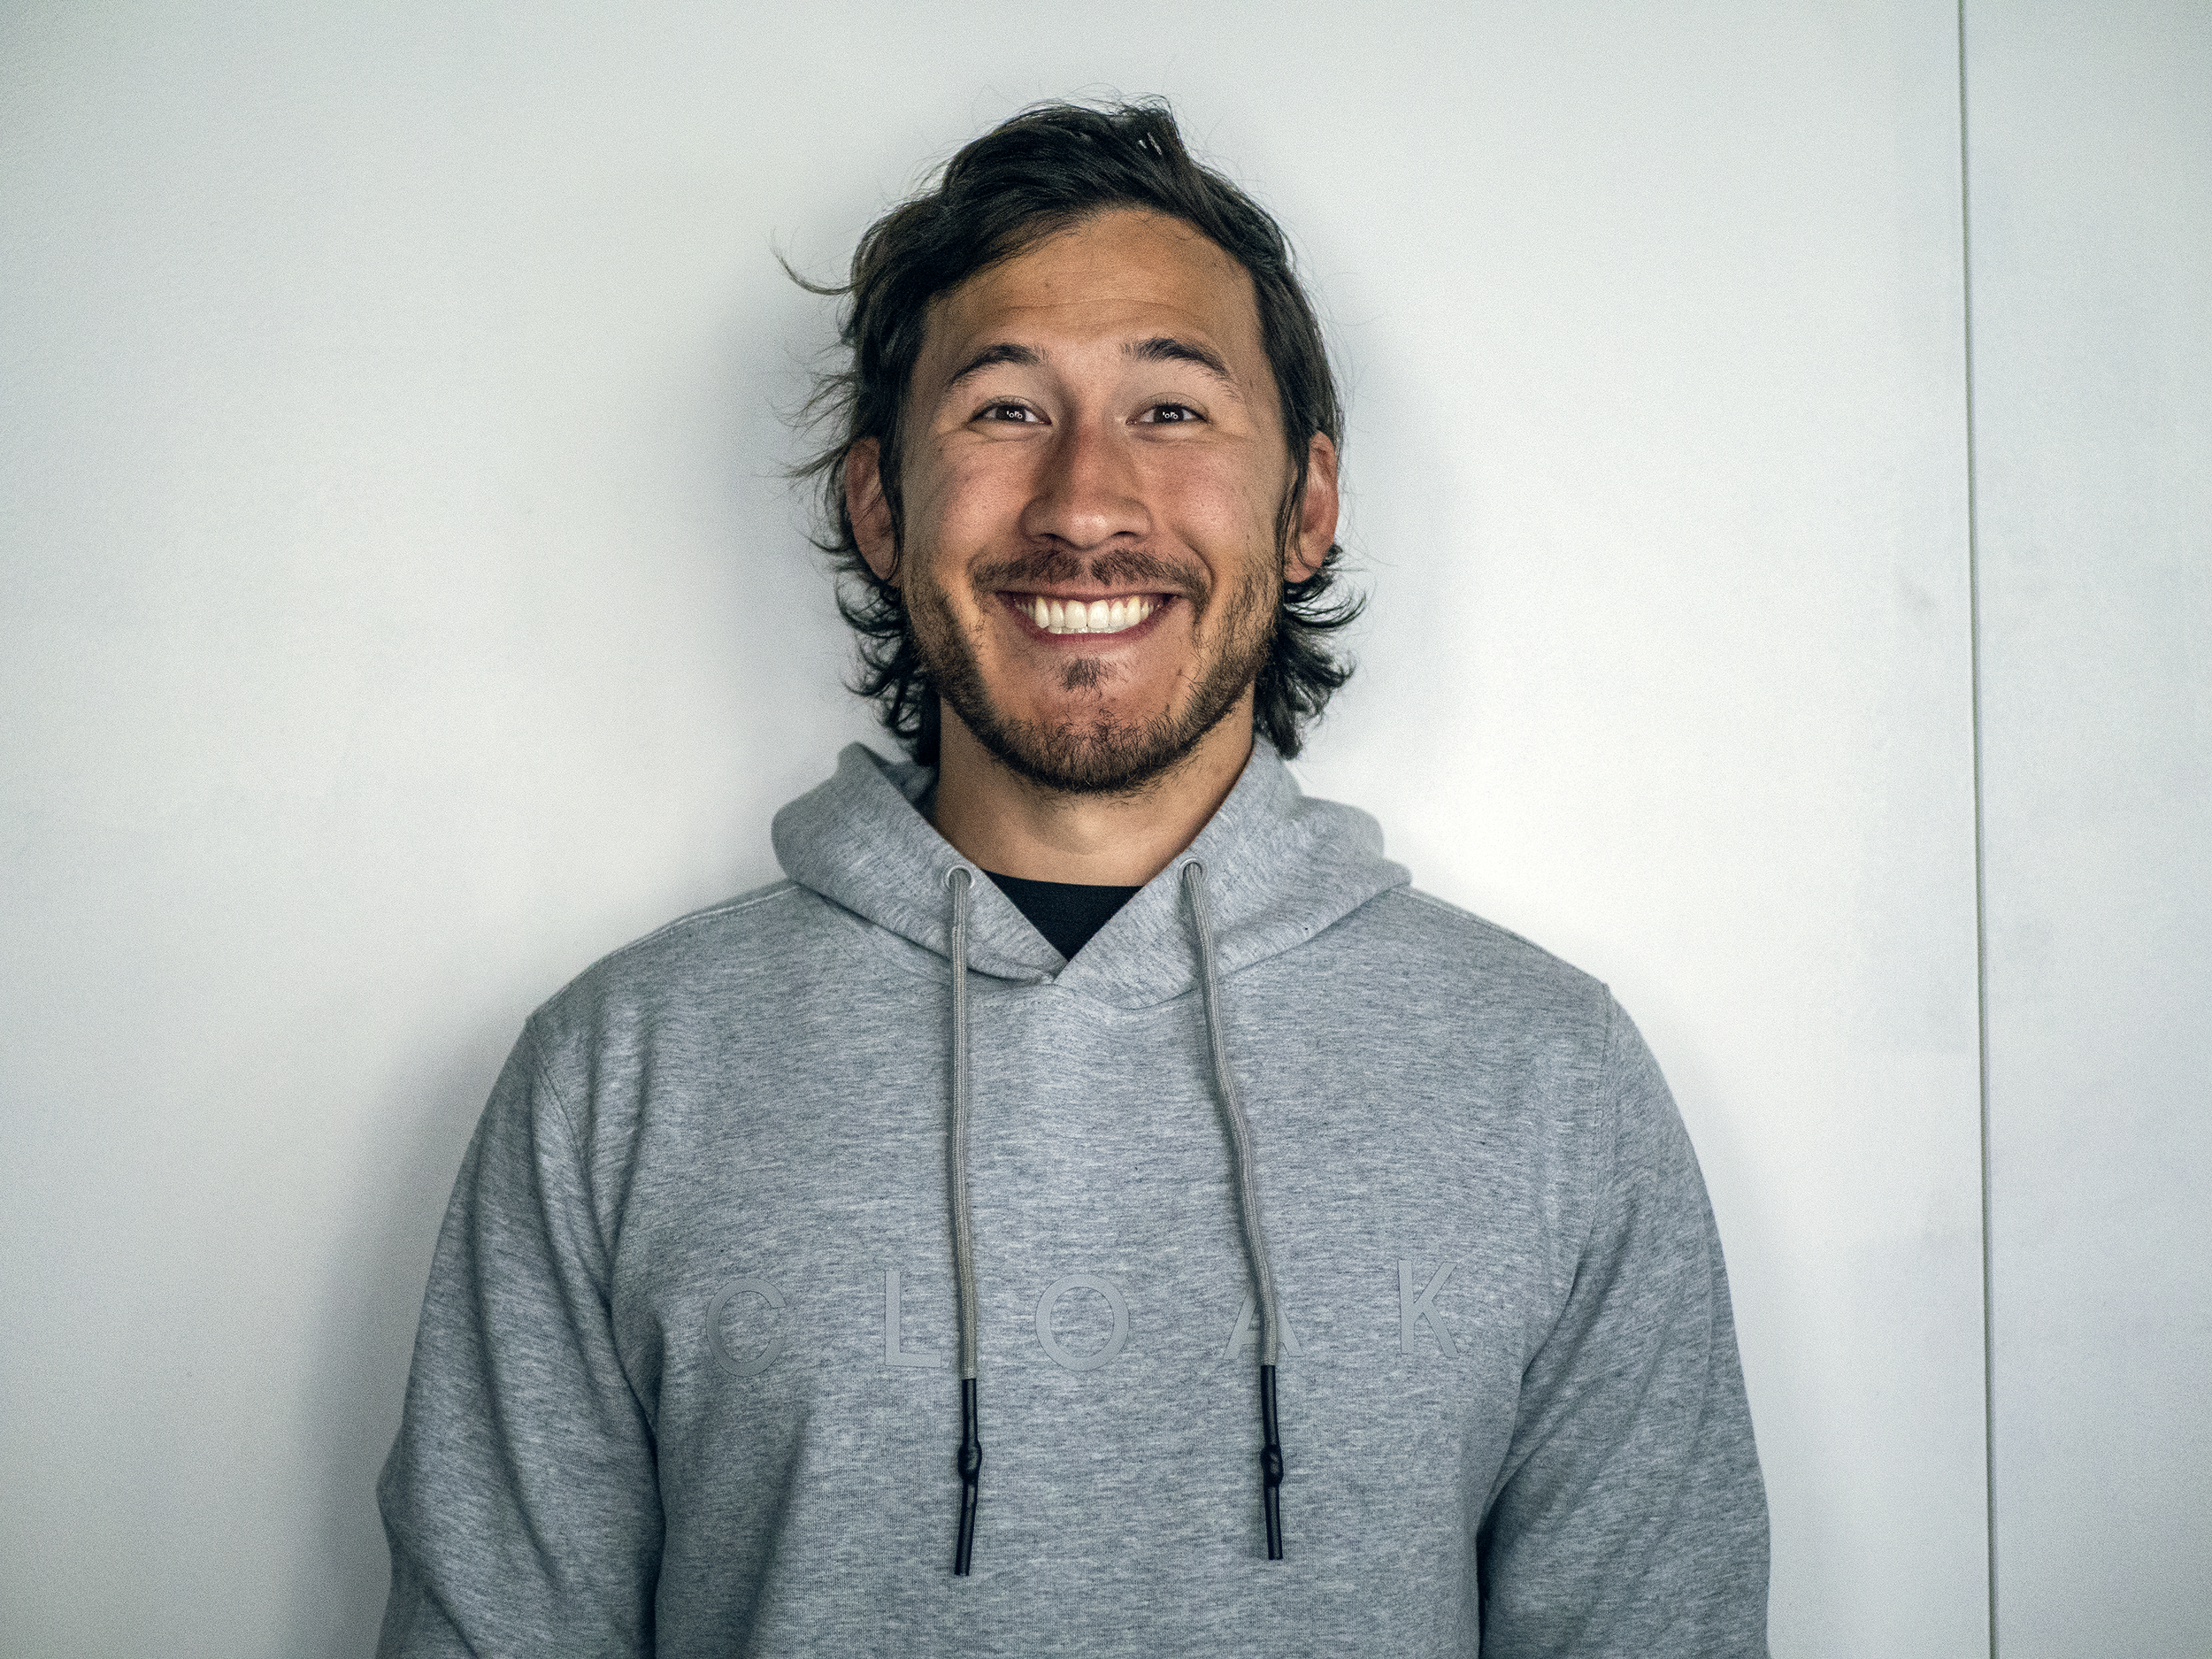
Here are a few thoughts about the initial capture session with Mark. These notes are only intended to help assist in getting quality images.

mark.png

This is my ideal environment

The lighting is soft and natural, Mark looks relaxed and we get some visual interest from the environment.

See if you can shoot a few frontal shots here and get everything in full focus, including the background.

Below are some observations on the set of images and some thoughts and suggestions on how to correct for some of the grain.

quickCapture.png

Keep an eye out for the level of grain

Either the shutter speed is too fast, the iris/aperture is too closed, or the ISO is too high. The camera’s “P (priority)” mode allows you to control one or two aspects. For example, it will allow you to control the shutter and ISO, but not aperture, or aperture and shutter but not ISO. It will attempt to compensate whichever of the three aspects isn’t manual. This can result in unnaturally high levels of grain since the camera doesn’t know how to compensate.

quickCapture.png

Depth of field is too shallow

Based on my comments above, it seems that the iris/aperture is too wide. On most professional lenses, this is controlled by a physical ring on the lens and adjusts physical blades inside the lens that open and close. The wider they are, the more blurring can take place since more parallel rays enter the lens from slightly different perspectives.

quickCapture.png

Shutter or ISO?

If my above assessments are correct, that the iris is too wide, and you don’t have control over that, I’m led to believe that either the ISO was too high or the shutter was too fast. Try lowering the ISO first, as this will not introduce additional blurring. Increase the shutter duration as a last resort - doing so will allow further possible blurring due to the subject’s natural movement during the exposure.

quickCapture.png

Move the camera, not the subject

This is a tough one, especially for us short shooters, but it’s important to keep the subject in as similar a position as possible throughout capturing.

It’s important to know what his head looks like from different angles, along with how the light looks from those other angles.

Having the subject turn their head is less natural for them and gives us less valuable information about what the face looks like from a low/high angle.

quickCapture.png

Ditch the light ring

The light ring is the perfect tool for shooting video during the MindQuests, but it’s not so great for capturing skin texture and lighting.

Ideally, capture images in a place that has a lot of natural light or a lot of artificial light, but the goal isn’t to make sure that the subject is lit as evenly as possible. It should look and feel natural.

The light ring washes out fine details and acts almost like a harsh flash bulb, introducing shadows coming from the camera’s perspective.

As a general rule, never use any camera-mounted lighting for this type of capture.

Previous
Previous

Solving a 3D camera for a particular aspect ratio

Next
Next

Static Source Capture Guidelines